We haven’t taken very many things apart lately, and certainly not whinge covers. What you may ask is a whinge cover? Not sure, since the term came up one morning at breakfast as a mishearing of winch. Before Gypsy was painted, she had red canvas. We had someone local make the winch covers, as a an update to her look, it is time to make new ones. These are more complicated than the Sailrite winch covers, so Nina took them apart to see how they were made. She got as far as making paper patterns and then ran into the what color should they be question. We had a piece of yellow Sunbrella. Totally wrong yellow for the new paint. Navy works, but there isn’t enough to do more than one or two (out of five) and we’re not quite sure which blue it really is, because it was leftover fabric from a friend.
One of the old winch covers. There was a cuff inside to hold it on the winch, and velcro to snug it on the bottom. The slit can be lined up for the sheet wrapped around the winch.
Meanwhile, work continued on the galley. Bill worked on templates while Nina added bondo fillets to the settee upright bulkheads.
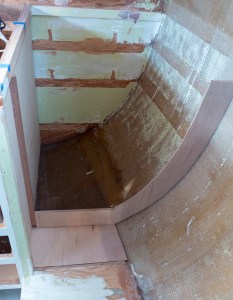
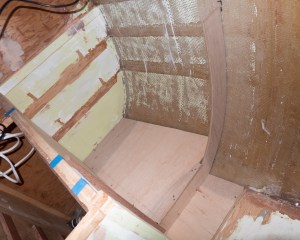
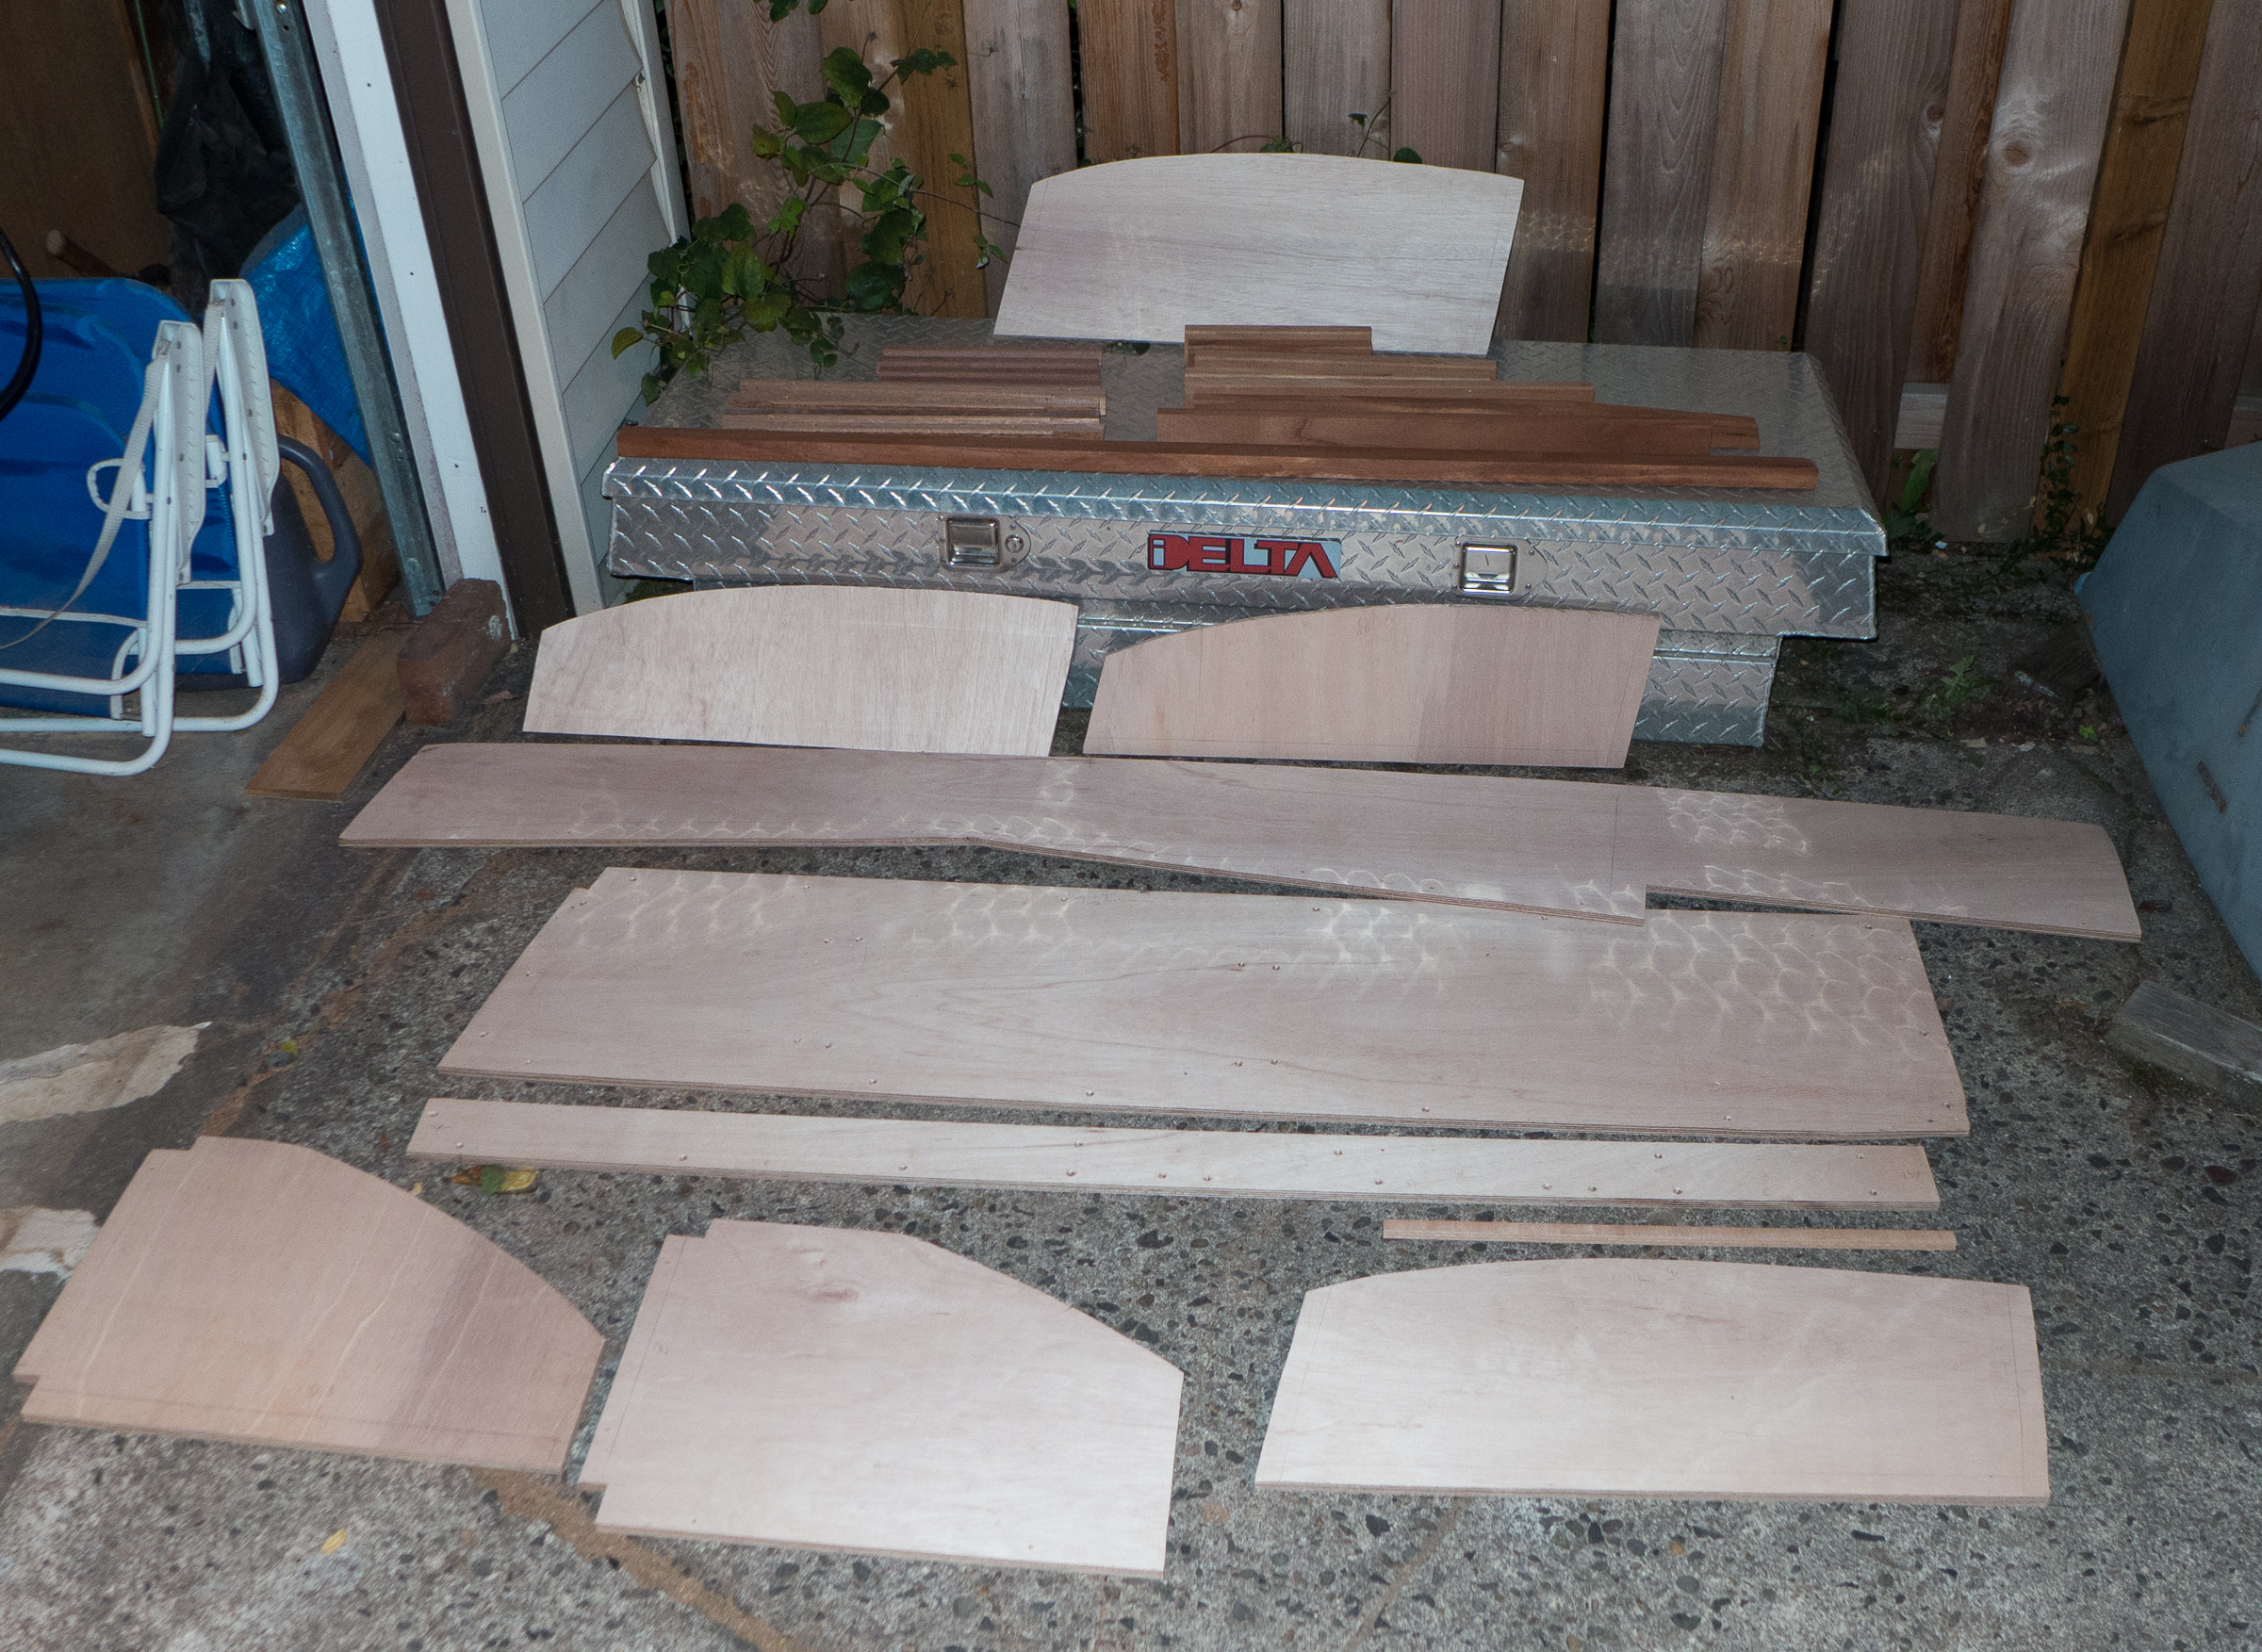
Galley templates stacked up ready to take home. We’re using 12 mm marine plywood to make the final pieces.Bill dry fitting the icebox bulkhead.Dry fitting the partial bulkhead for the icebox bulkhead. The pantry floor will sit on the top flat edge of the bulkhead.All the pieces in place before gluing it all together.Bill aligning the icebox bulkhead. The bulkhead is being built as two pieces so we can still have easy access to the pantry behind to install shelves. Once those are in place, the full bulkhead will be attached to the partial with epoxy and then tabbed into place.Epoxied icebox and pantry structure.Icebox box. It fits!
First thing up next weekend, tabbing in those settee uprights. The fiberglass is cut and ready to go. Not enough time in the weekend. Whinging.
Sunday morning found us back at Gypsy ready to get more done. Nina sanded the port settee to get rid of any epoxy residue and get it ready to tab the plywood to the hull. Then she made bondo fillets between the plywood and the hull so the fiberglass tape would lay down nicely across the joint. Epoxy fillets would have been stronger, but the bondo cures very fast and the joints will be plenty strong with three layers of glass tape and epoxy. We are using epoxy not only because it is strong, but also because it will cure better in cold weather.
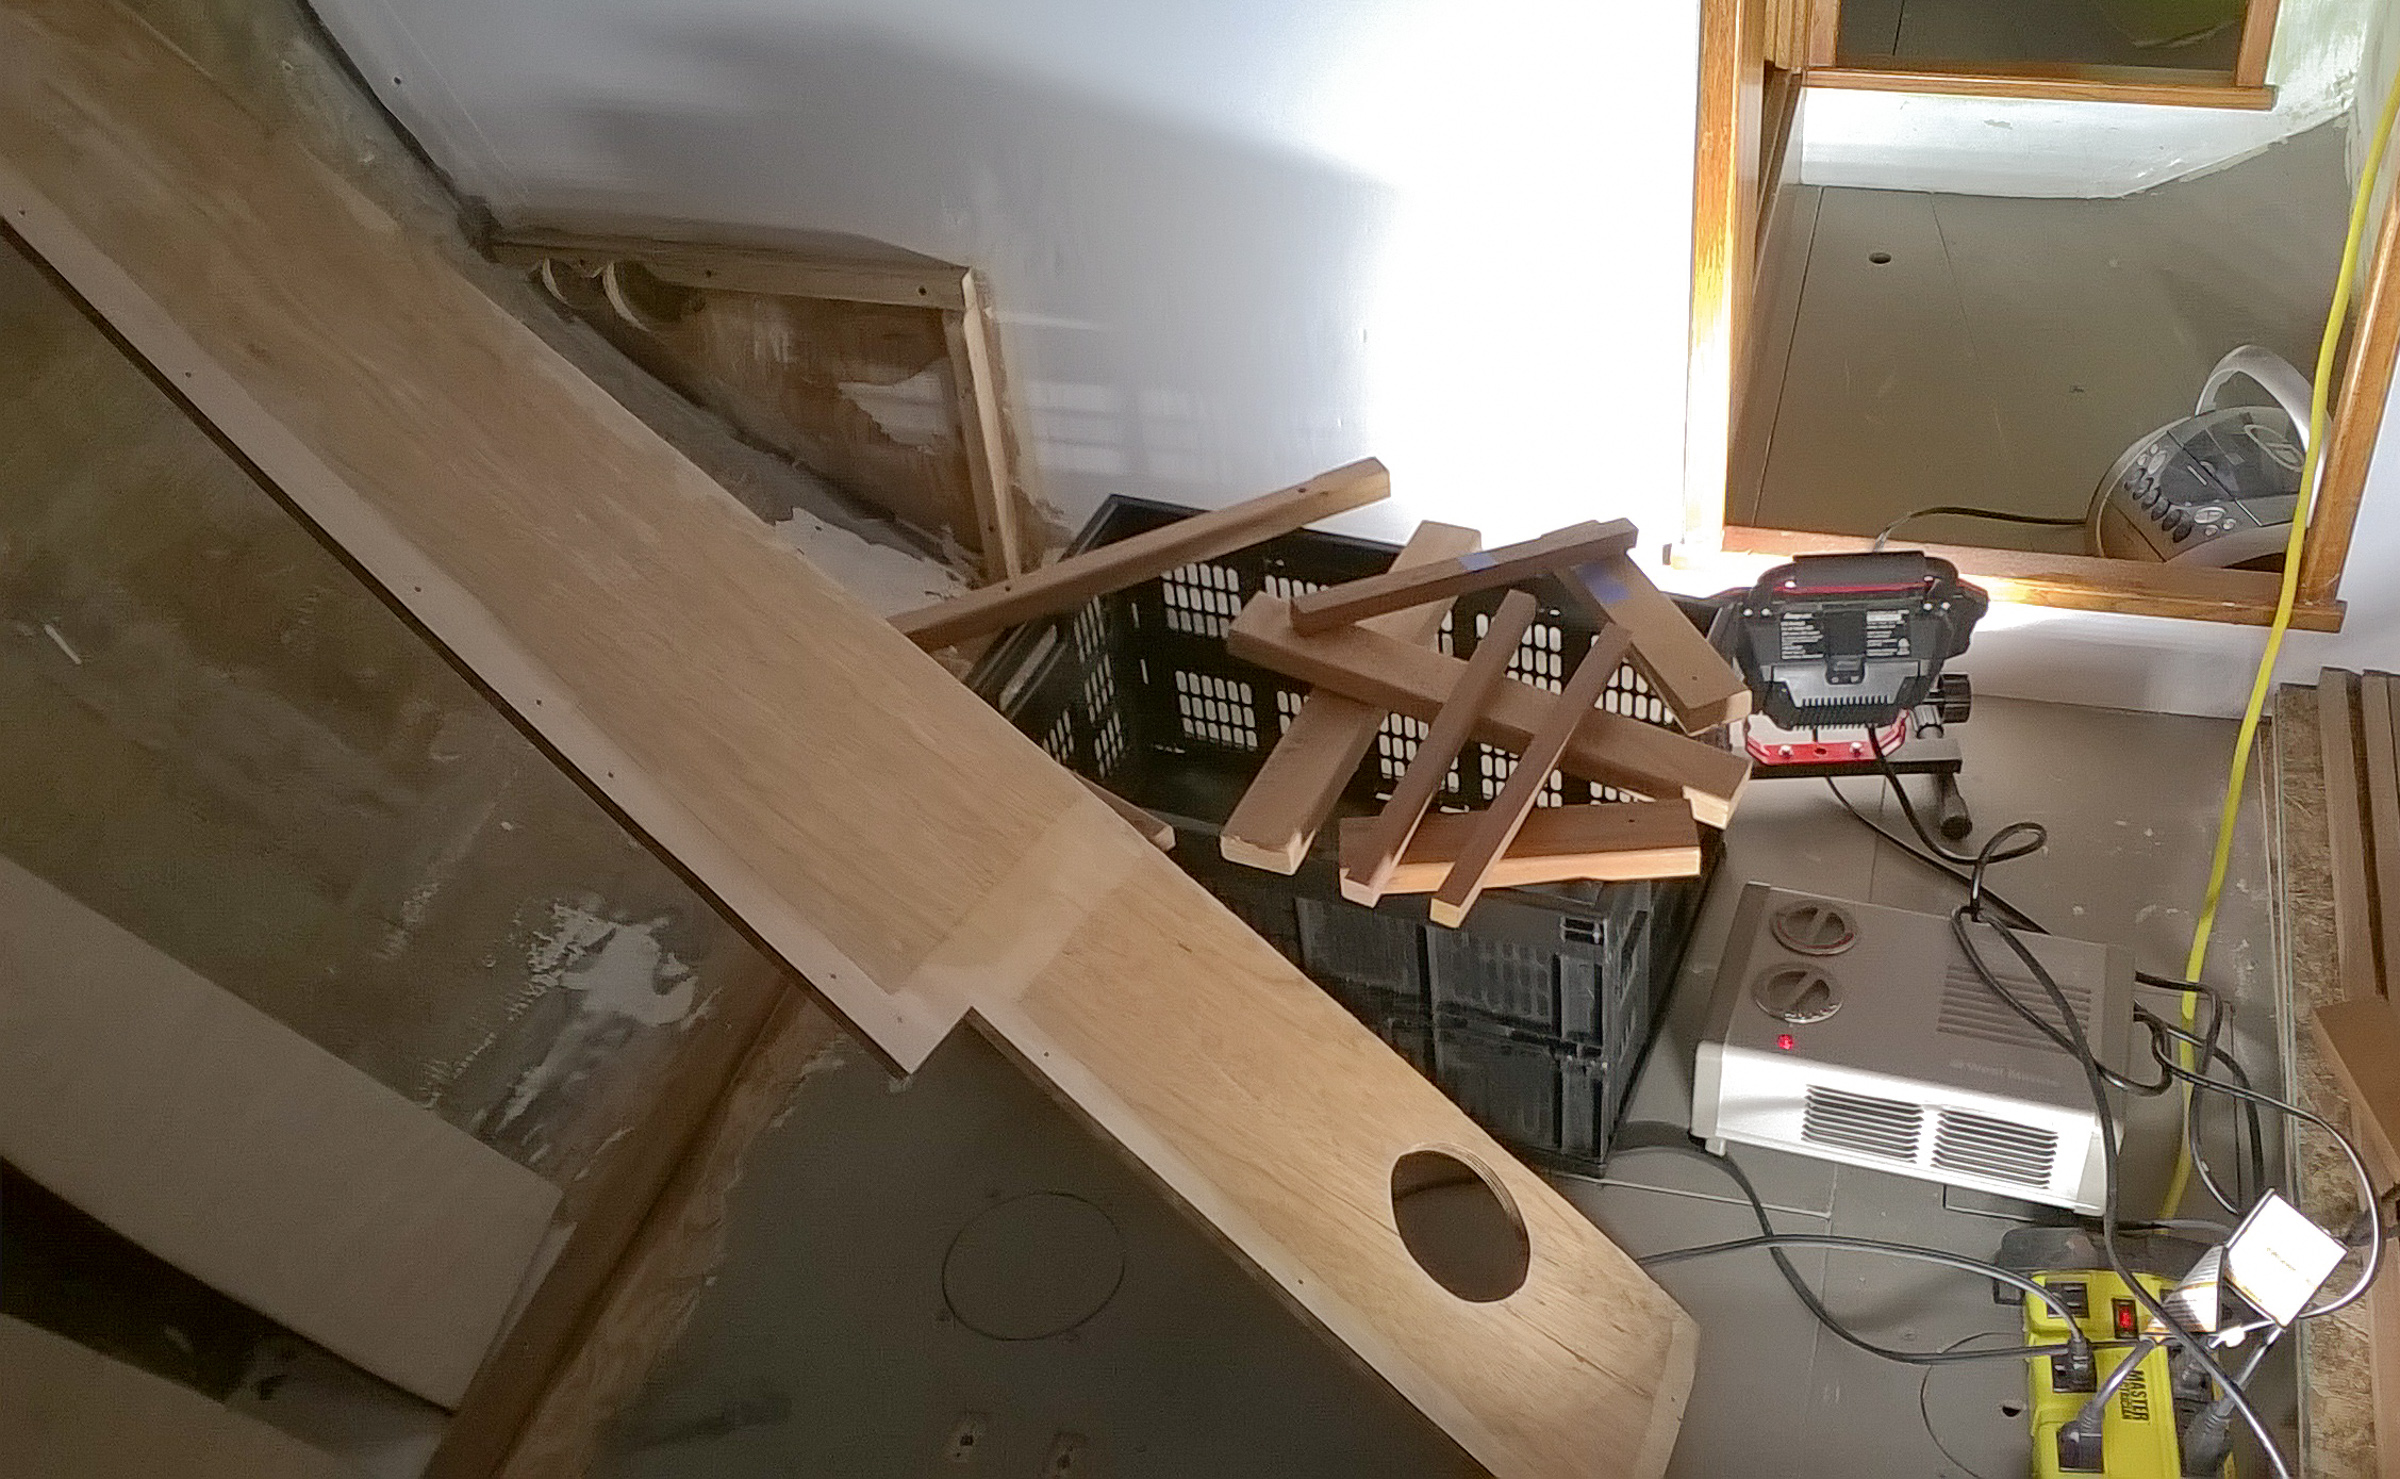
Meanwhile, Bill went to work on making a template for the new hatch boards. We want to capture not only the shape but the angles involved. The template will be used to make full sized parts out of cheap wood so we can work any bugs out before we make them out of expensive plexiglass.
We now were ready to tab the port settee to the hull. Bill mixed epoxy and lent a hand and Nina glassed in the fiberglass tape and then covered it in peel ply to help get a smooth finish. Our epoxy is a couple of years old and the hardener turns red from the steel cans. It does not effect the epoxy it just makes it reddish brown.
The finished joint covered in fiberglass cloth and peel ply. In addition to the back edge of the settee we also glassed the bottoms of the dividers to the hull.
Monday Bill sanded the settee and worked on fitting the dividers for the backrest. Nina was off knitting and got out of sanding.
The cleats on the bottom and top locate the divider.
In the afternoon while Bill worked on the dividers Nina worked on cleats for the refrigerator and pantry space. Once those are in place, we can make templates for the floors and bulkheads. We ran out of time and long enough screws and headed home for dinner.
After dinner, back we went. We had to label all the pieces so they would go back in the correct places and then we could disassemble the back rest dividers. The hull sides are still messy with old carpet residue and old contact cement and this meant more grinding for the areas that will be tabbed. Nina did not get out of this bit of grinding and had to person the vacuum while Bill had fun with the sander. One big mess later we were ready to glue the dividers in. More epoxy. Bill coated the rest of the plywood top on the port settee bottom with epoxy. It was a long weekend by the time we were done.
Next weekend we will tab the dividers to the hull and add more cleats to mount the front of the backrest to.
One of the goals of this weekend was to get the port settee epoxied in place. We got all the pieces prepped and ready to go and hauled them to the boat in the rain.
Drying out settee parts. We had our first real fall rain storm as we were hauling everything down to Gypsy.
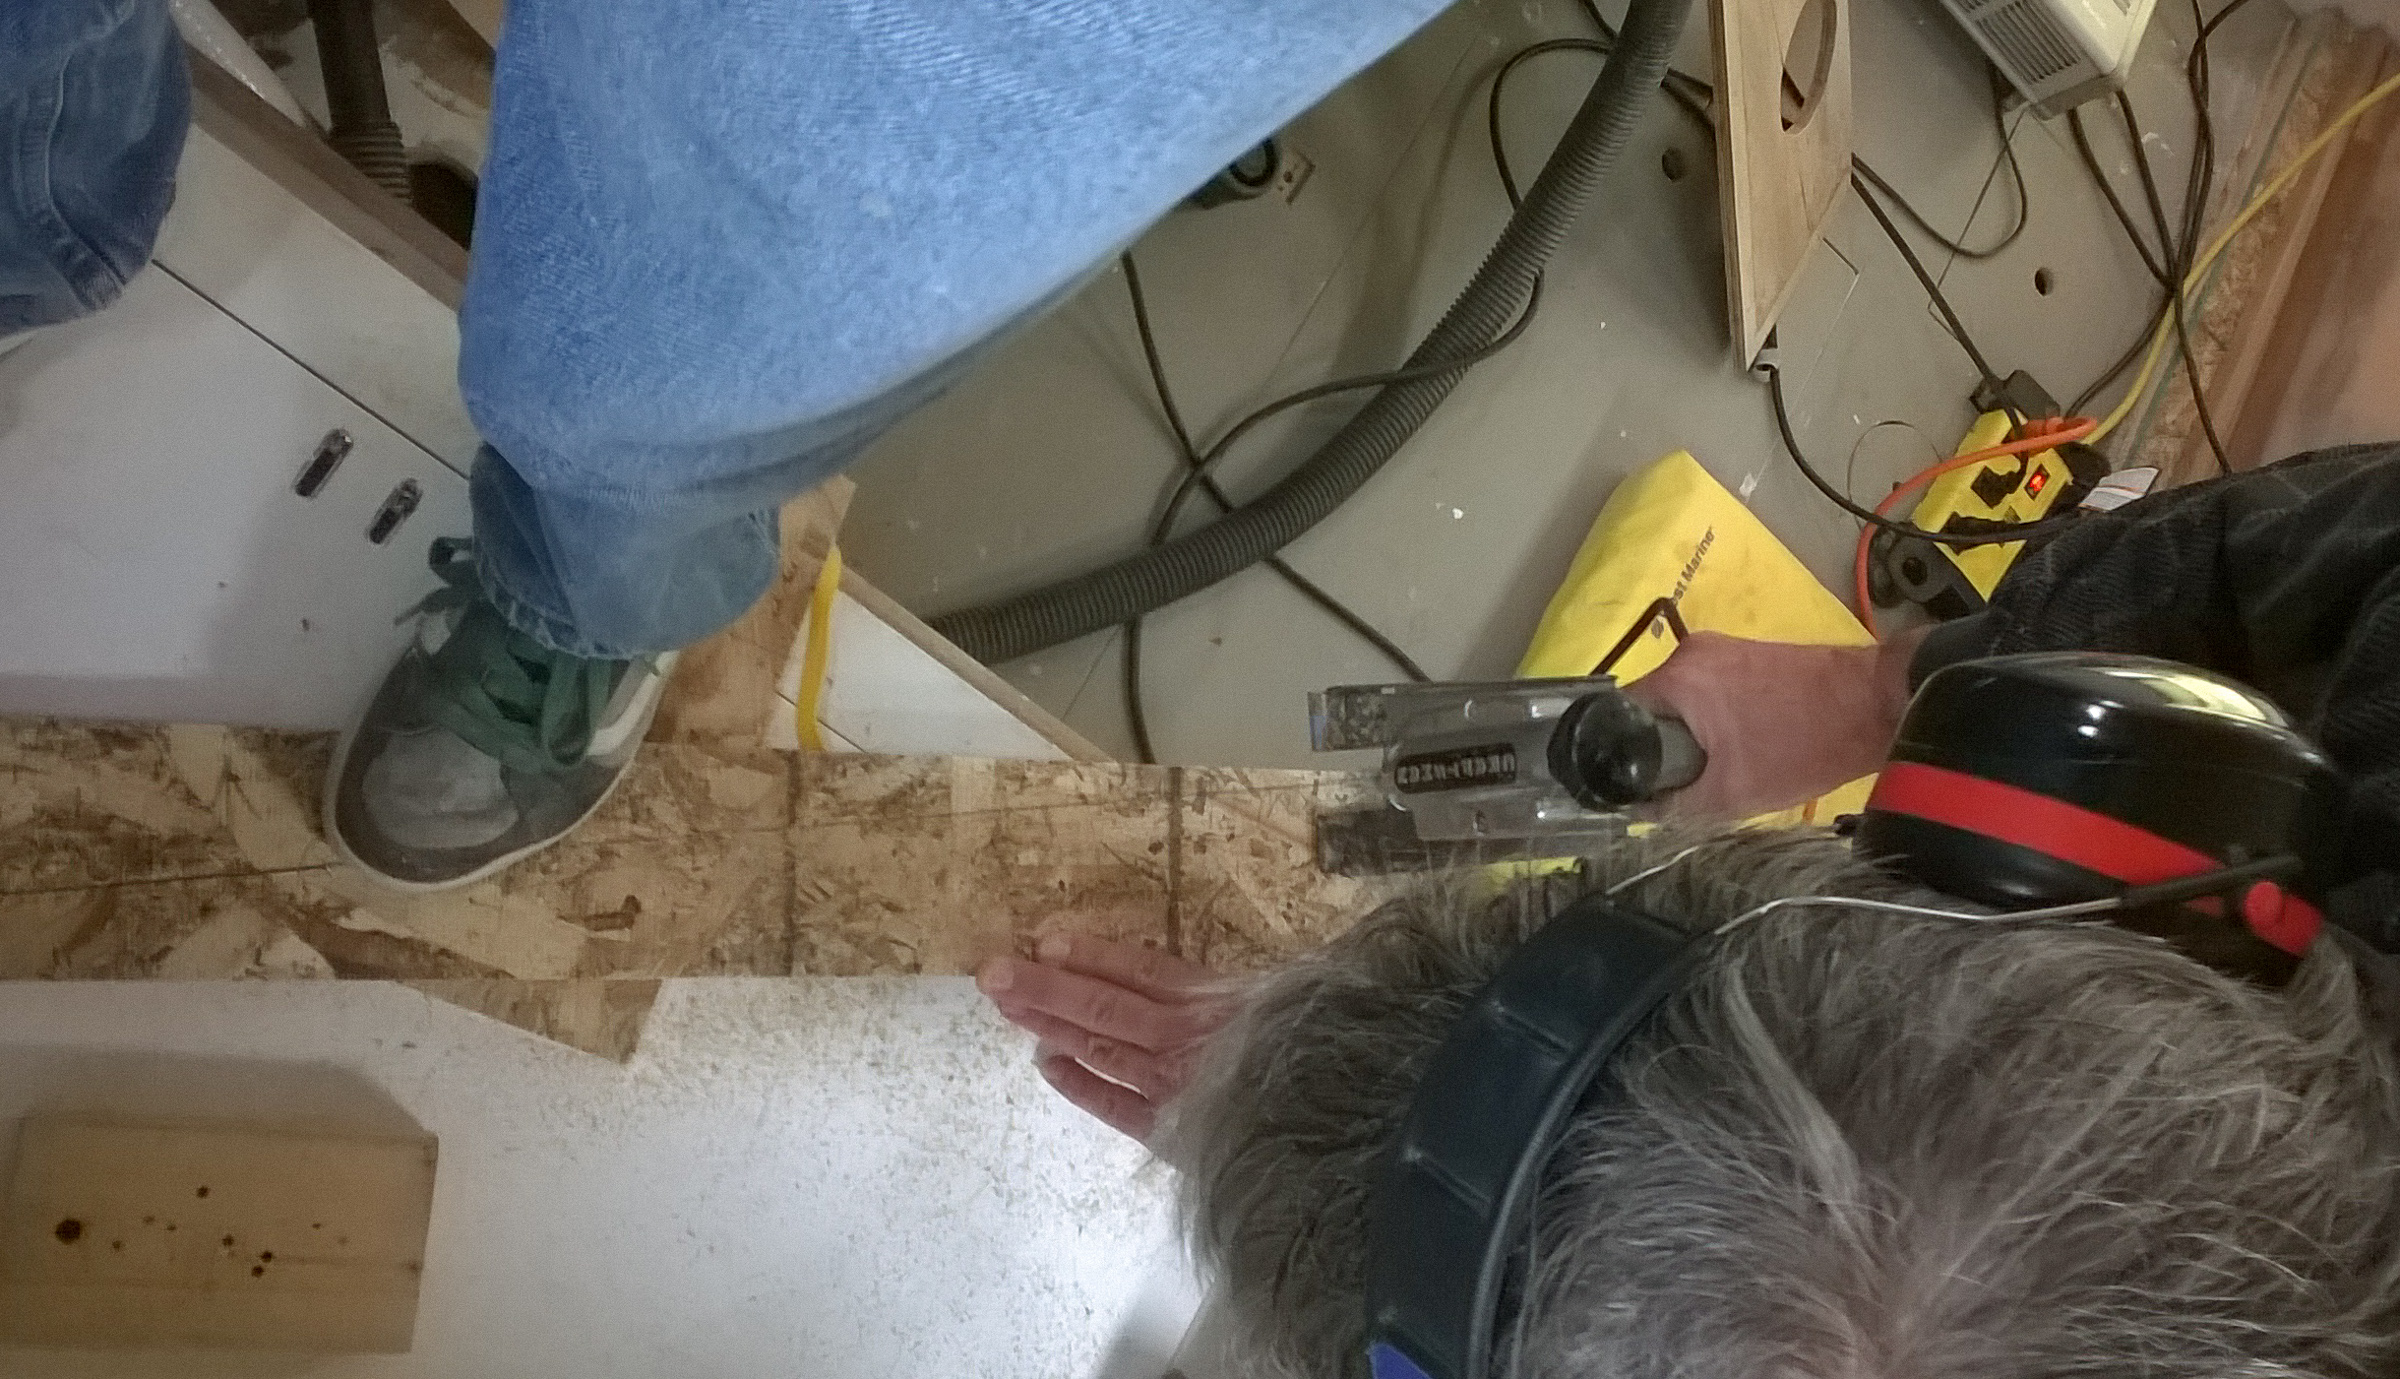
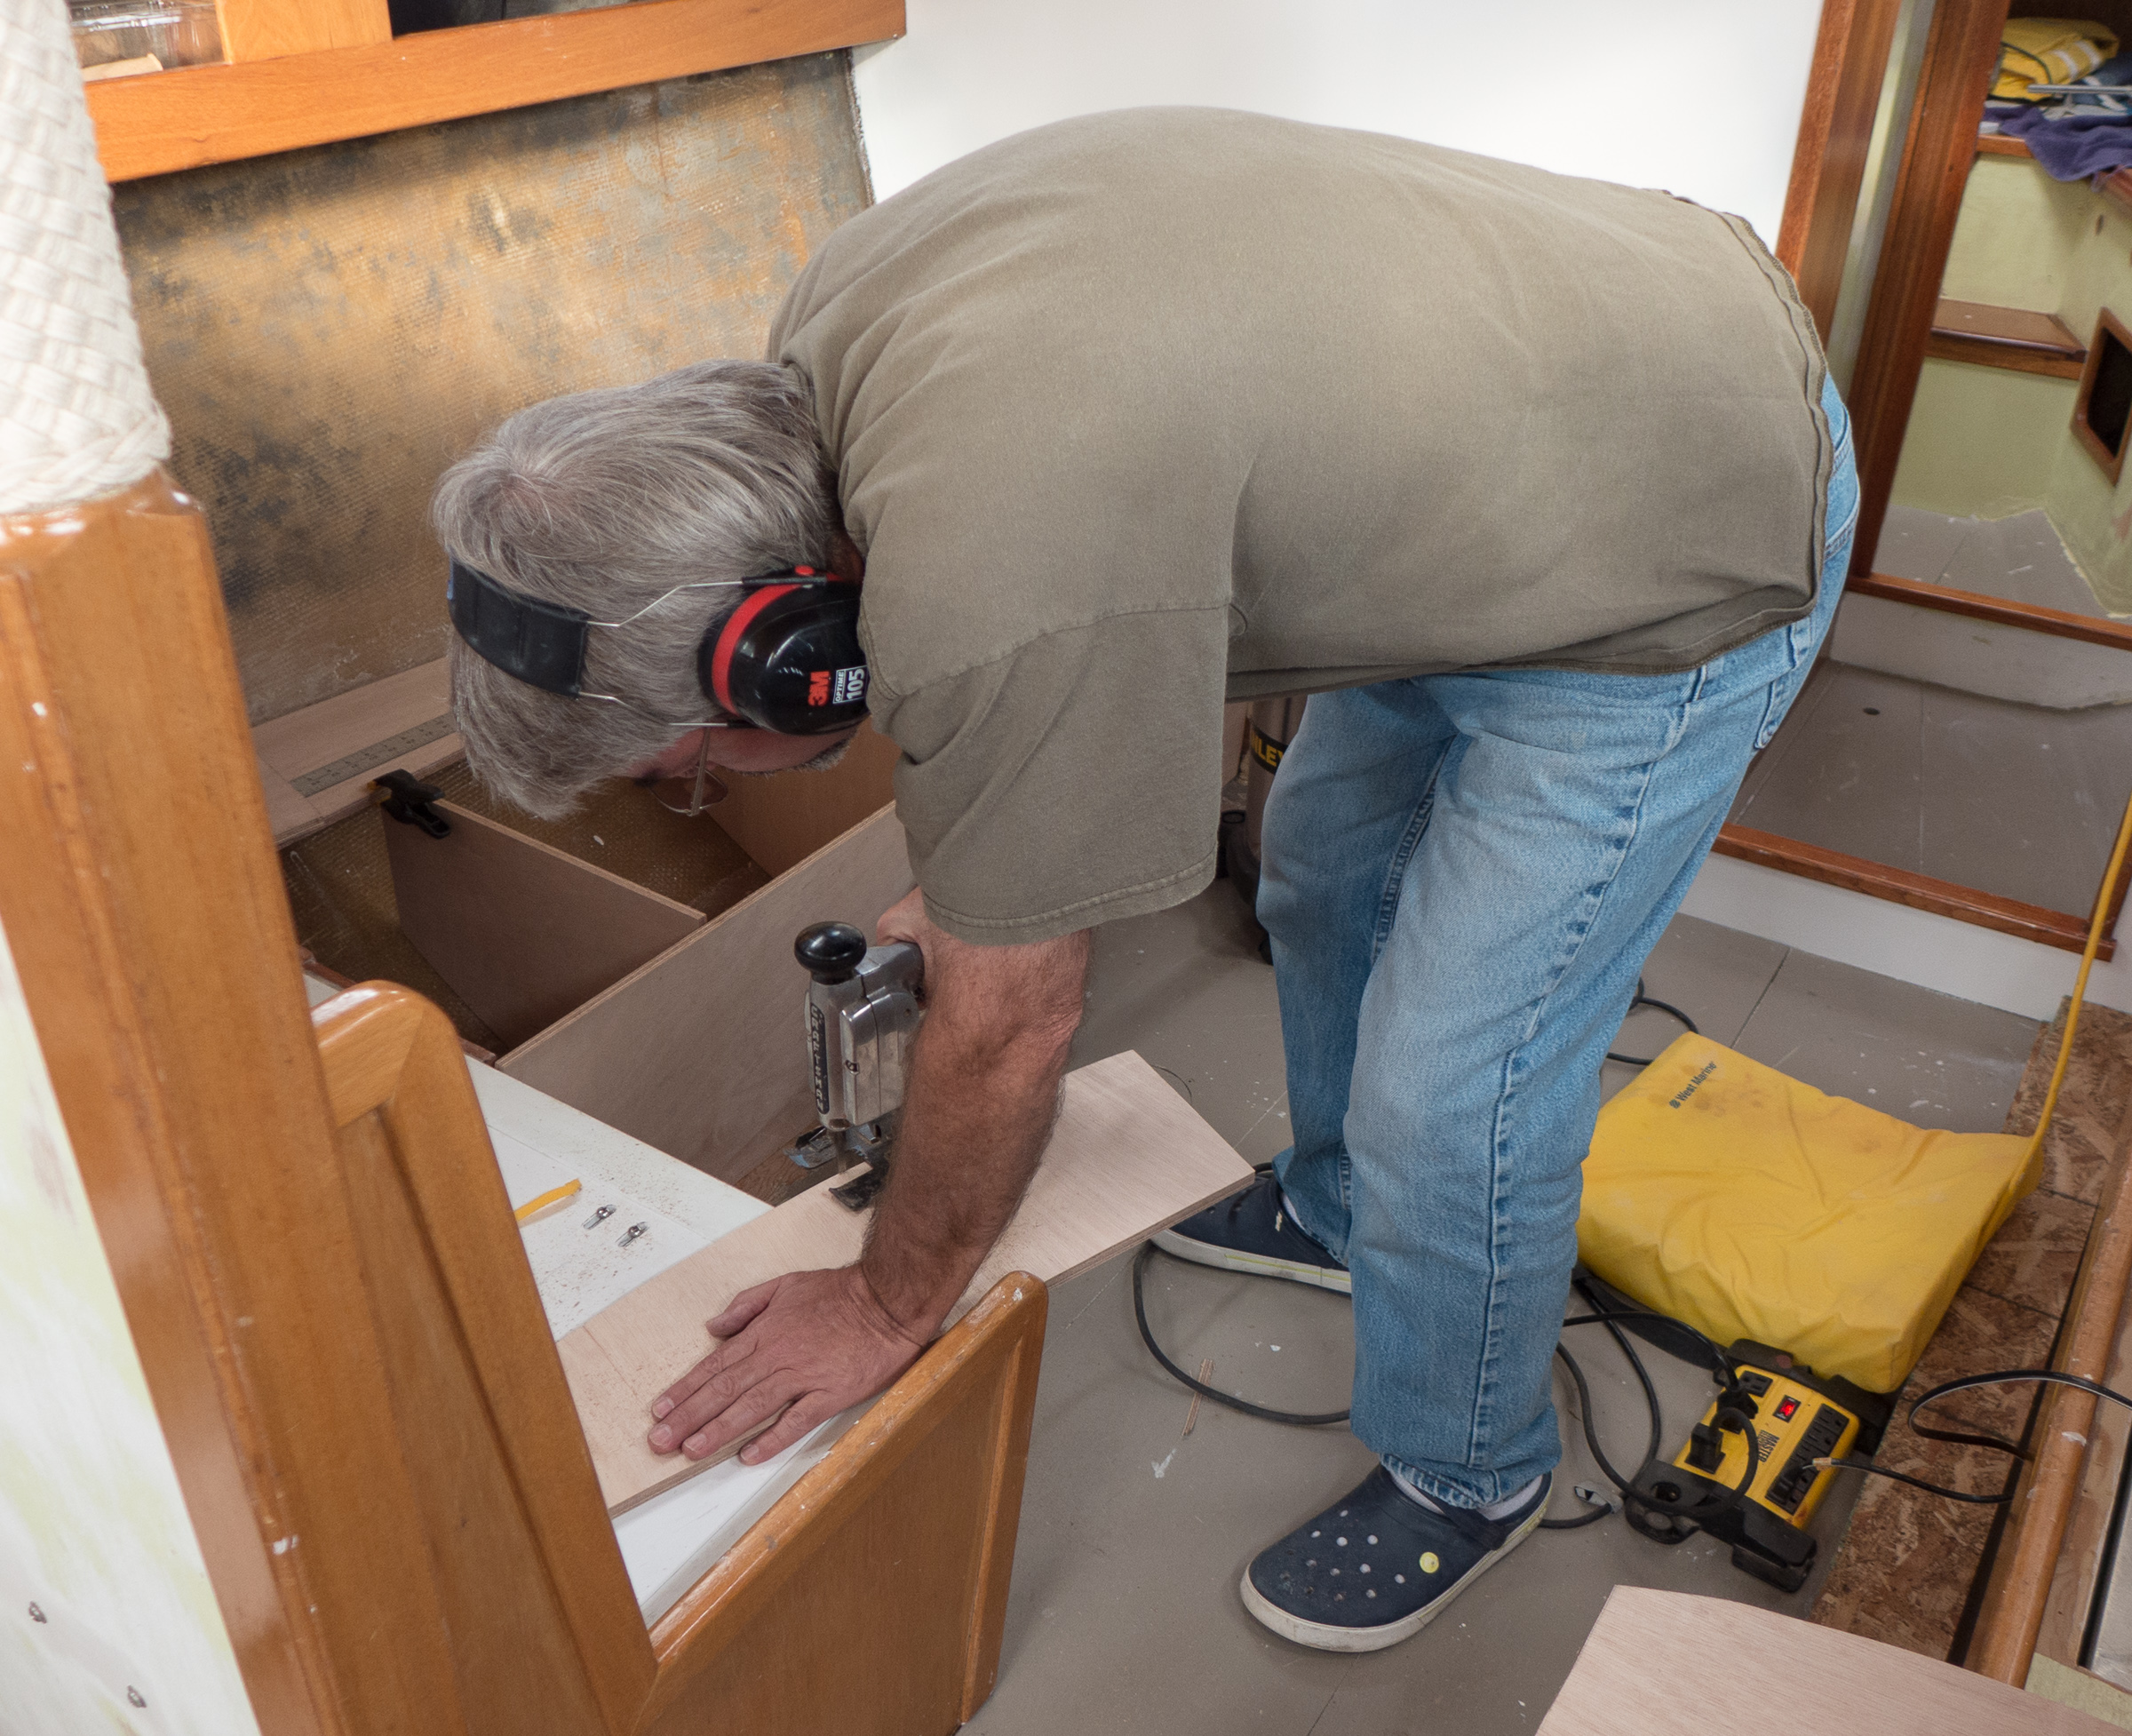
While we waited for the wood to dry, we cut out a template for part of the lid over the starboard settee.
Cutting templates with a saber saw. Probably not the most efficient way to do this, but we’ve learned to make do with the tools we own, even if they are potentially as old as we are.
Once all the settee parts dried out enough to epoxy, the fun began. It took us about three hours to get it held together with screws and epoxy. Next job, tabbing the plywood to the hull with fiberglass cloth and epoxy. Then we get to sand and paint.
The glued in port settee.
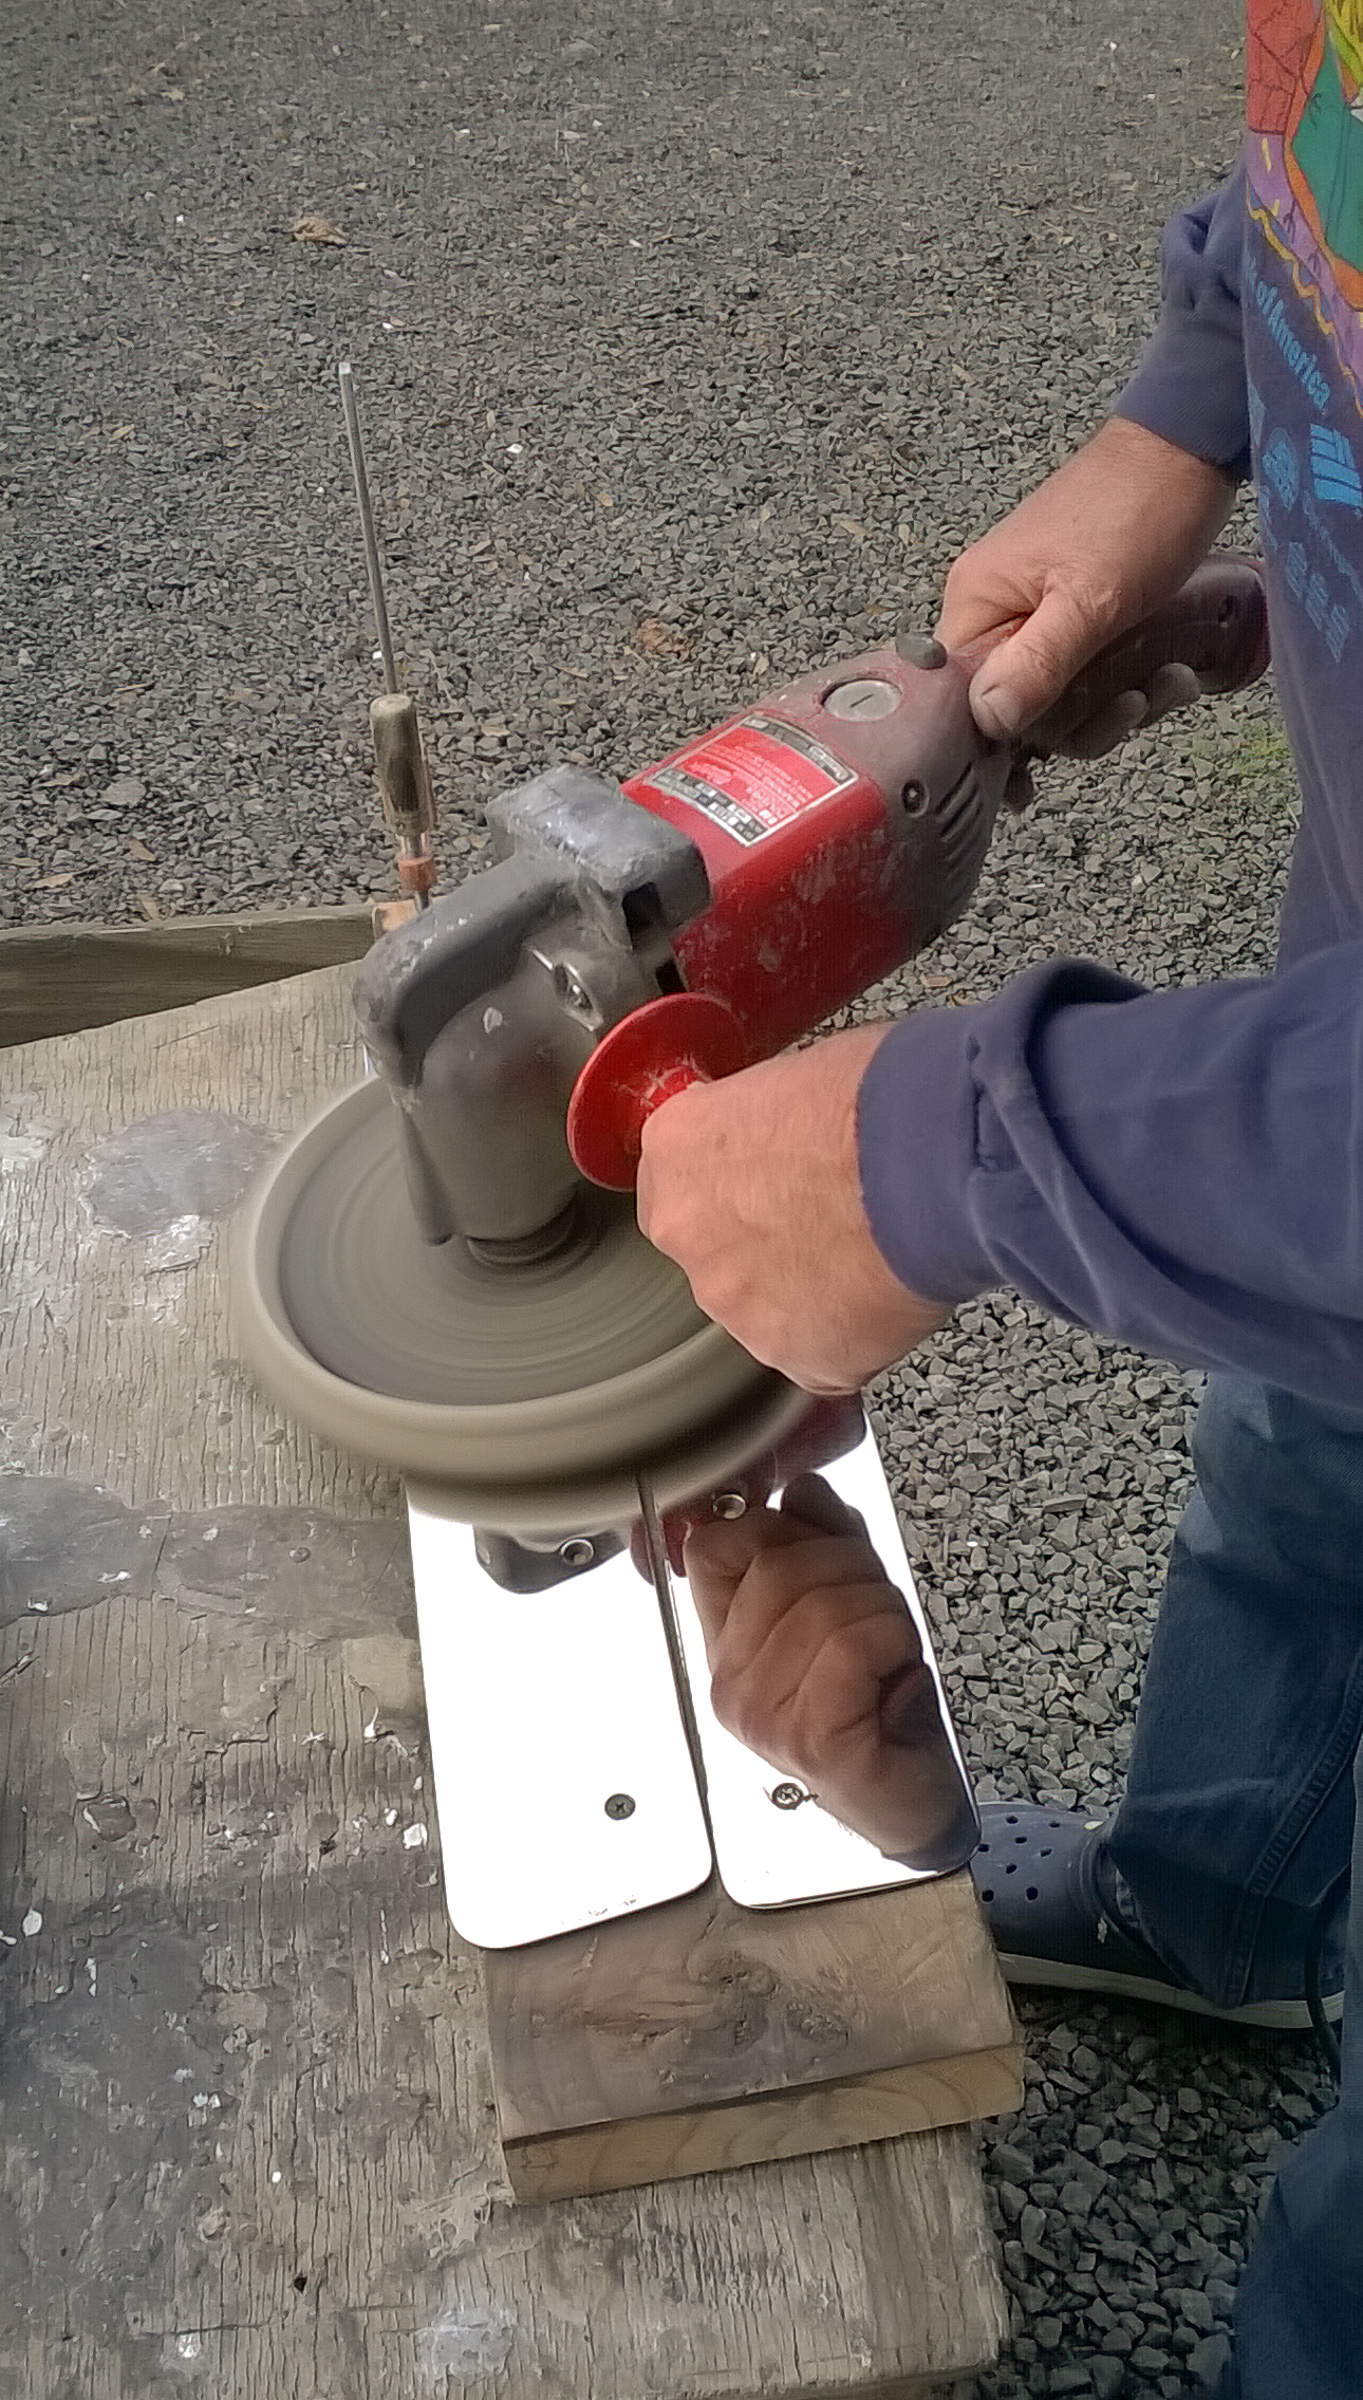
On Monday, we made a trip to Becker’s to do some stainless work. Nina made more rub rails and Bill worked on the rails for the companionway drop boards. Nina definitely had the easier job. All she had to do was cut the strips to length and shape and polish the ends. Bill had to round the corners, drill holes and countersink them and then polish. Getting stainless from rough to polished takes a lot of sandpaper and time, but it looks gorgeous once it’s done.
The first half of Sunday was taken up with a retirement celebration. It is telling when we find that retirement celebrations are a big item on our social calendars. The main problem is that it was not our retirement celebration. That is OK because Gypsy is not done yet and the day jobs are still a necessity. Much of the rest of Sunday was spent working on getting Gypsy ready for that glorious day. We epoxy coated the plywood parts that will form the port settee.
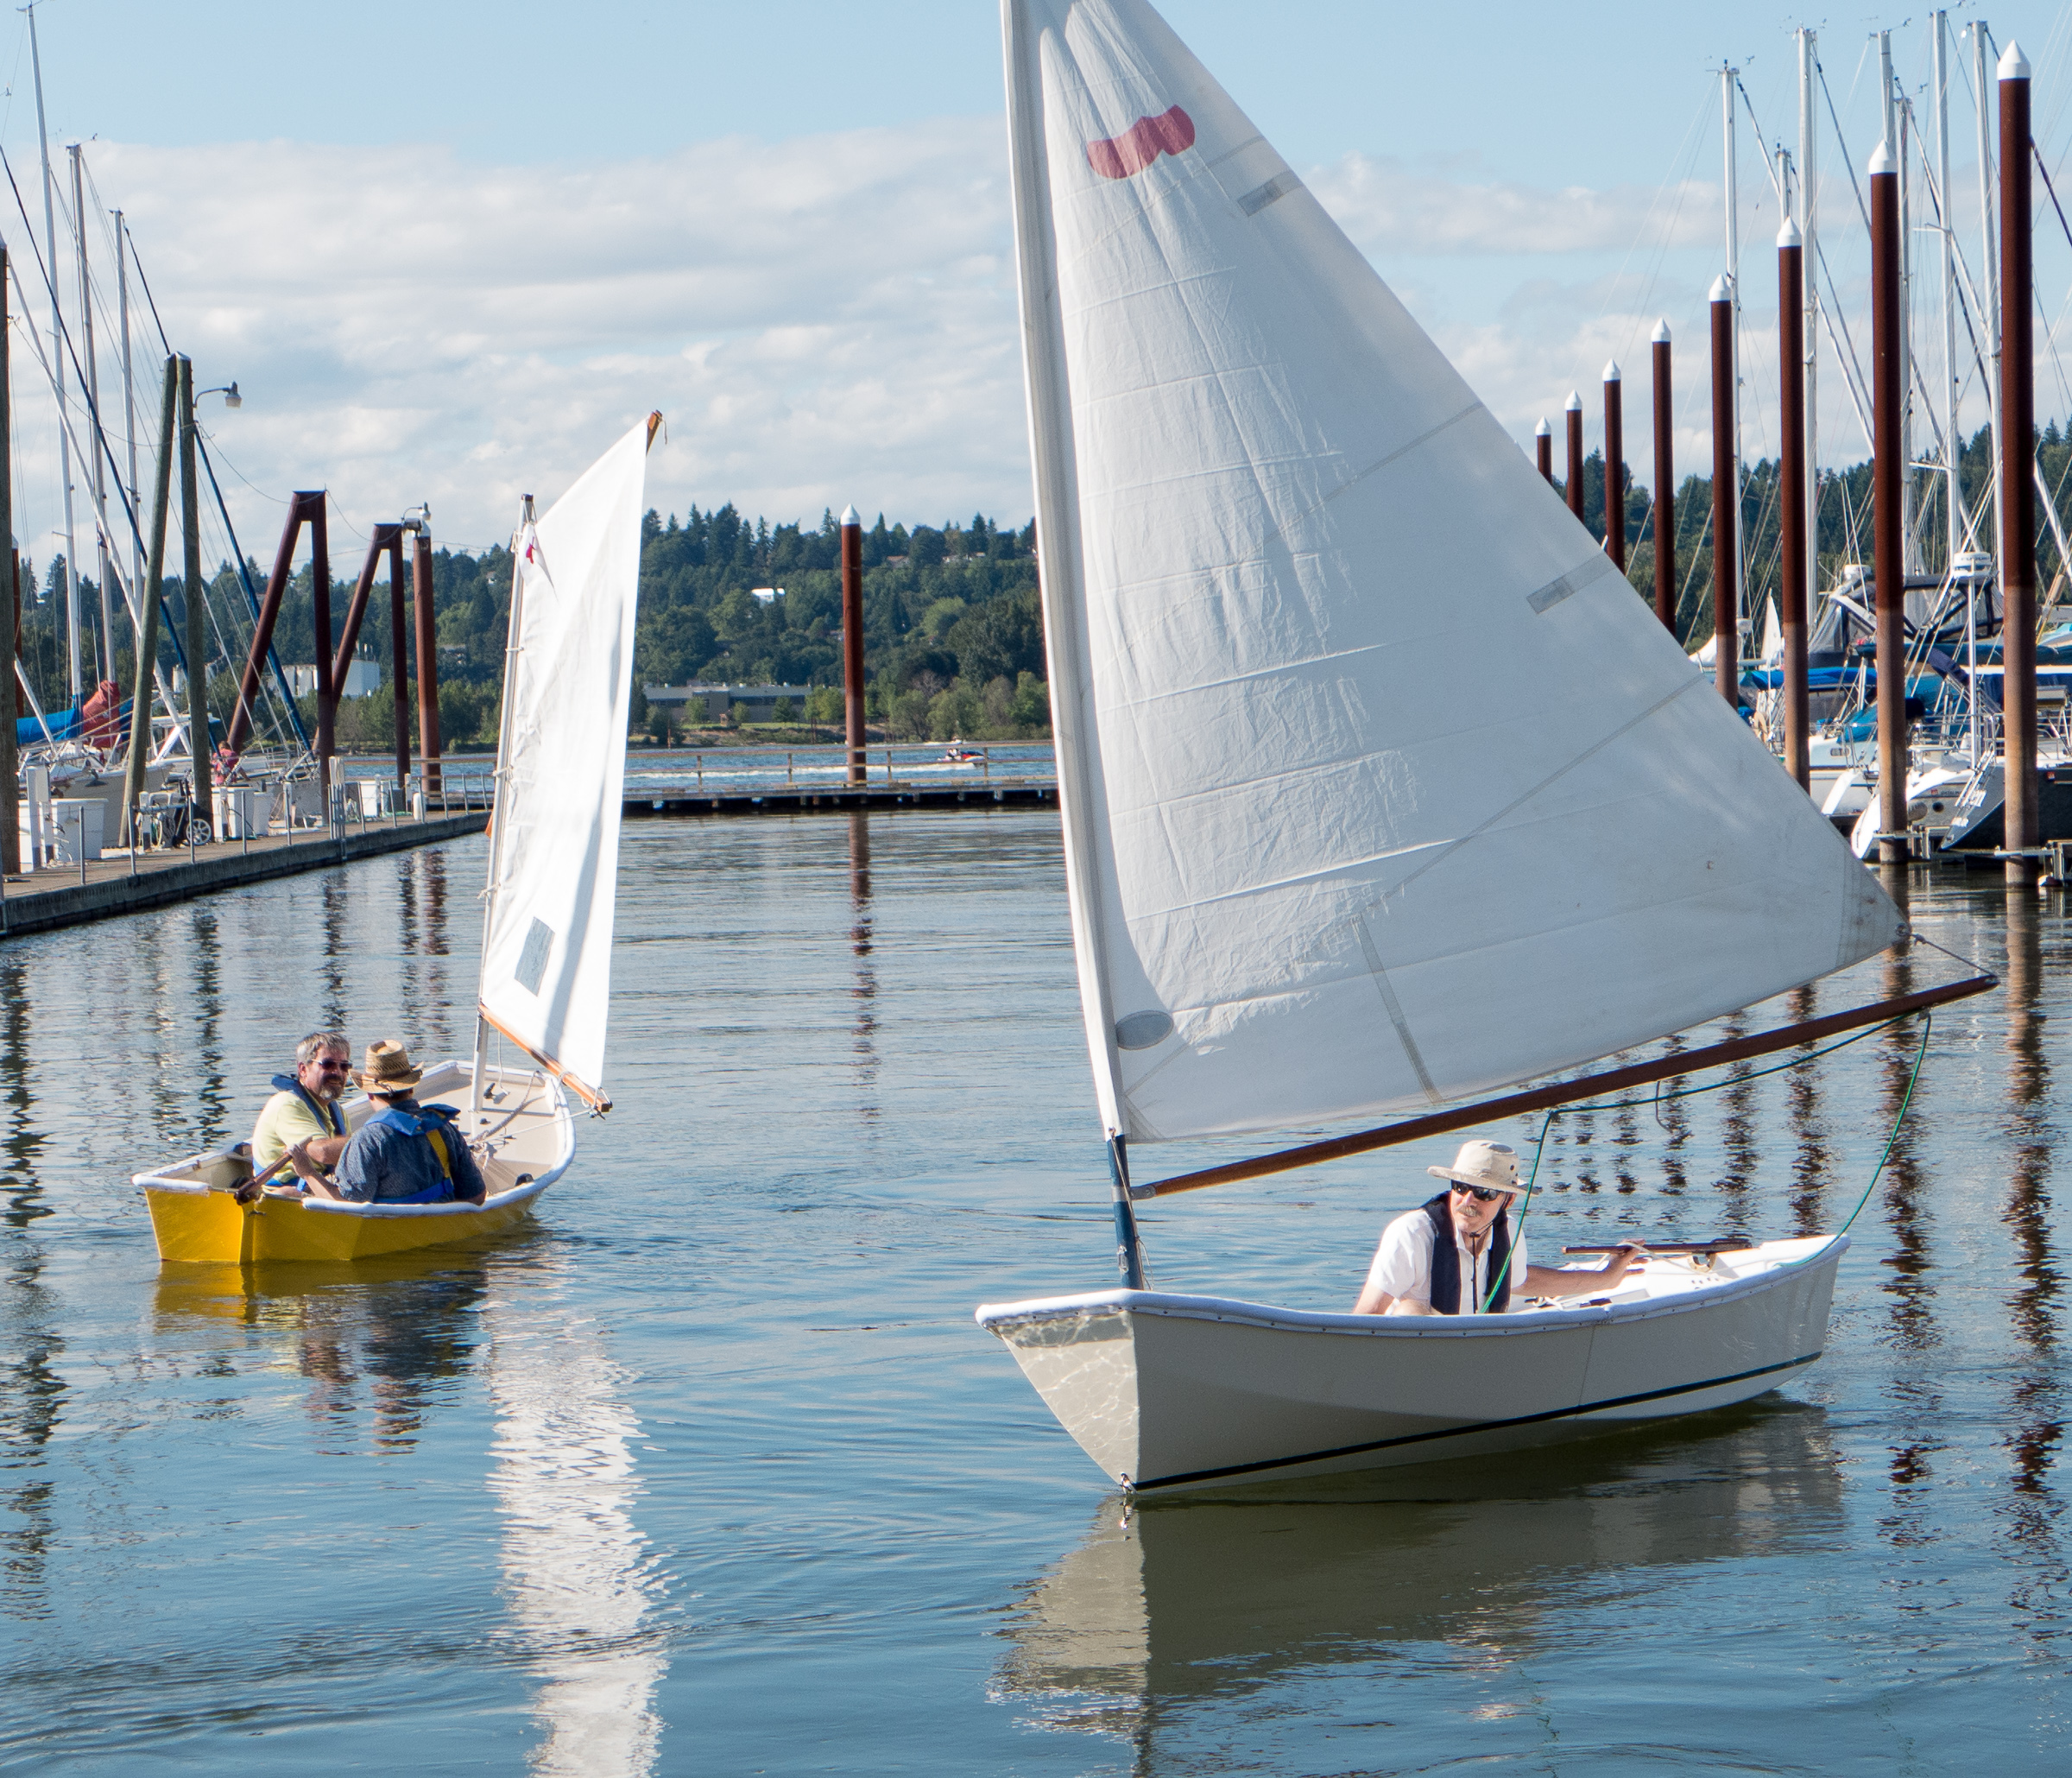
Vardo, Gypsy’s dinghy ready to assemble. These are not going to be part of the port settee.Two Chameleons. The cream colored one belongs to Velic and is on her way to the South Pacific.
Where do the dinghys come in? Bill had some System 3 epoxy left from when he made our Chameleon hard dinghy. It is a really cool two part dinghy that we can store on deck. So we used that to coat the wood. System 3 is fine except that it cures really slowly. On Monday morning some of the parts were still tacky. With cooler weather coming he decided to go back to using West epoxy. It always hardens overnight.
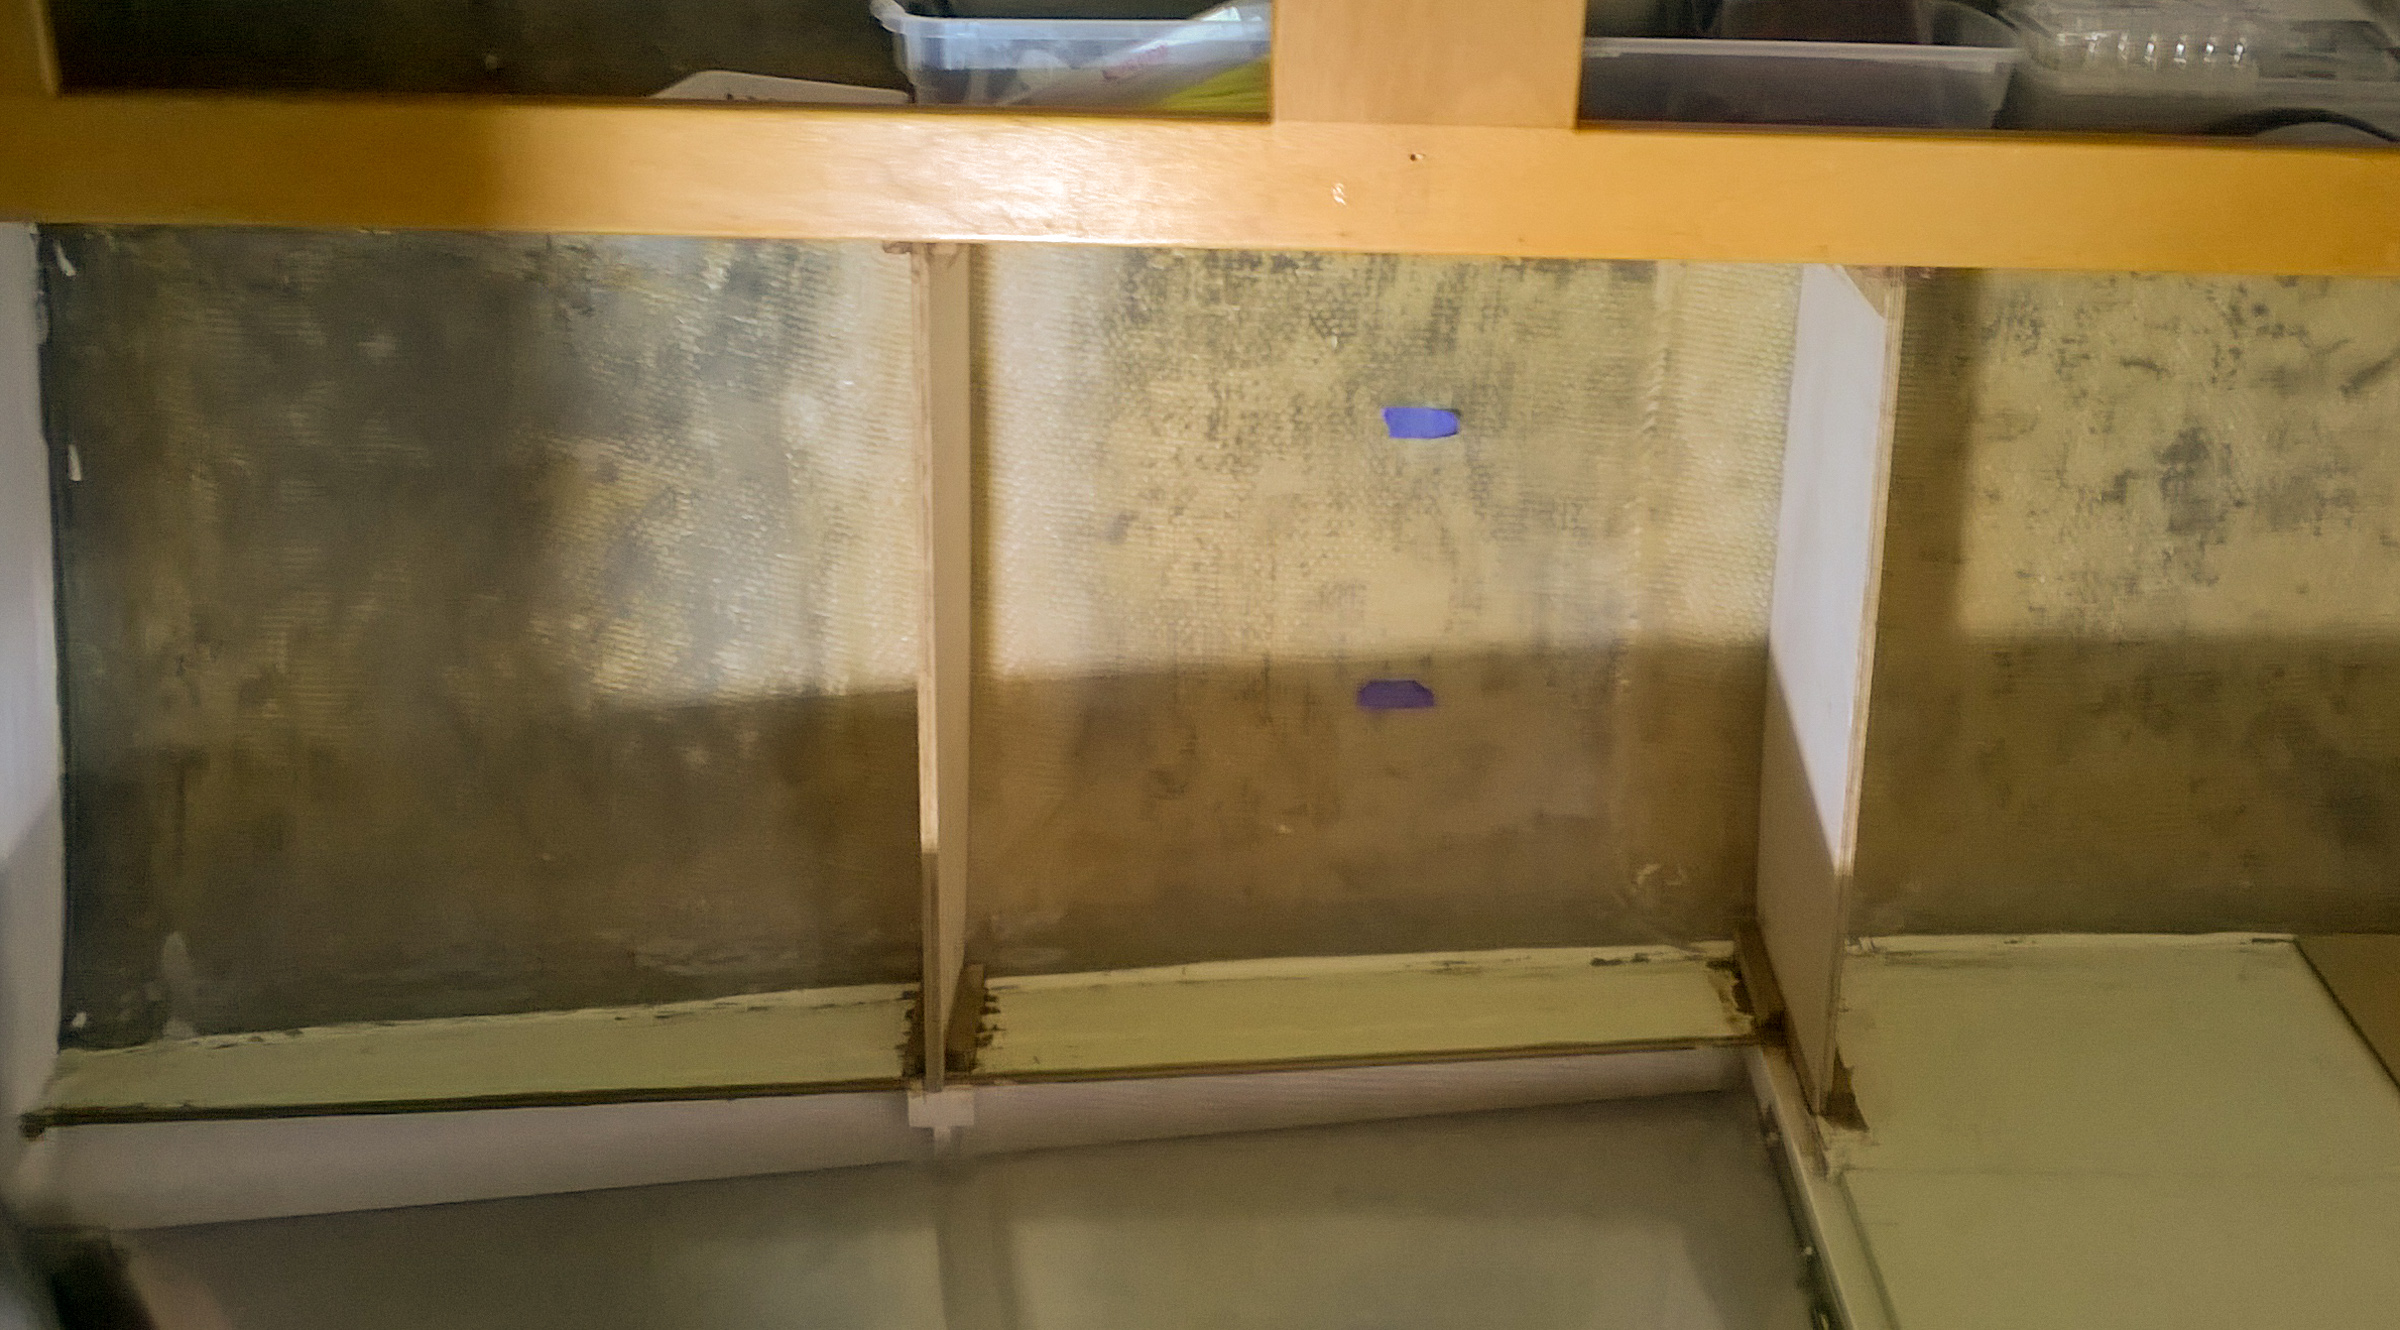
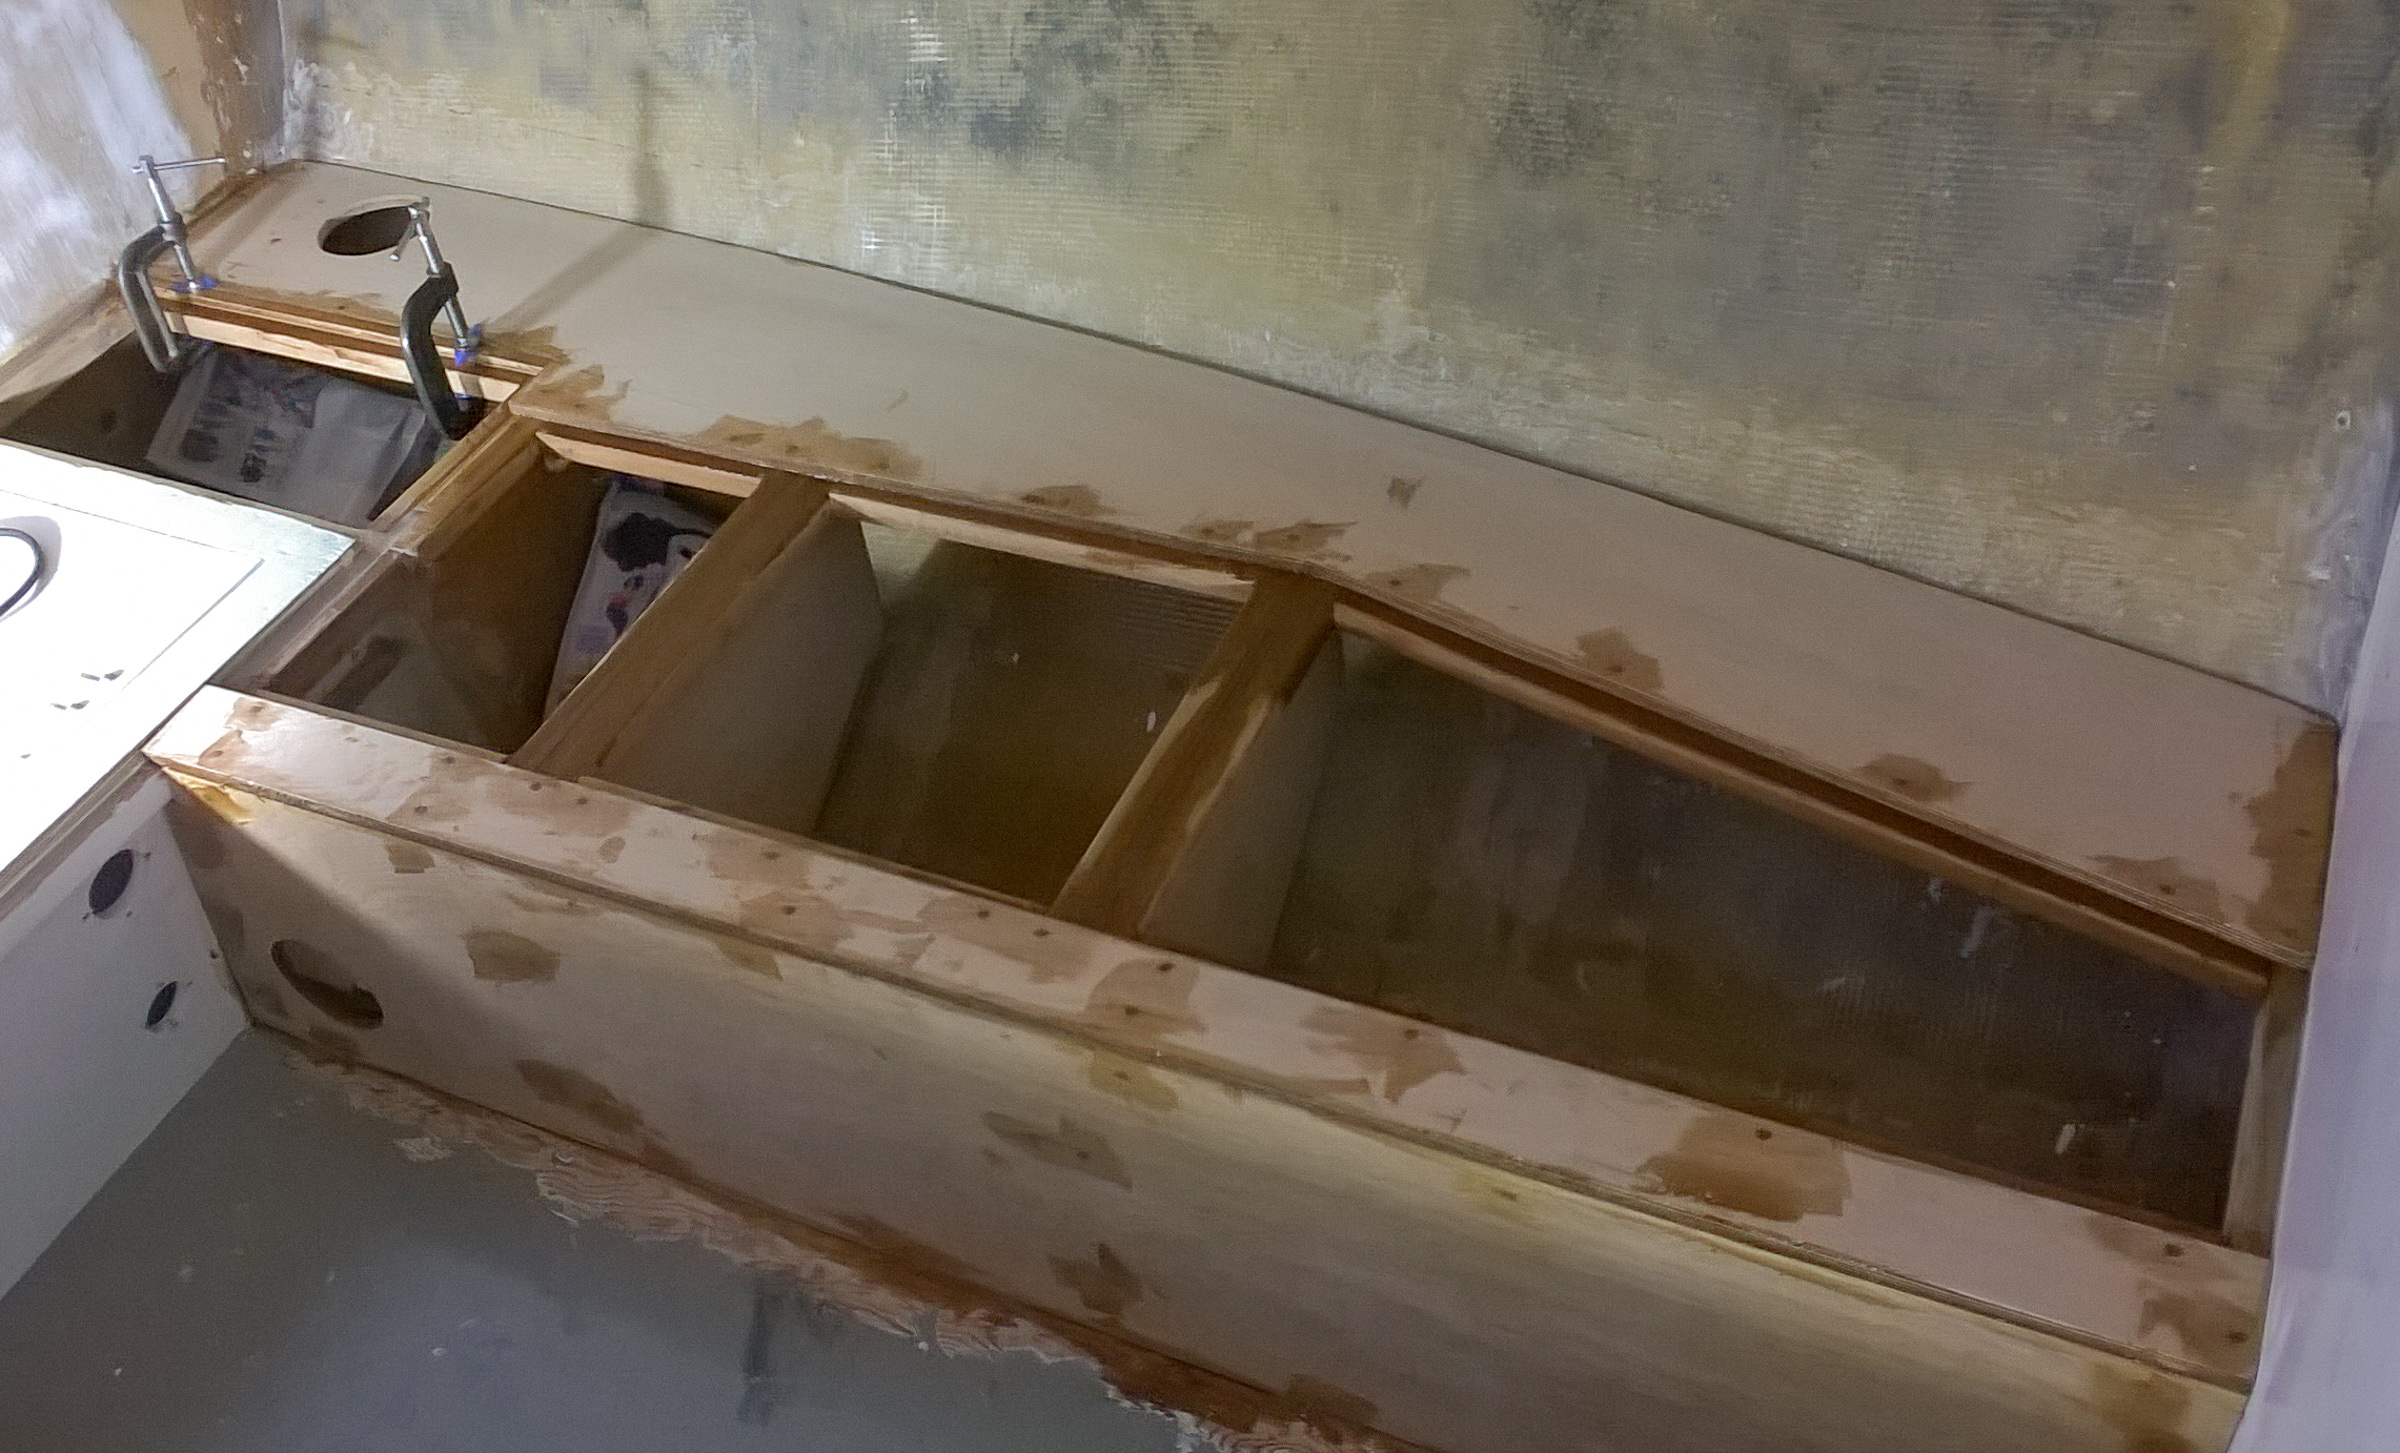
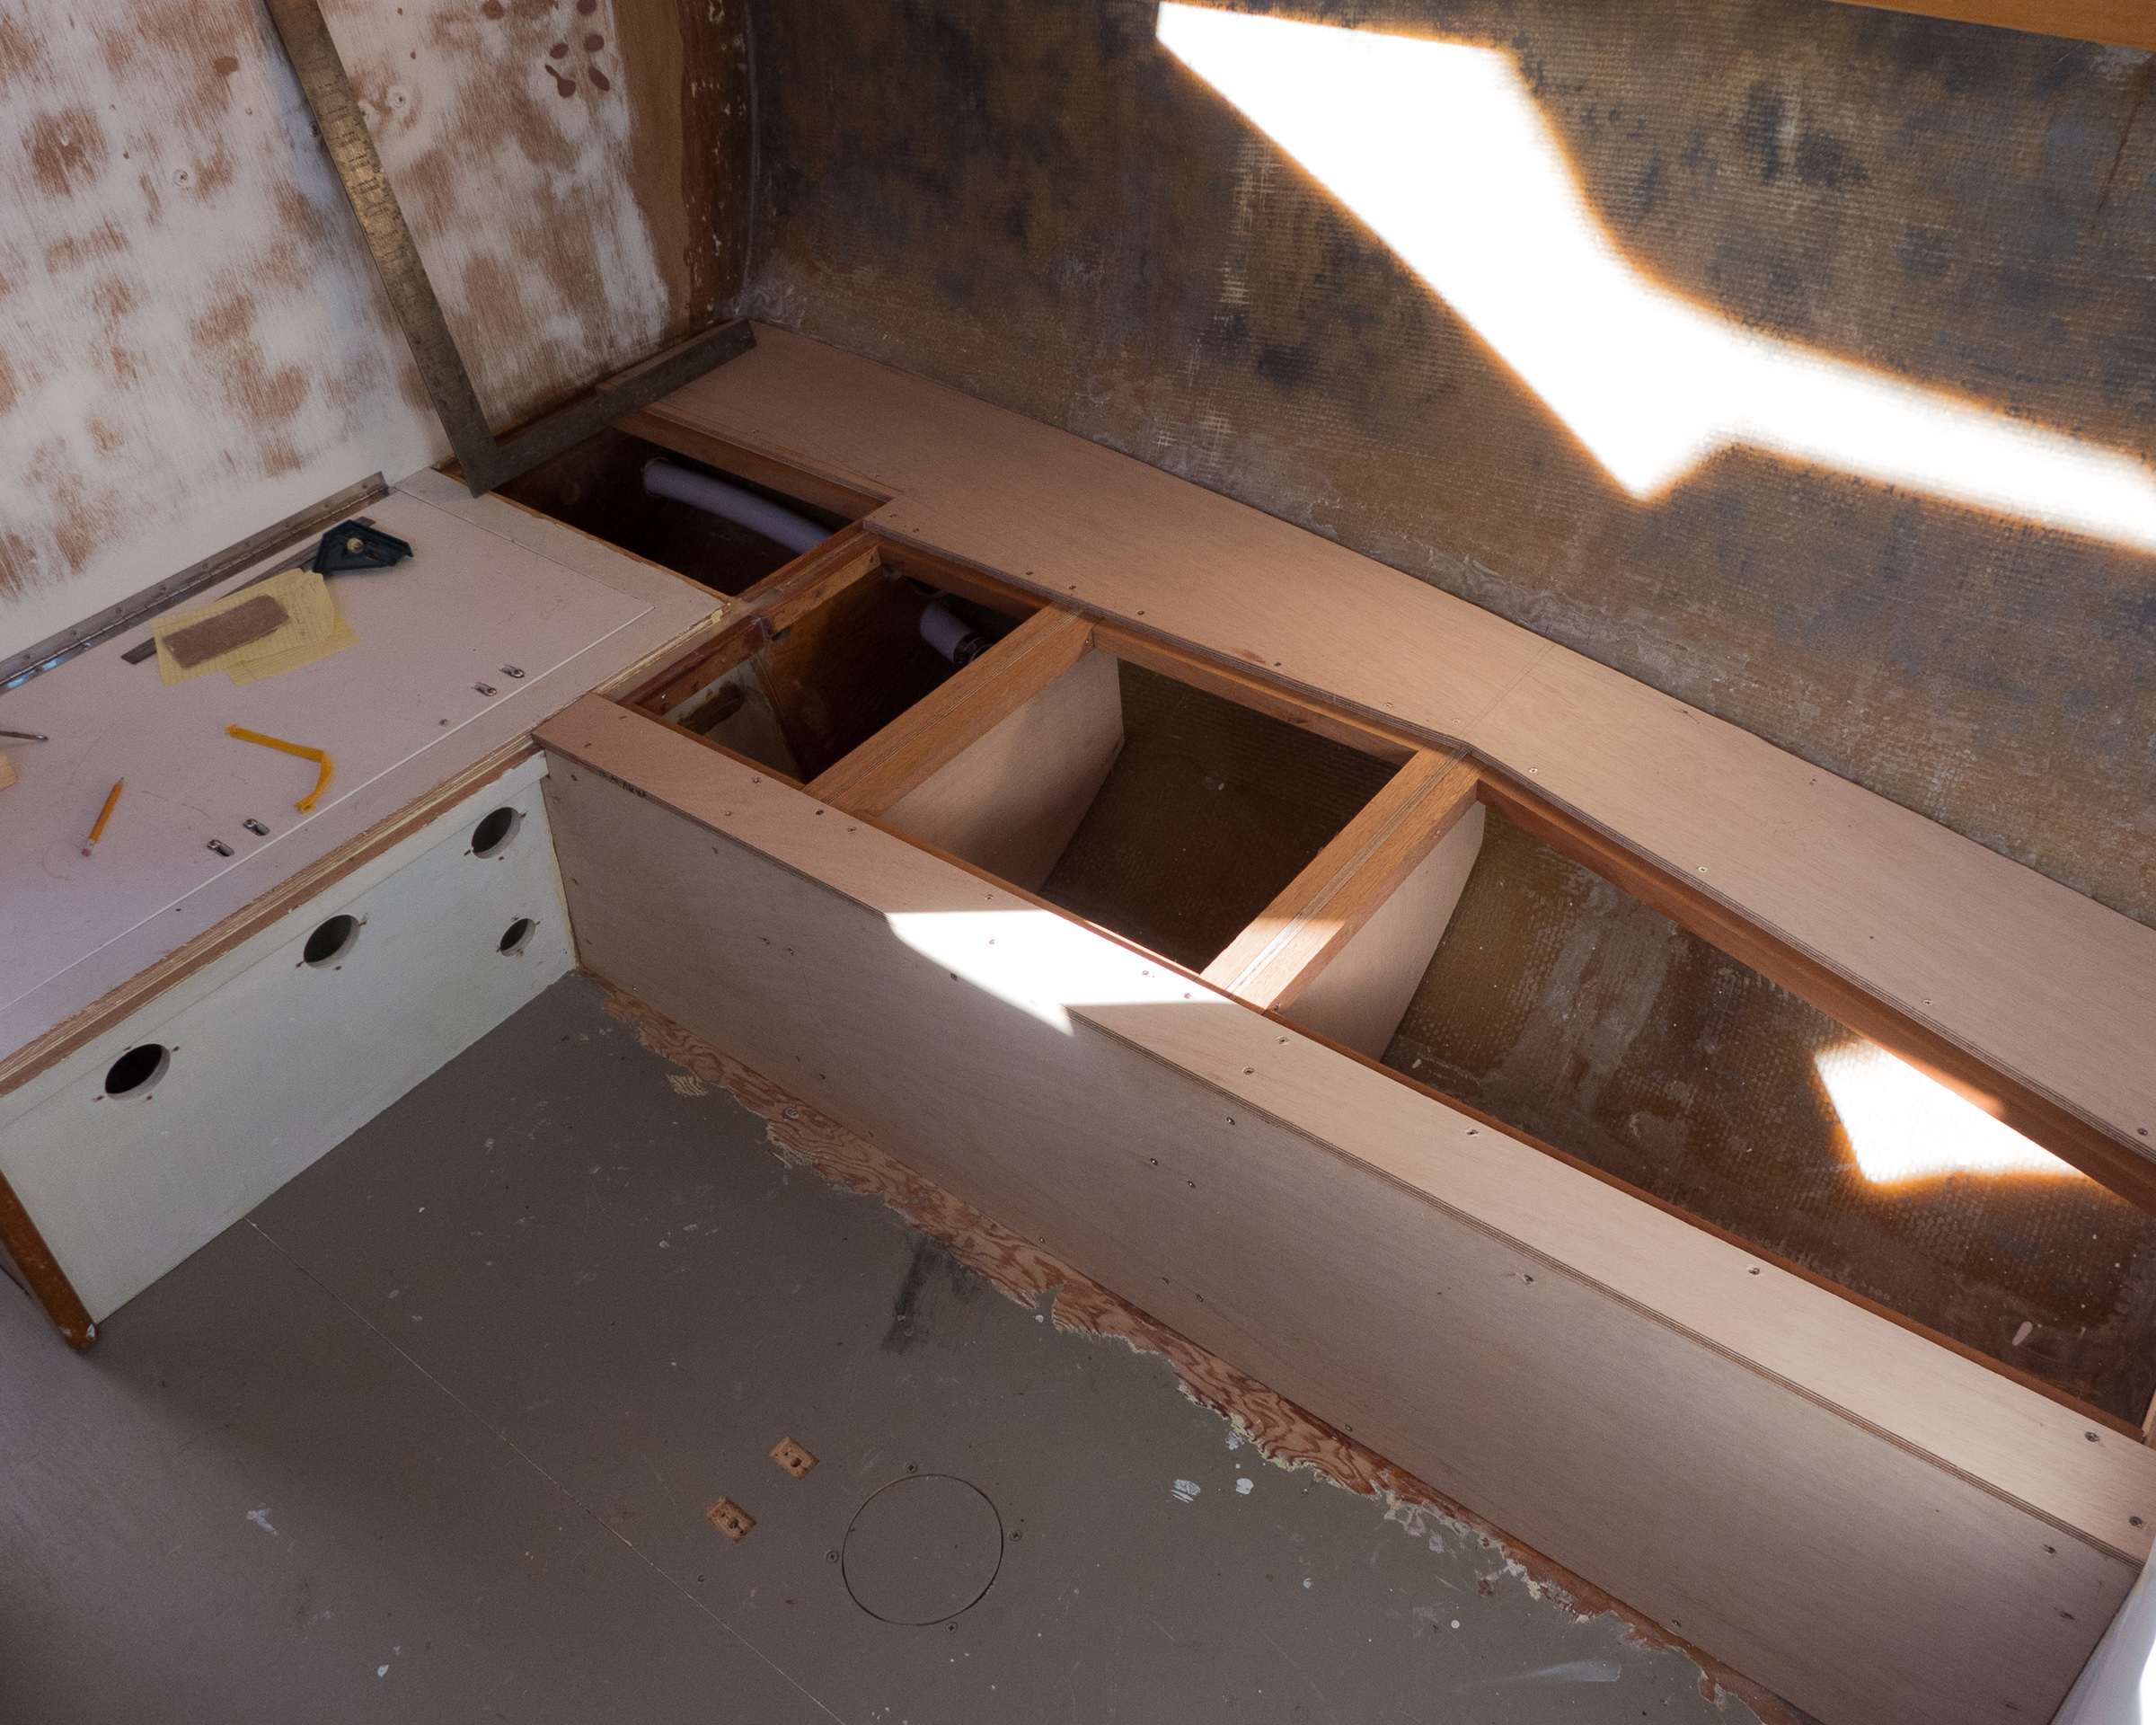
The rethinking part of the weekend involved the refrigerator. We were originally going to put it back where the dry pantry had been. This space, however had the disadvantage that it started out deep and narrow and got narrower the farther aft it went. Sometimes the simpler solutions are actually simpler. Put it back in the space it had been, but with more insulation. The dry pantry can go back where it was, slightly smaller, but without all the fiddly shelves. Bill’s Monday morning project (while Nina was off knitting) was to make a mock up of the new icebox out of cardboard. Insulating a boat fridge is no simple thing. Ideally you want six inches of insulation under it, with four inches on all sides, including the hull side, which curves in two directions (toward the after end of the boat and downward toward the keel). The cardboard model gave us an idea of how it would fit in the space so we could figure out if it would allow us to put enough insulation around it. The old refrigerator was an energy hog so efficiency is a top priority. The card board box looks like it will work with a couple of minor adjustments.
That’s where the refrigerator will go – on the right side, toward the green tape.
We had errands to run to do stuff like shop for groceries, so late afternoon found Bill fitting our templates for hatch board sliders. Gypsy has doors for the companionway hatch, the main entry to the cabin. Doors are fine for inshore sailing, but they are not safe offshore, no matter how red they are. At sea, you want nice strong wave resistant hatch boards. The masonite templates finally fit the way we wanted them, so now we can head back up to Becker’s to make them out of stainless steel and get them shiny. Nina’s project there will be more rub strips so the dock lines do not rub through our new paint.
Retooling involved replacing our dying battery powered drill with an electric drill. This will also have the advantage that it’s a poor-man’s stand in for a Makita grinder. Nina discovered that an orbital sander does not have enough umph for grinding down old fiberglass resin. We got a sander attachment so that she can sand where we will be tabbing in the port settee.
Our other new tool is a Sailrite sewing machine. This means that Nina will seriously have to figure out the whole interior color thing so she can get going on making new cushions for the cabin. We’ll need new seat cushions as well as new backrest cushions. And then there’s throw pillows, curtains, and where does it end? This will clearly involve more thought than “it was on sale and it has a nautical theme.”
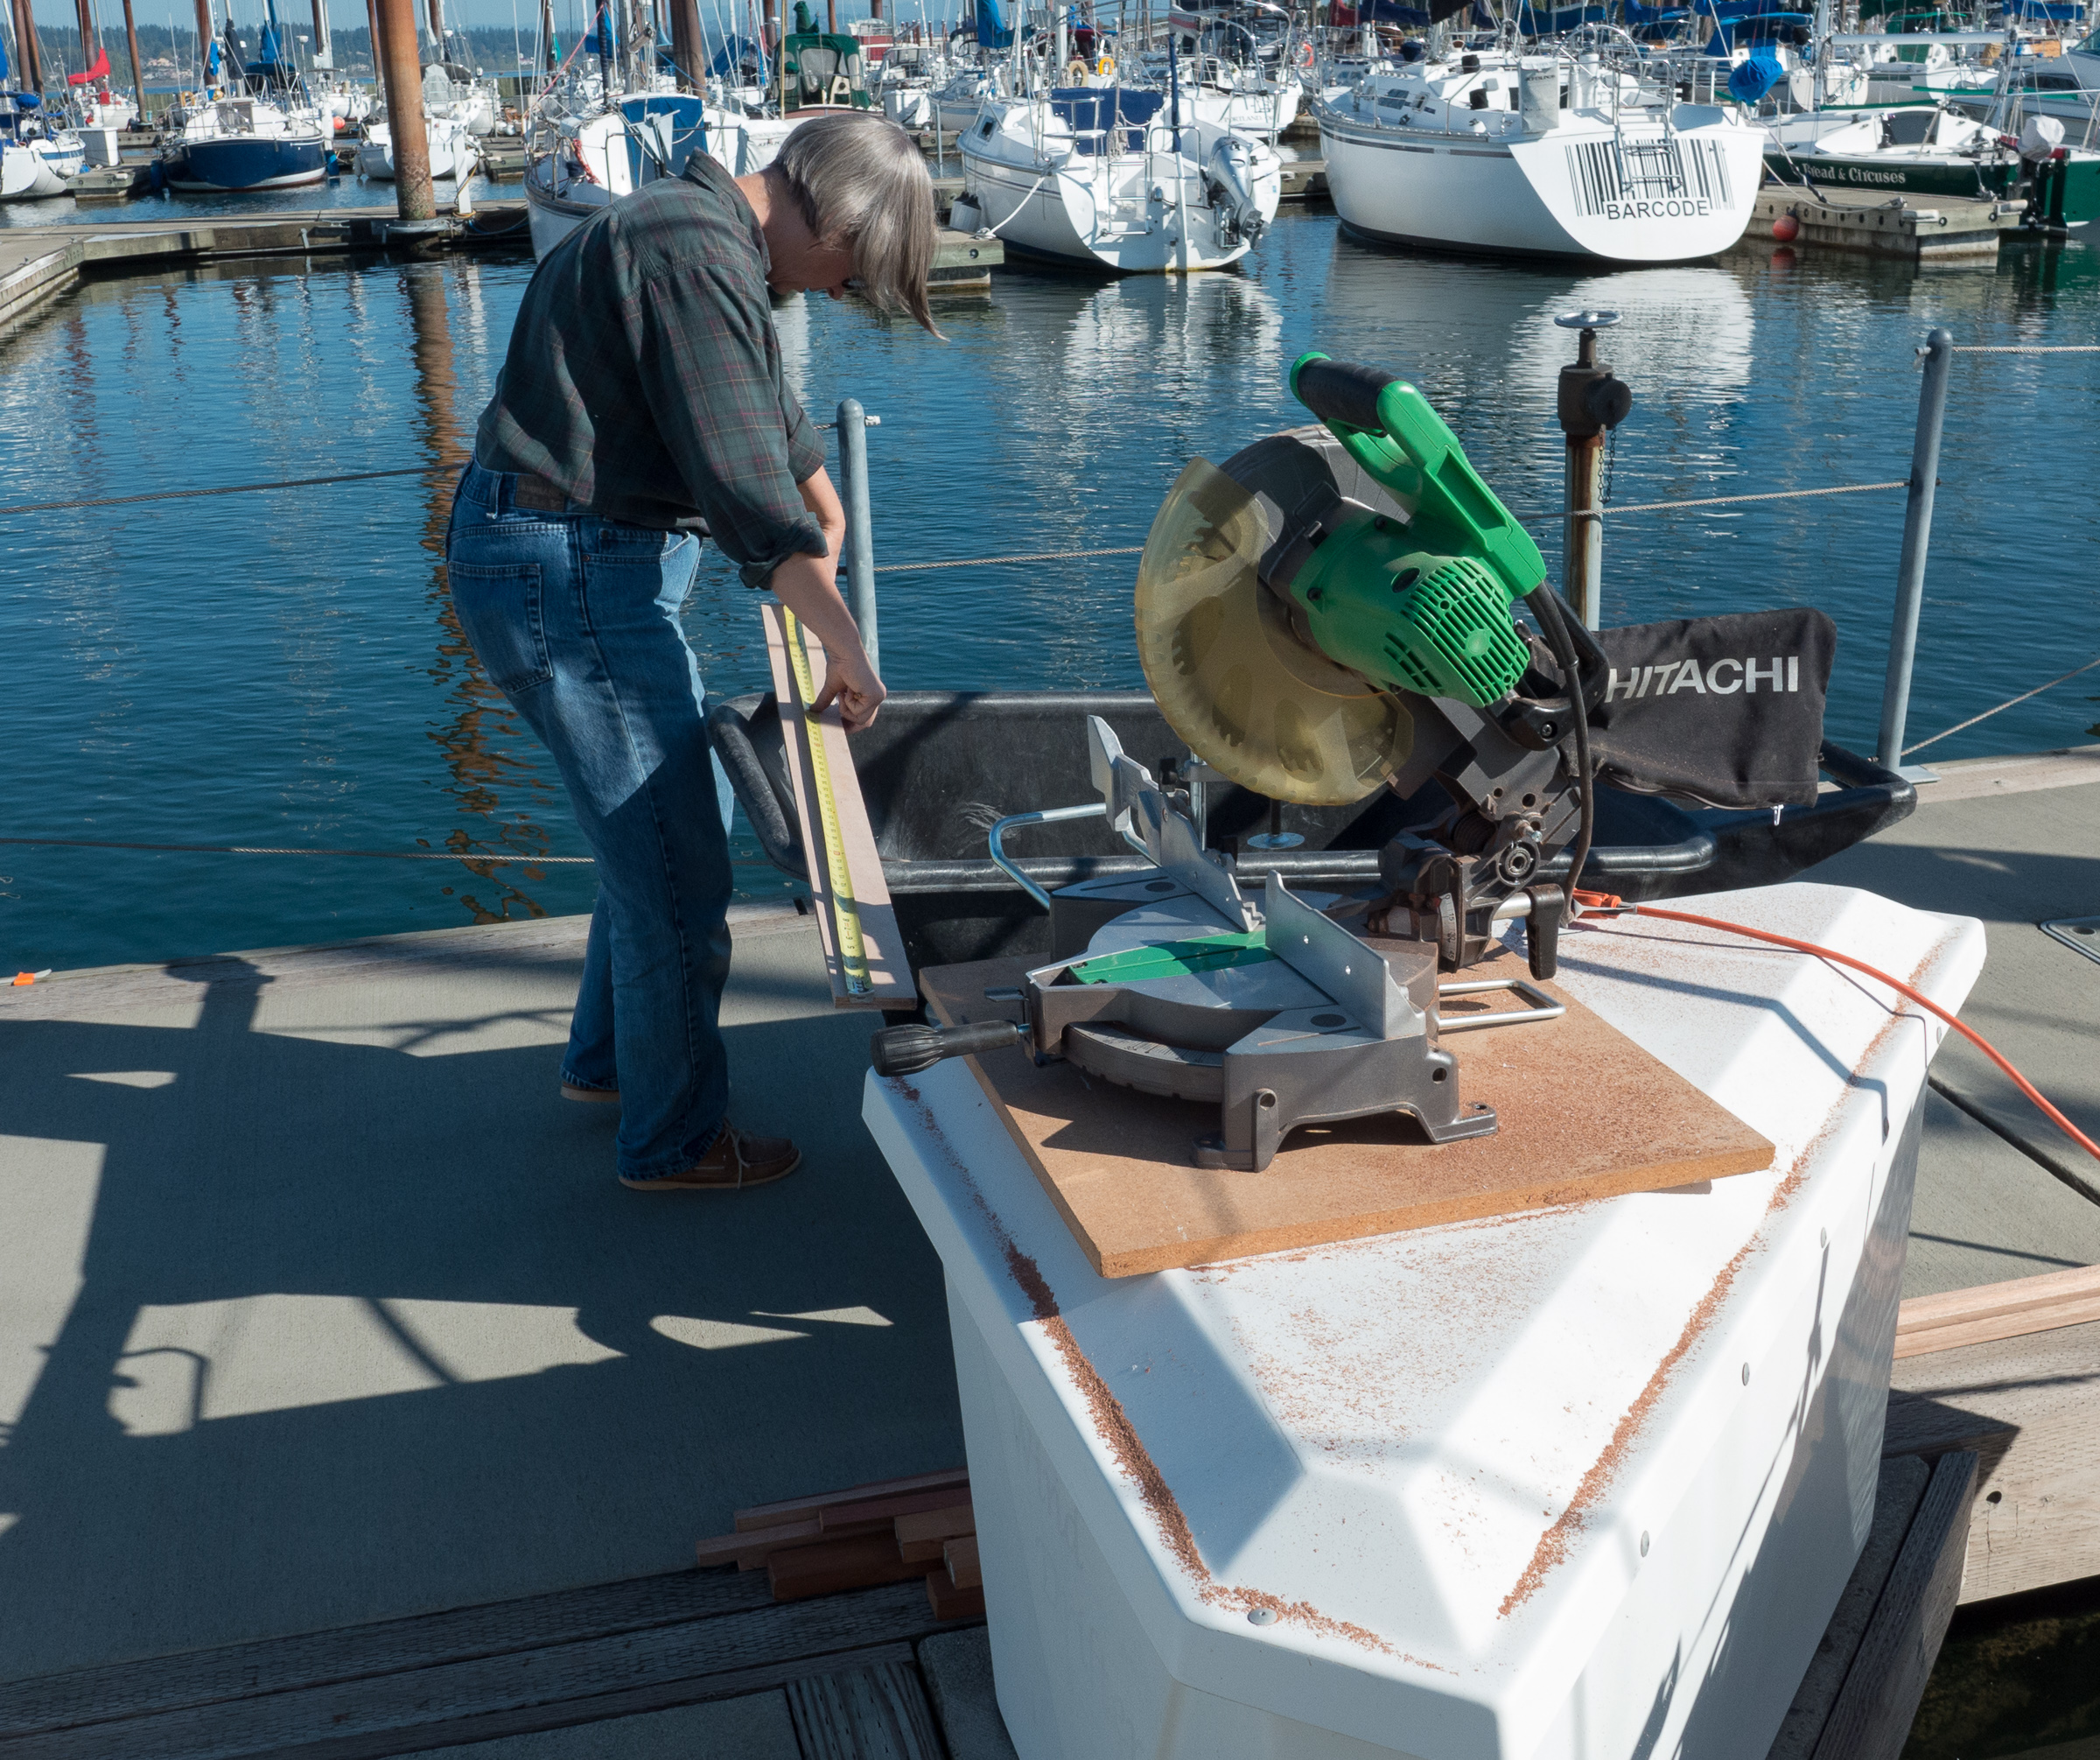
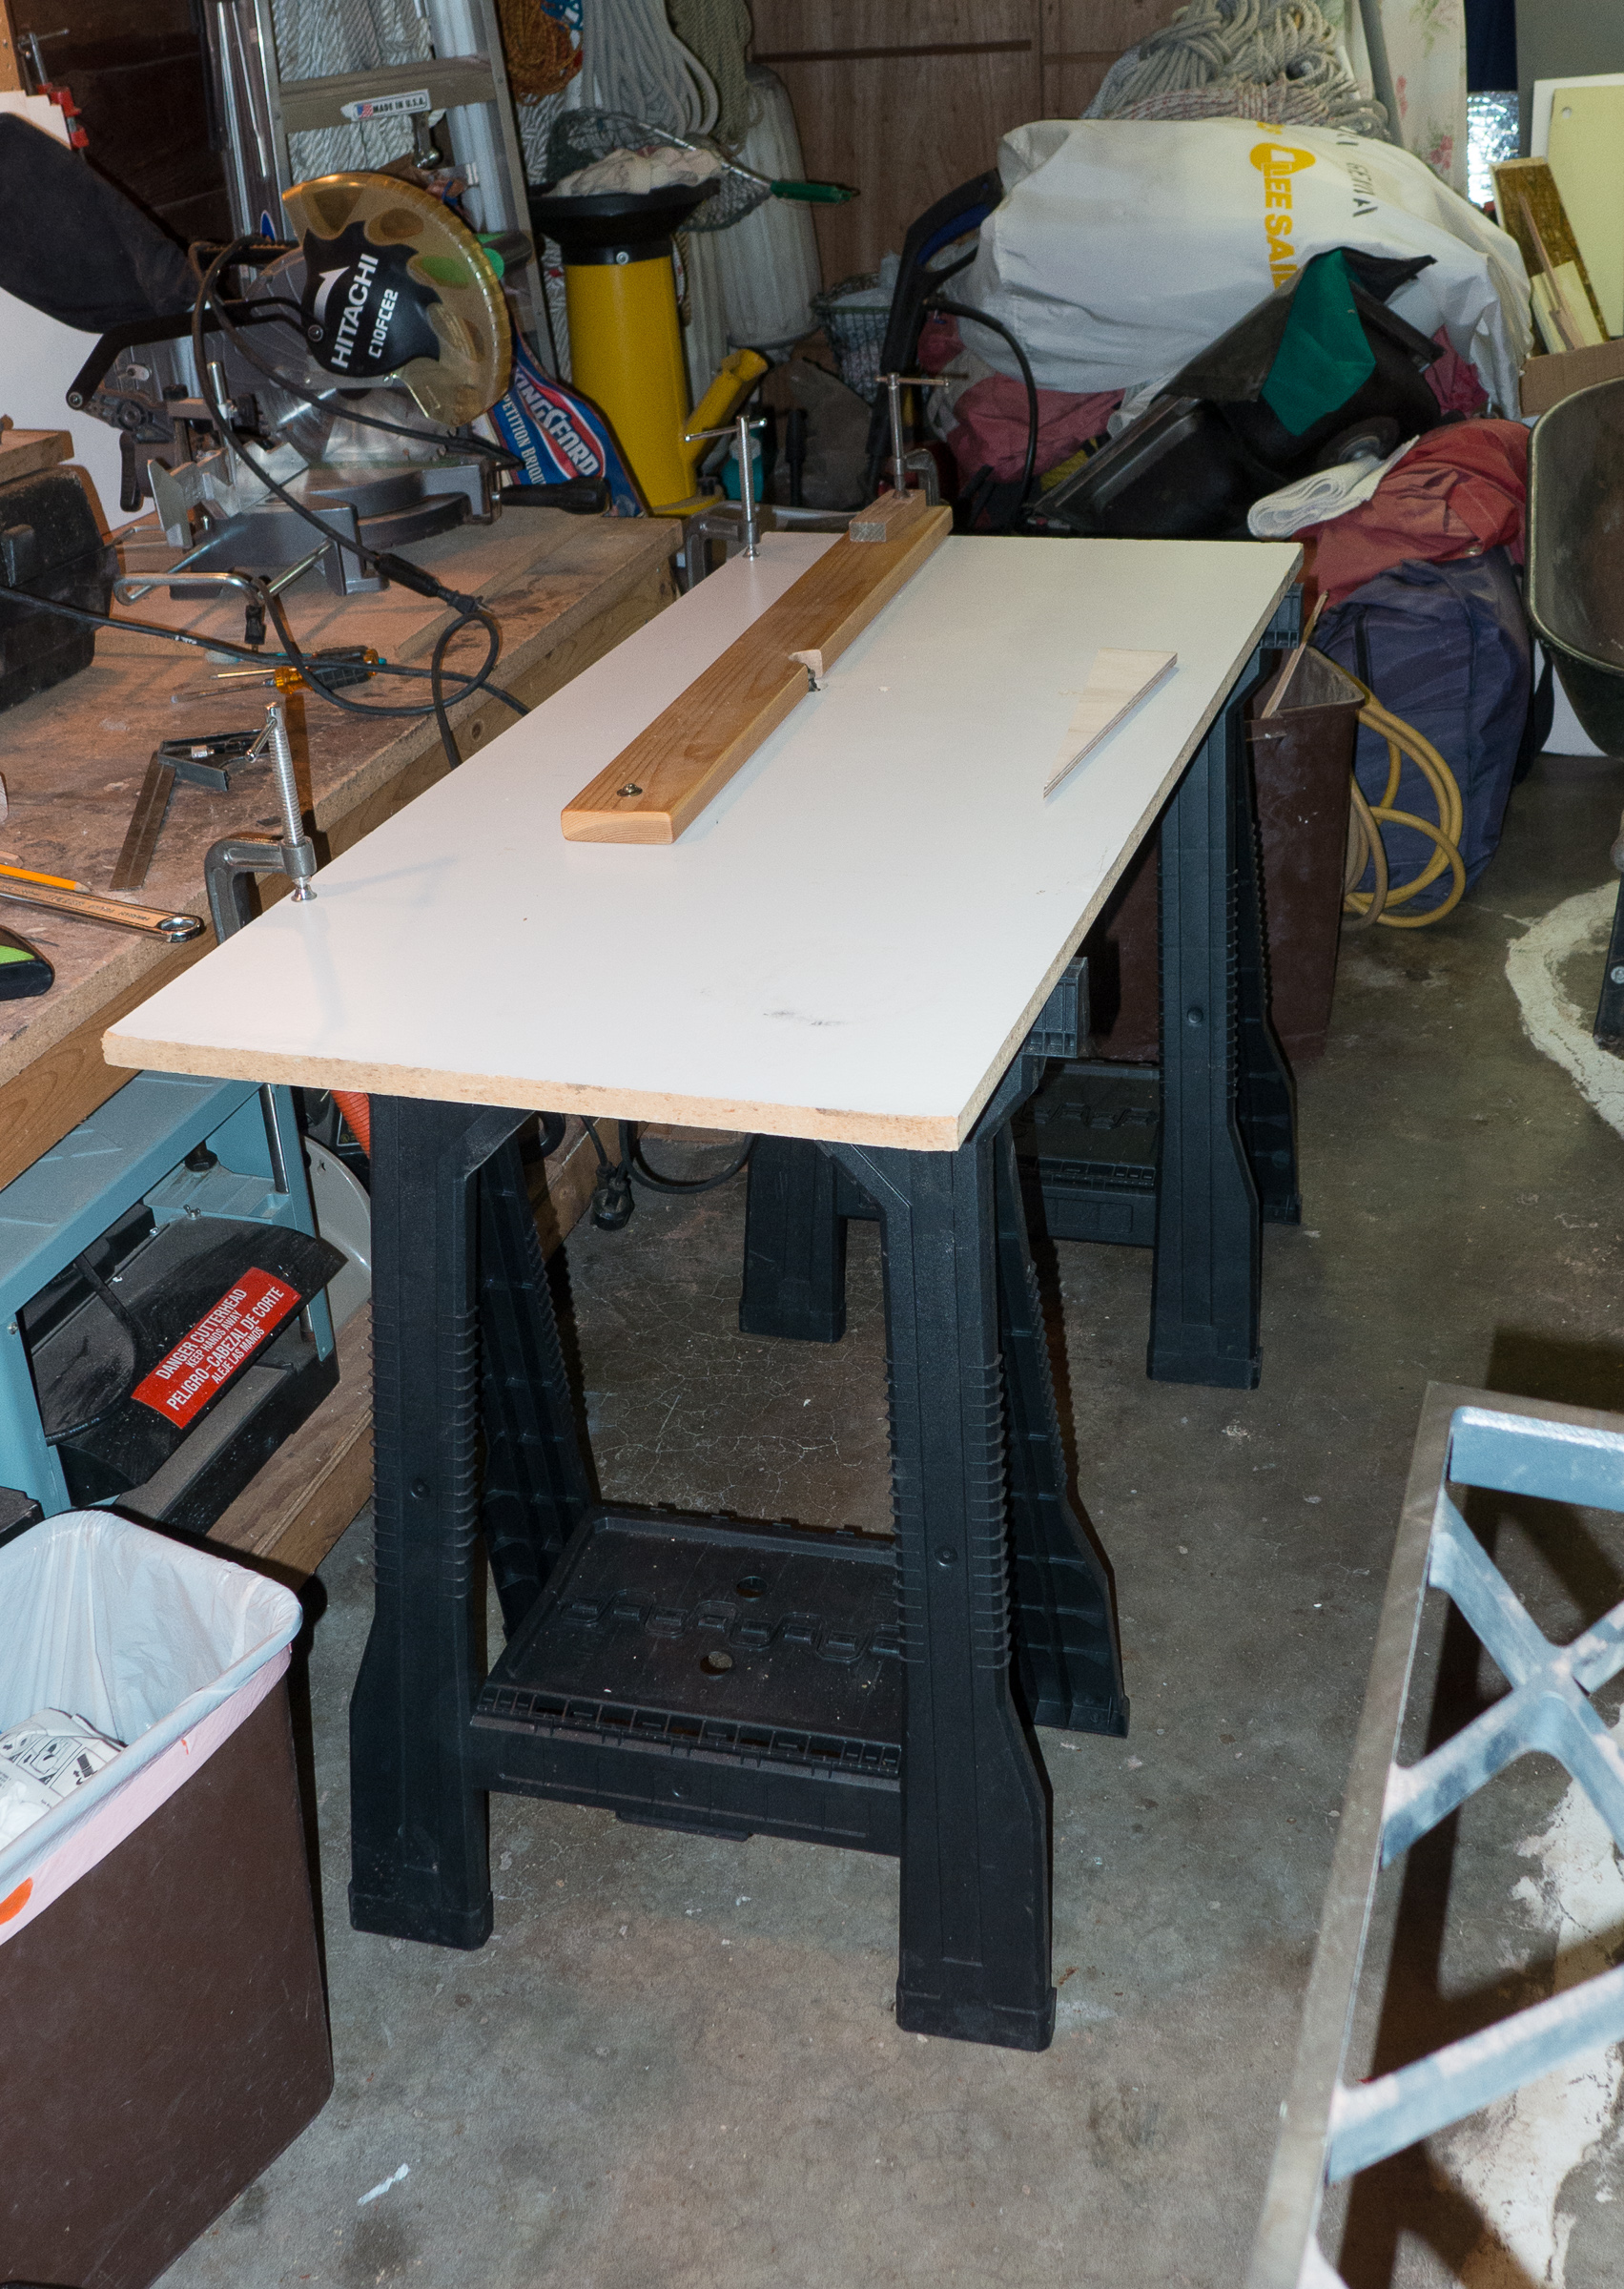
Back a couple weeks ago you saw us making templates for the settees. Sunday morning we used the templates to cut out the plywood parts for the port and starboard settees. We also milled mahogany lumber into cleat stock for the settees. Sunday afternoon we took all of the wood down to Gypsy and started fitting it into place. We had to trim the plywood to fit since the templates were not perfect, and we cut the cleat stock to connect it all together.
Trimming the plywood to fit. You make do for a work bench.Wheel barrows and dock boxes can be work benches too.Does it line up?Then you drill lots of holes and screw every thing together.The assembled settee.
After all that work we had a nice strong settee for the port side. It will have much better storage than the old port settee. We then took it all apart and hauled the parts home. Now we need to sand and round all the parts. Once that is done we can coat them with epoxy.
We needed a router table so we made one out of spare parts.These are all of the parts for the port settee. Cleat edges have been rounded over with the router. Now they all need to get sanded and coated with epoxy. And back together it will go!
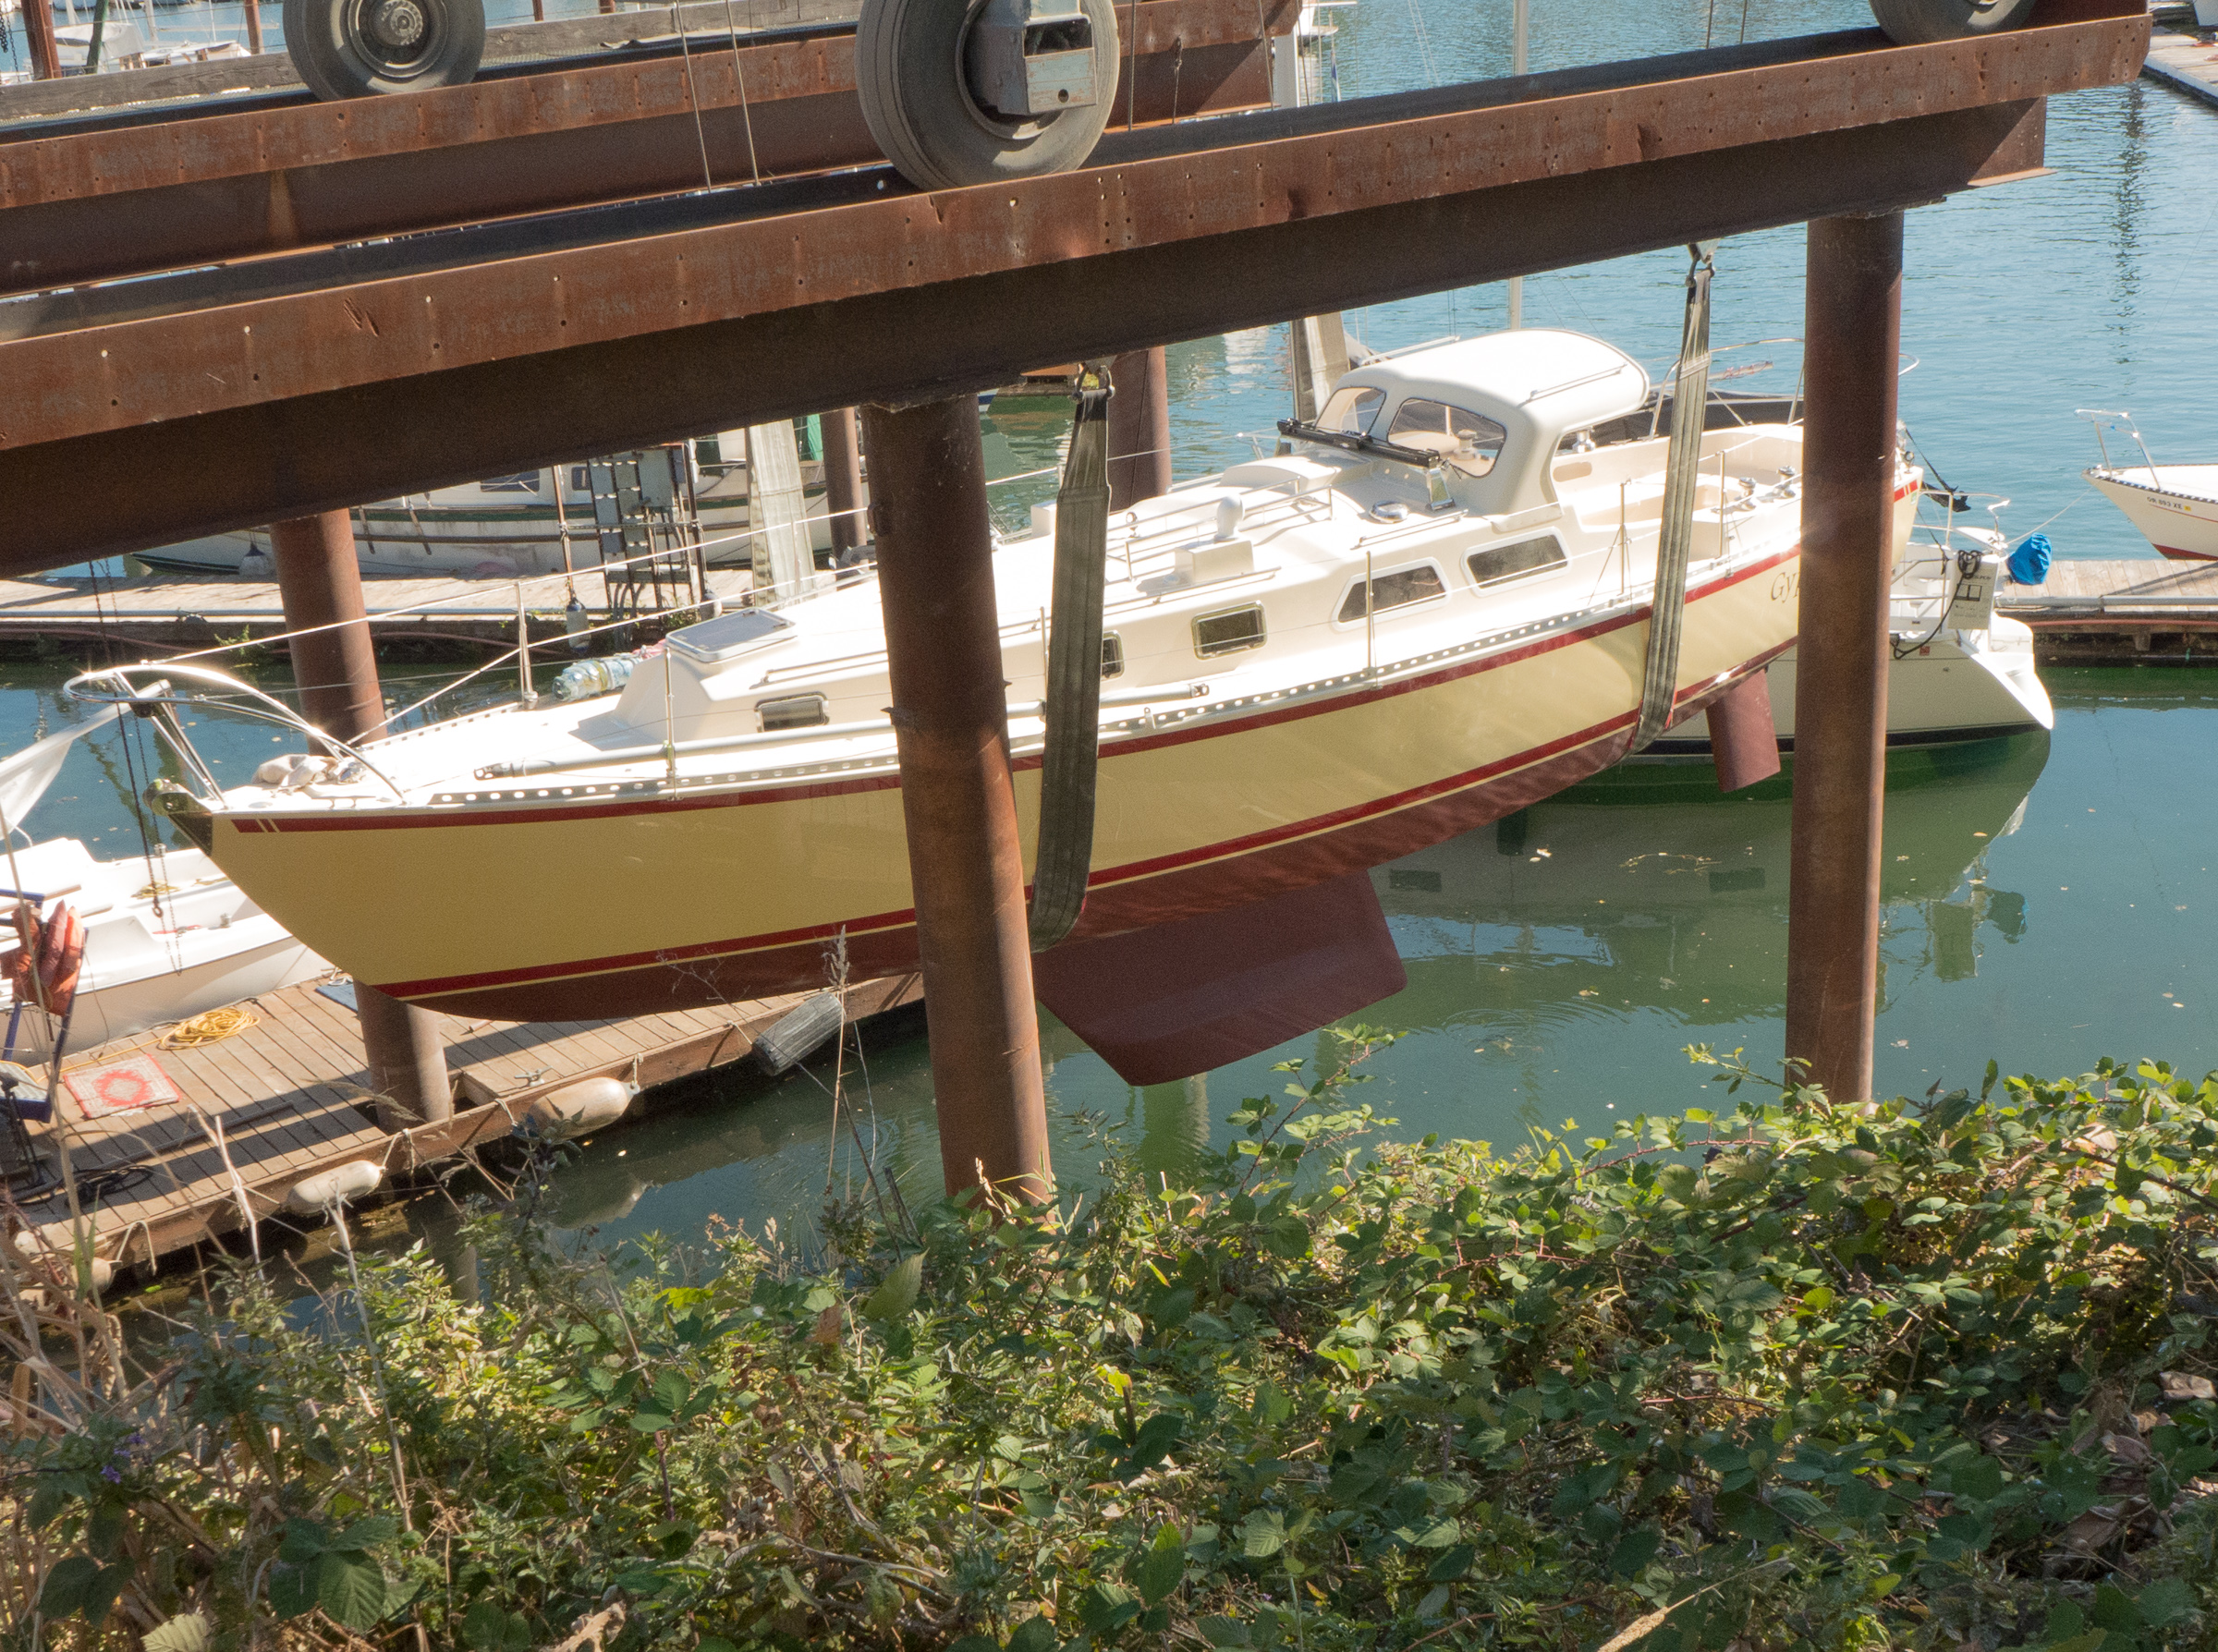
It was a quietly intense weekend, if you count a party as quiet. Thank yous are in order to a number of folks: Country Girl for lending us their slip for the weekend, and to everyone who came to celebrate with us Gypsy’s transformation! The weekend was not without a moment of drama, though – she is a boat, after all.
Washed and cleaned, Gypsy headed out into the Columbia River just long enough to let Nina move all the fenders from the port side to the starboard. We headed into our temporary party slip only to discover, on arrival, that the alternator bolt had sheared and that the alternator was now flailing around. Not good, but we made it into the slip with no other visible damage.
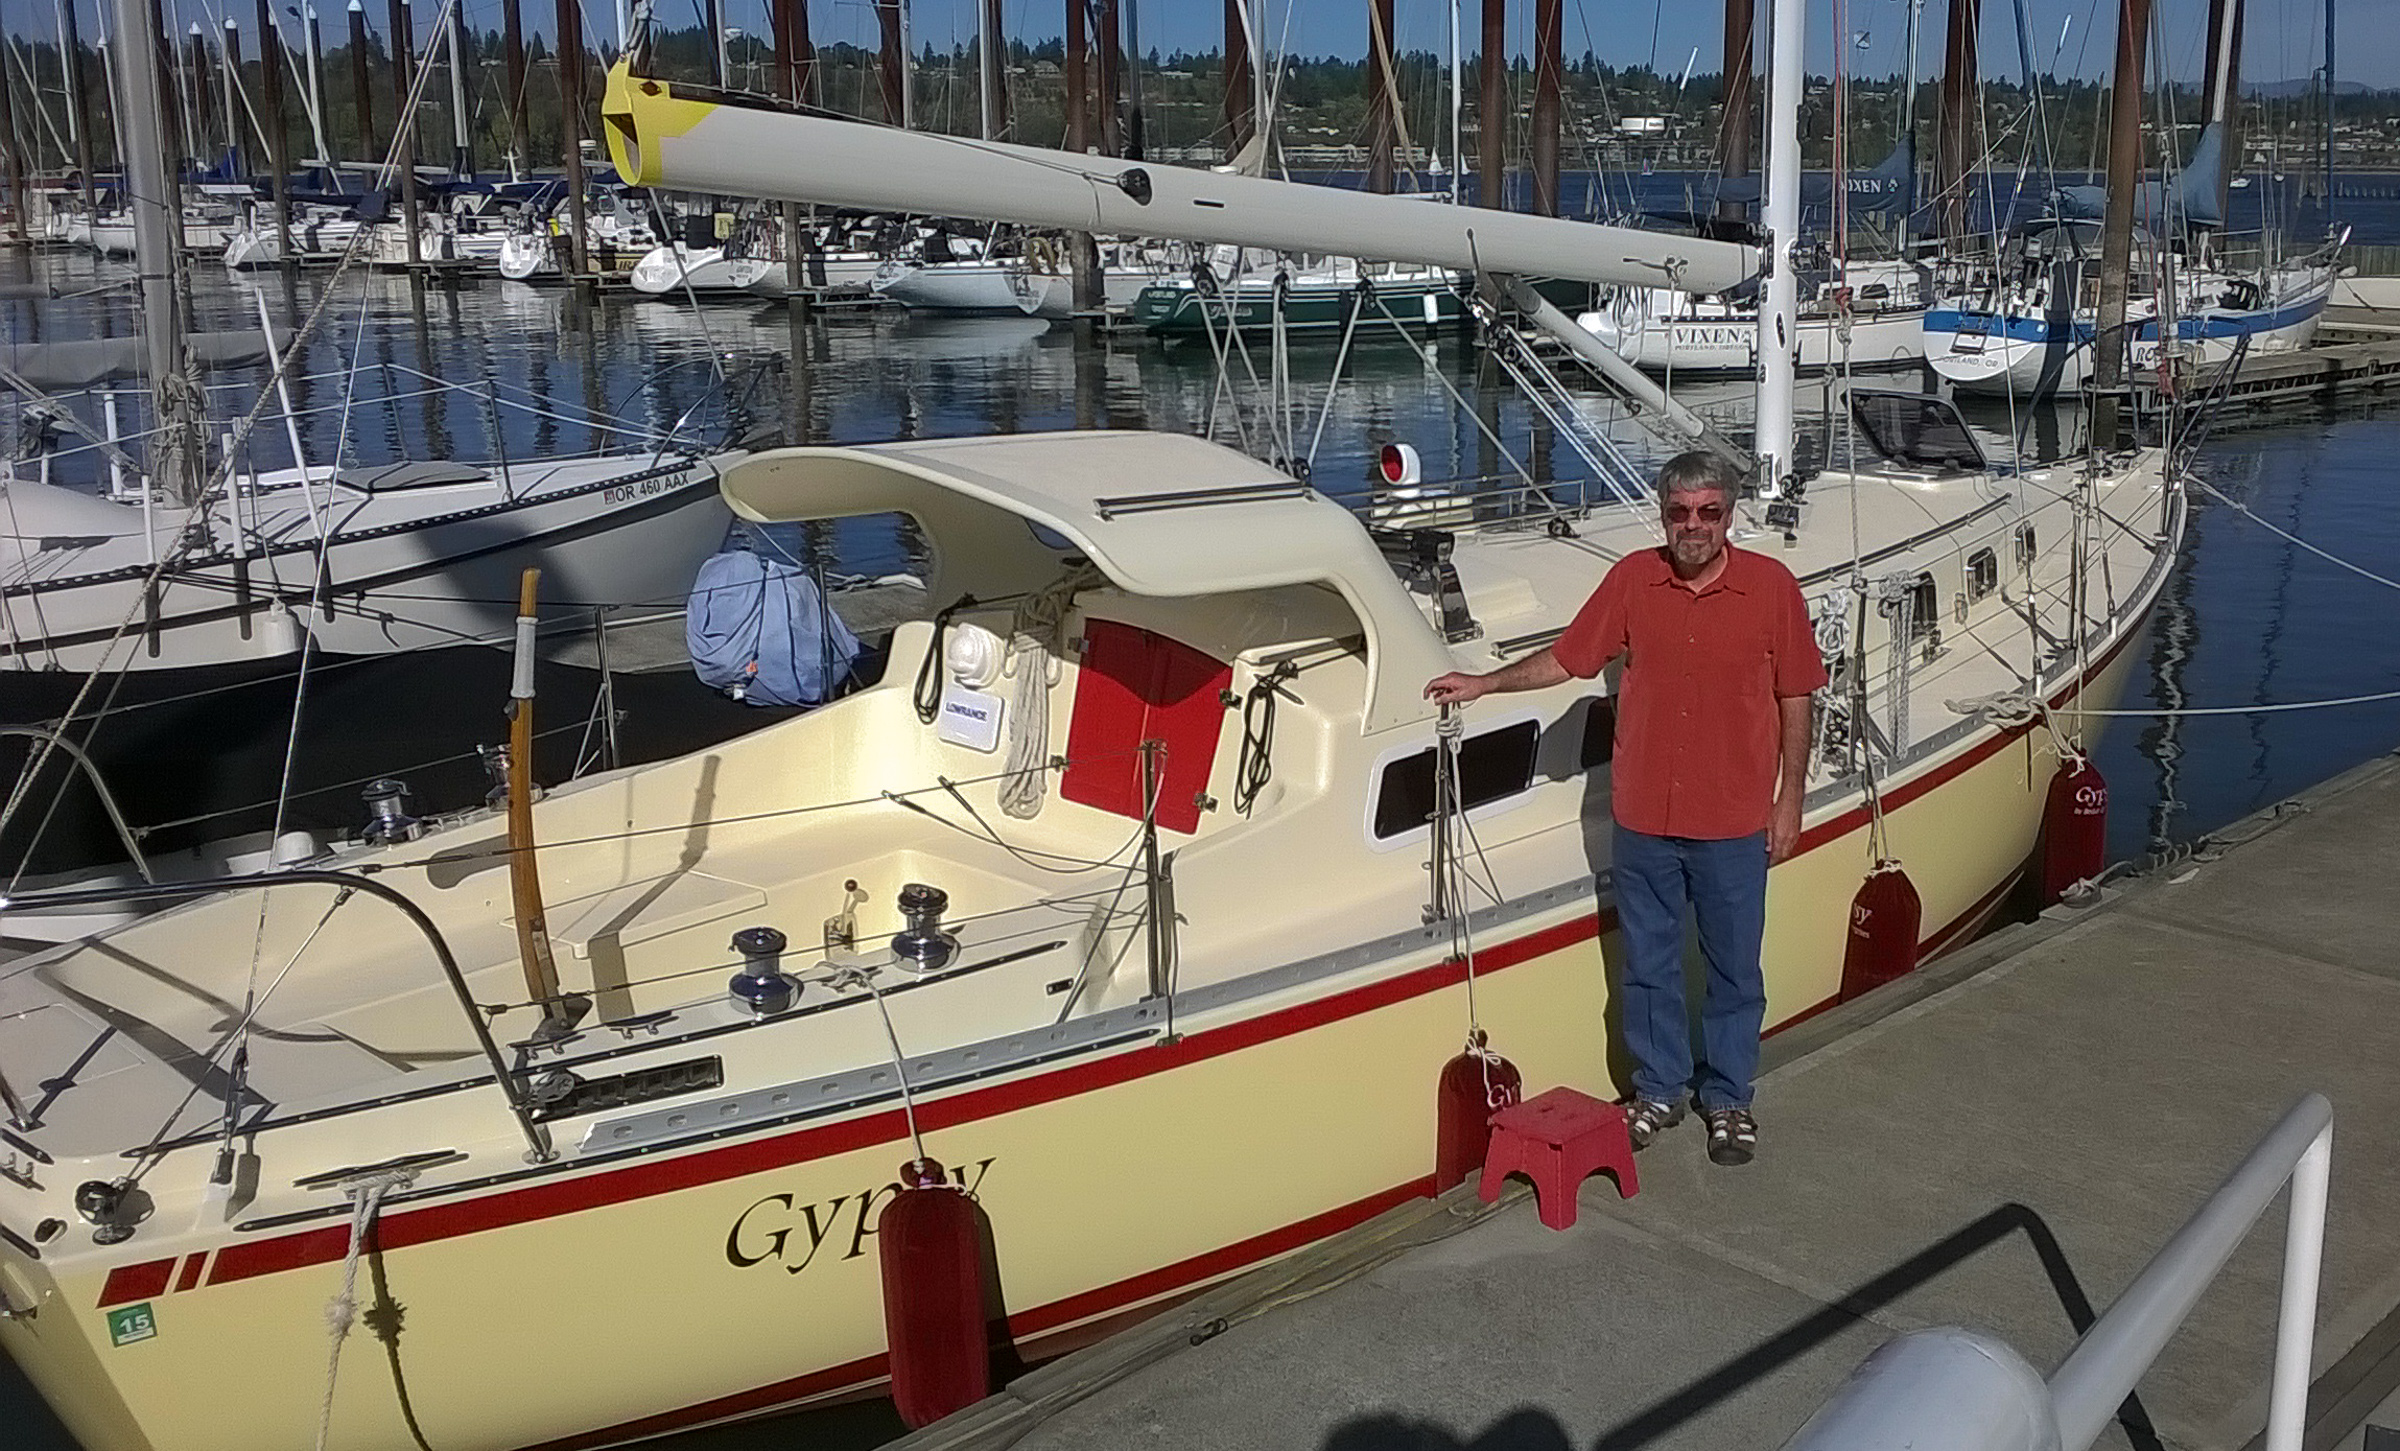
Bill and Gypsy ready for a party!
Party time was lovely, with a nice group of friends from the club and from our day jobs helping us celebrate. Thank you for all the nice and encouraging comments! Since we still have to finish the interior of the boat, all the good vibes will help keep us going.
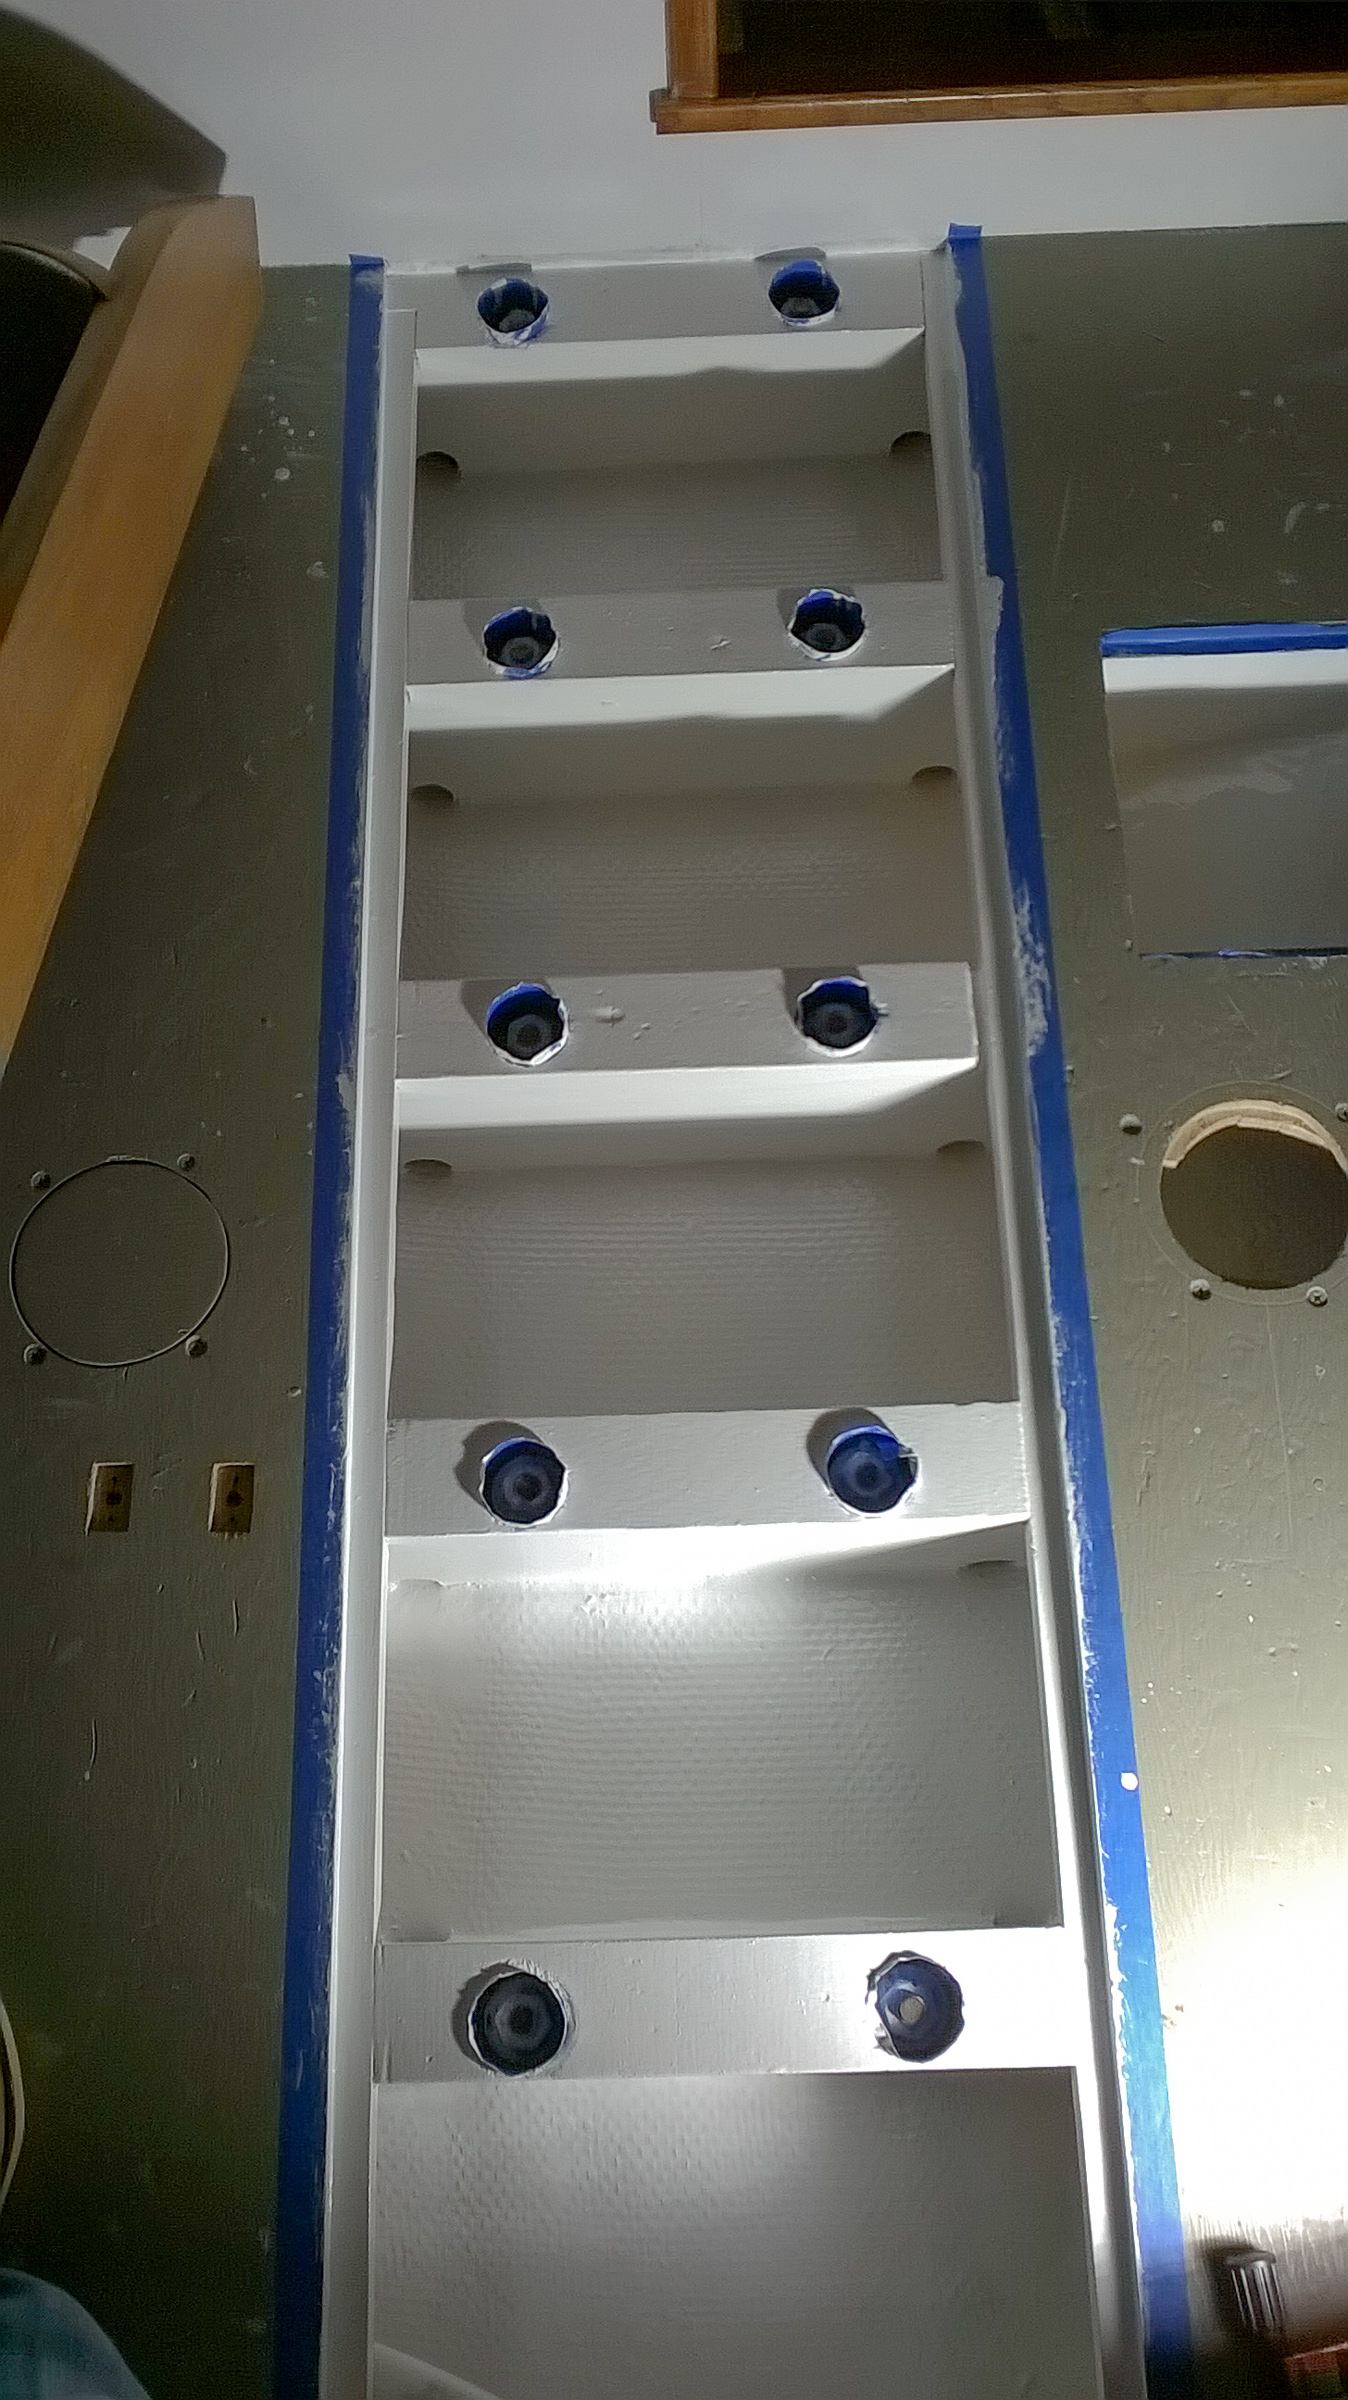
Monday was a day of small jobs. Tom stopped by and replaced the 1/4 inch bolt that sheared with a 1/2 inch bolt. We had some pieces of gear to install which meant Bill got to drill holes through the new paint job to fill with epoxy. Nina got to do a quick sanding on the bilge and we got the first coat of Bilgekote on. Tonight she painted the second coat, so now we can move on to other things.
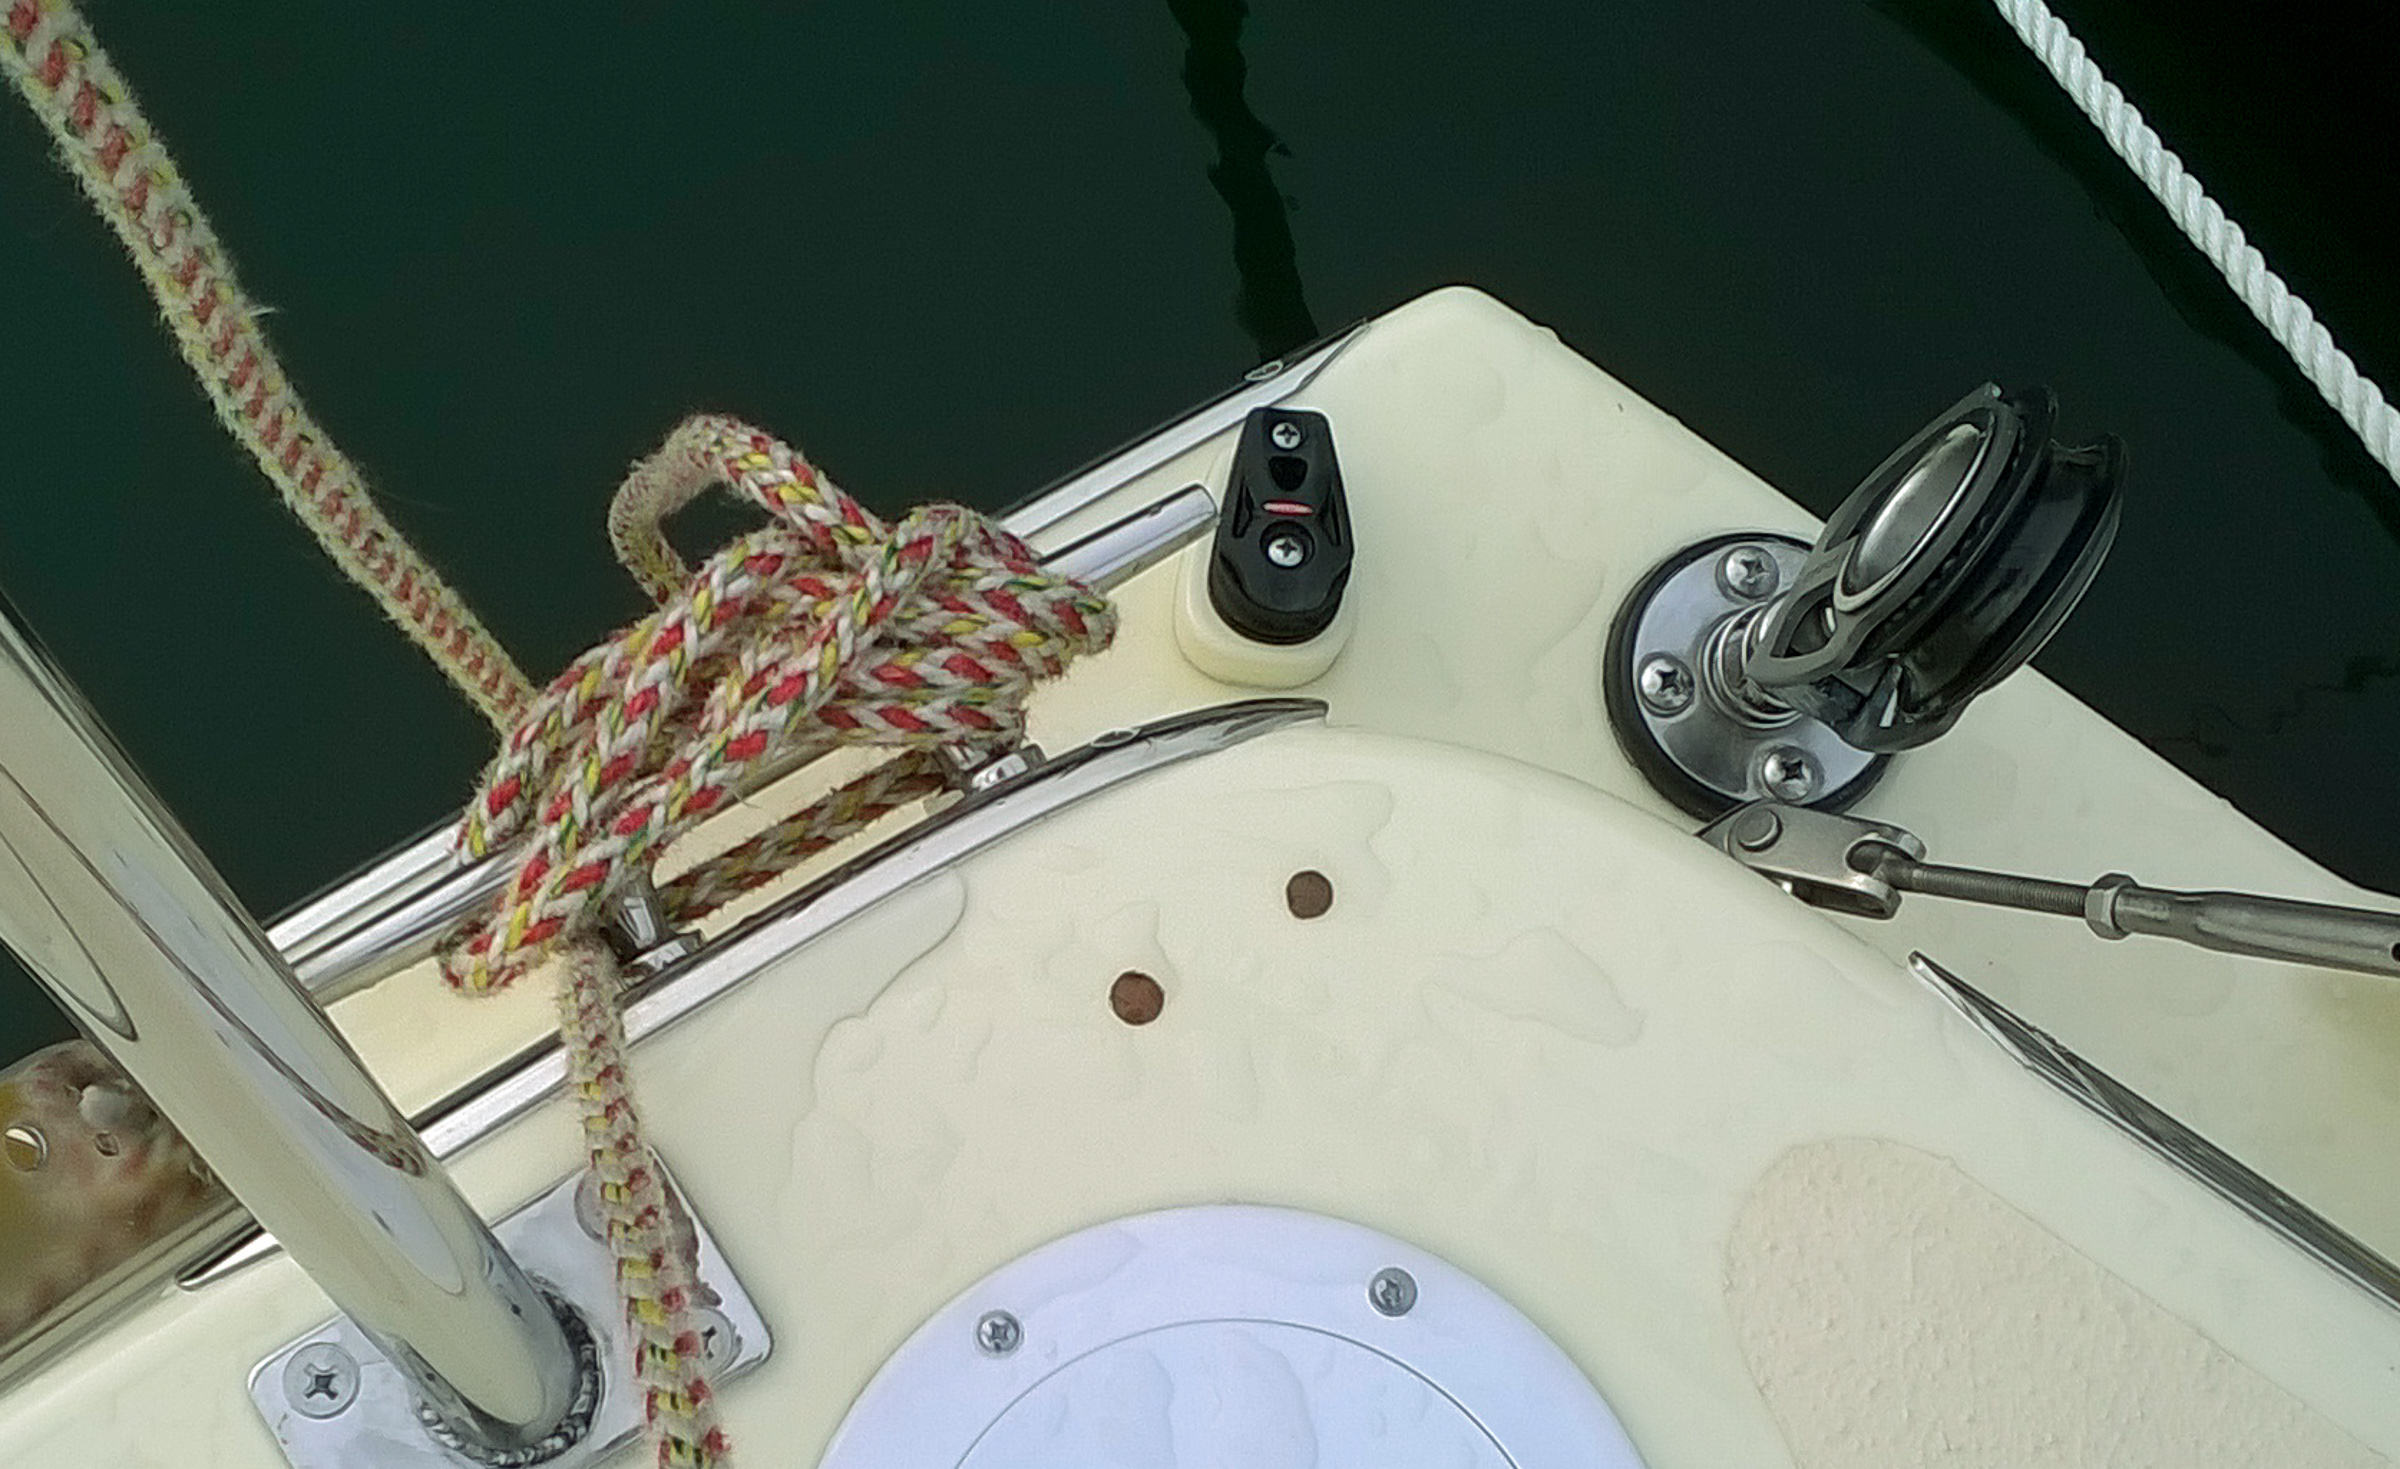
The dark holes are for the backstay u-bolts. These are on the port side, there is also a pair on the starboard side. Bill also drilled and filled holes for bullet blocks on the cabin top for the vang and mainsheet. He also added holes for a third reefing block up by the mast.The bilge, with mood lighting.
Last week we announced our party for Gypsy this Sunday. The time is 4:00-7:00 pm. I hope to see you there. We also continued to work on the cabin.
Wine tasting plans for Sunday fell through so we washed the bilge. Gypsy’s bilge was never painted. It was just bare fiberglass and mahogany floors, the big timbers that span the bilge. Considering that Gypsy is 44 years old the bilges were pretty clean. We wanted to paint them to spruce things up and to make future cleaning easier. We vacuumed them all out and washed them down with TSP. We changed water three times as we cleaned. For cleanish bilges, they still had all kinds of stuff in them. When the bilge was dry, we sanded, vacuumed and wiped with acetone. We were now ready to tape off and paint.
It is amazing how much each addition of white paint brightens up the cabin.
The primer went on with a small roller and a brush. With the hatches and ports open it was not too stinky. After the party (Monday) we will put on the first coat of Interlux Bilgekote. It is a shiny, tough paint for bilges.
We left the tops of the keel bolts unpainted. This way we can see if rust ever becomes a problem.
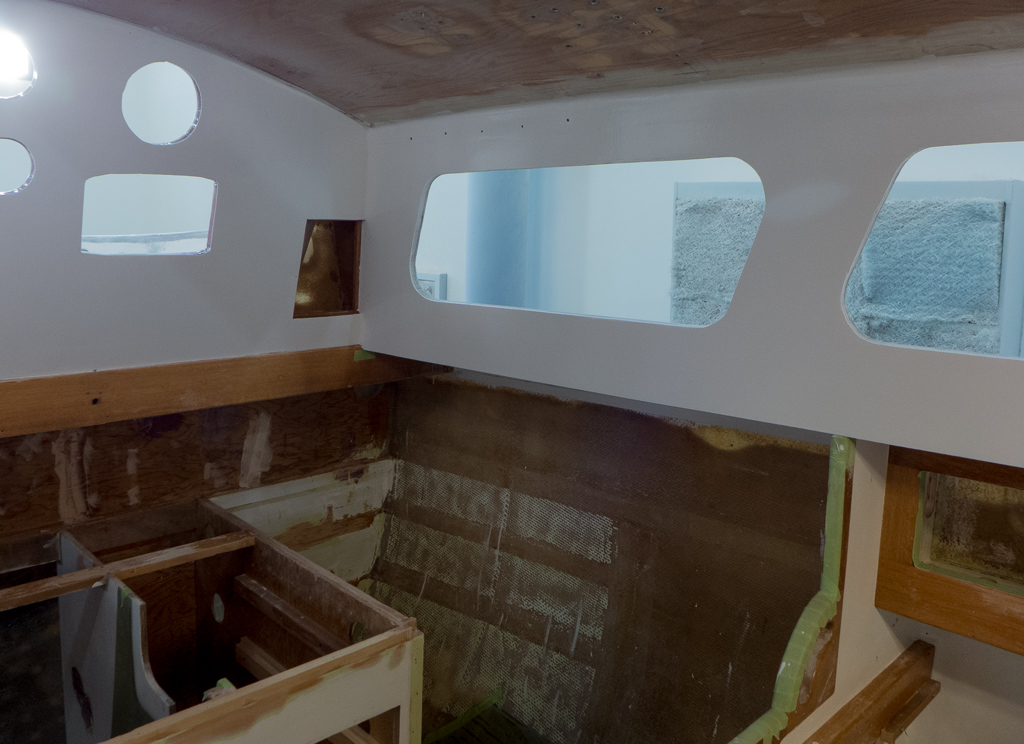
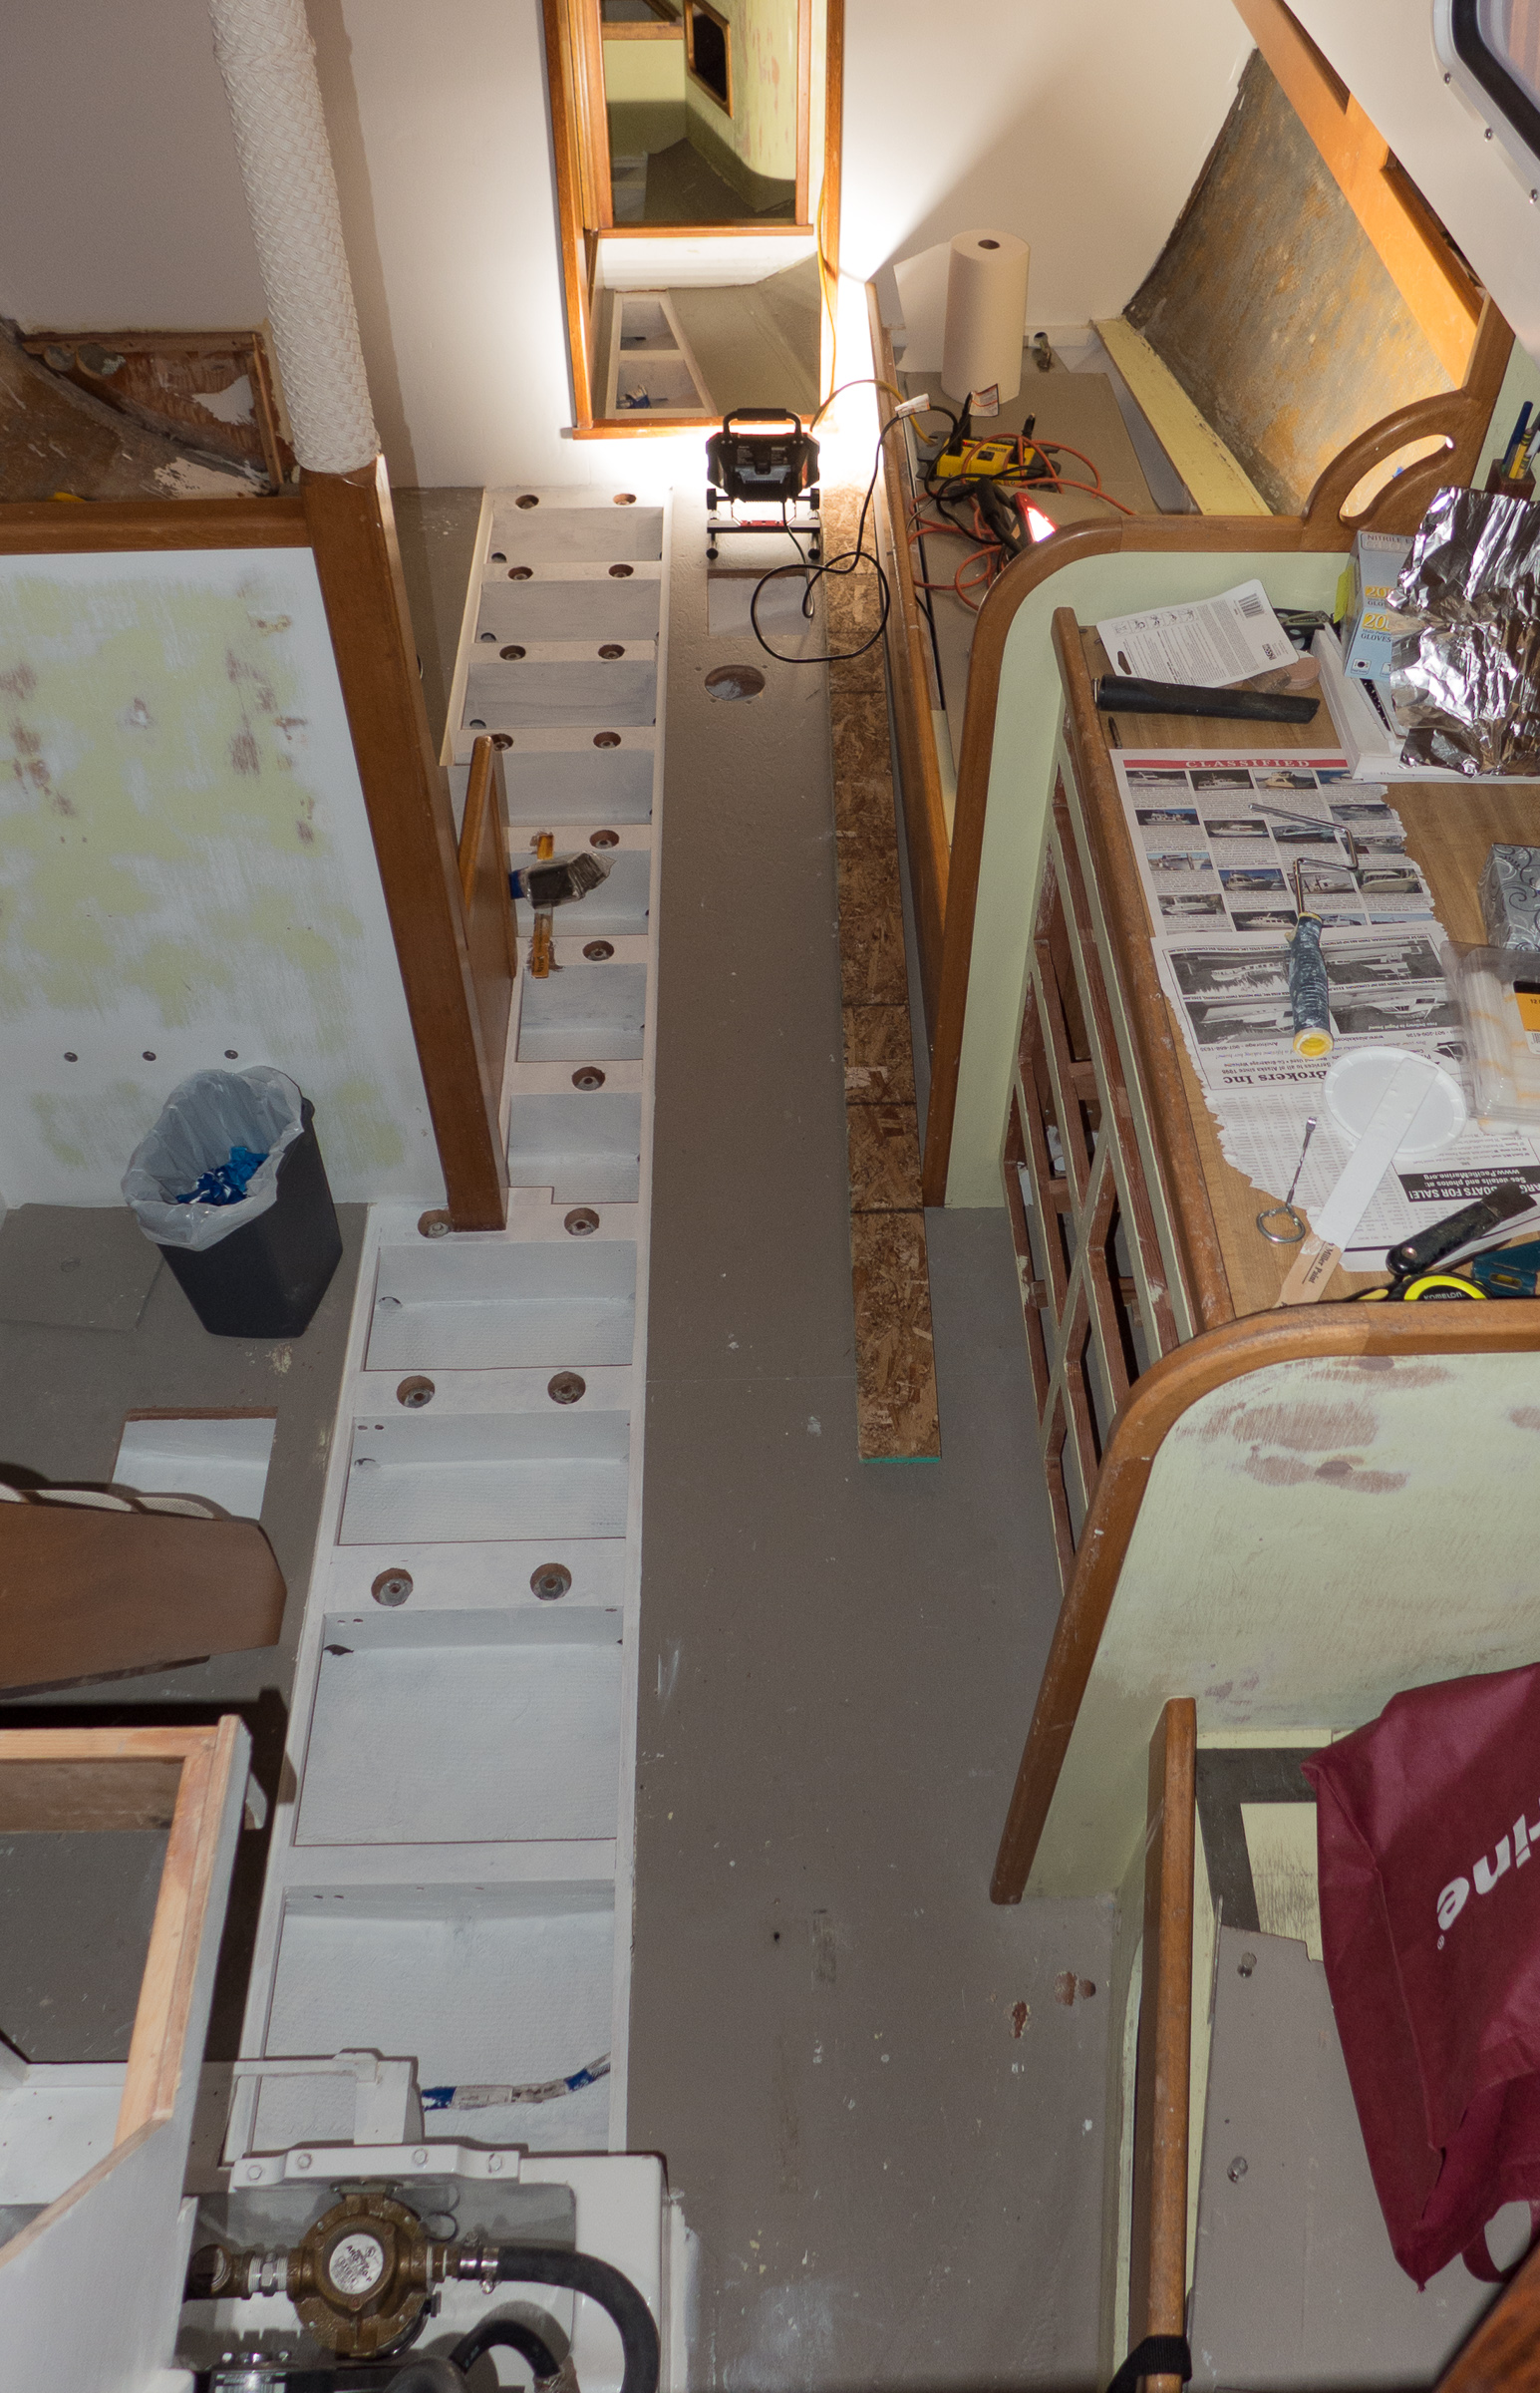
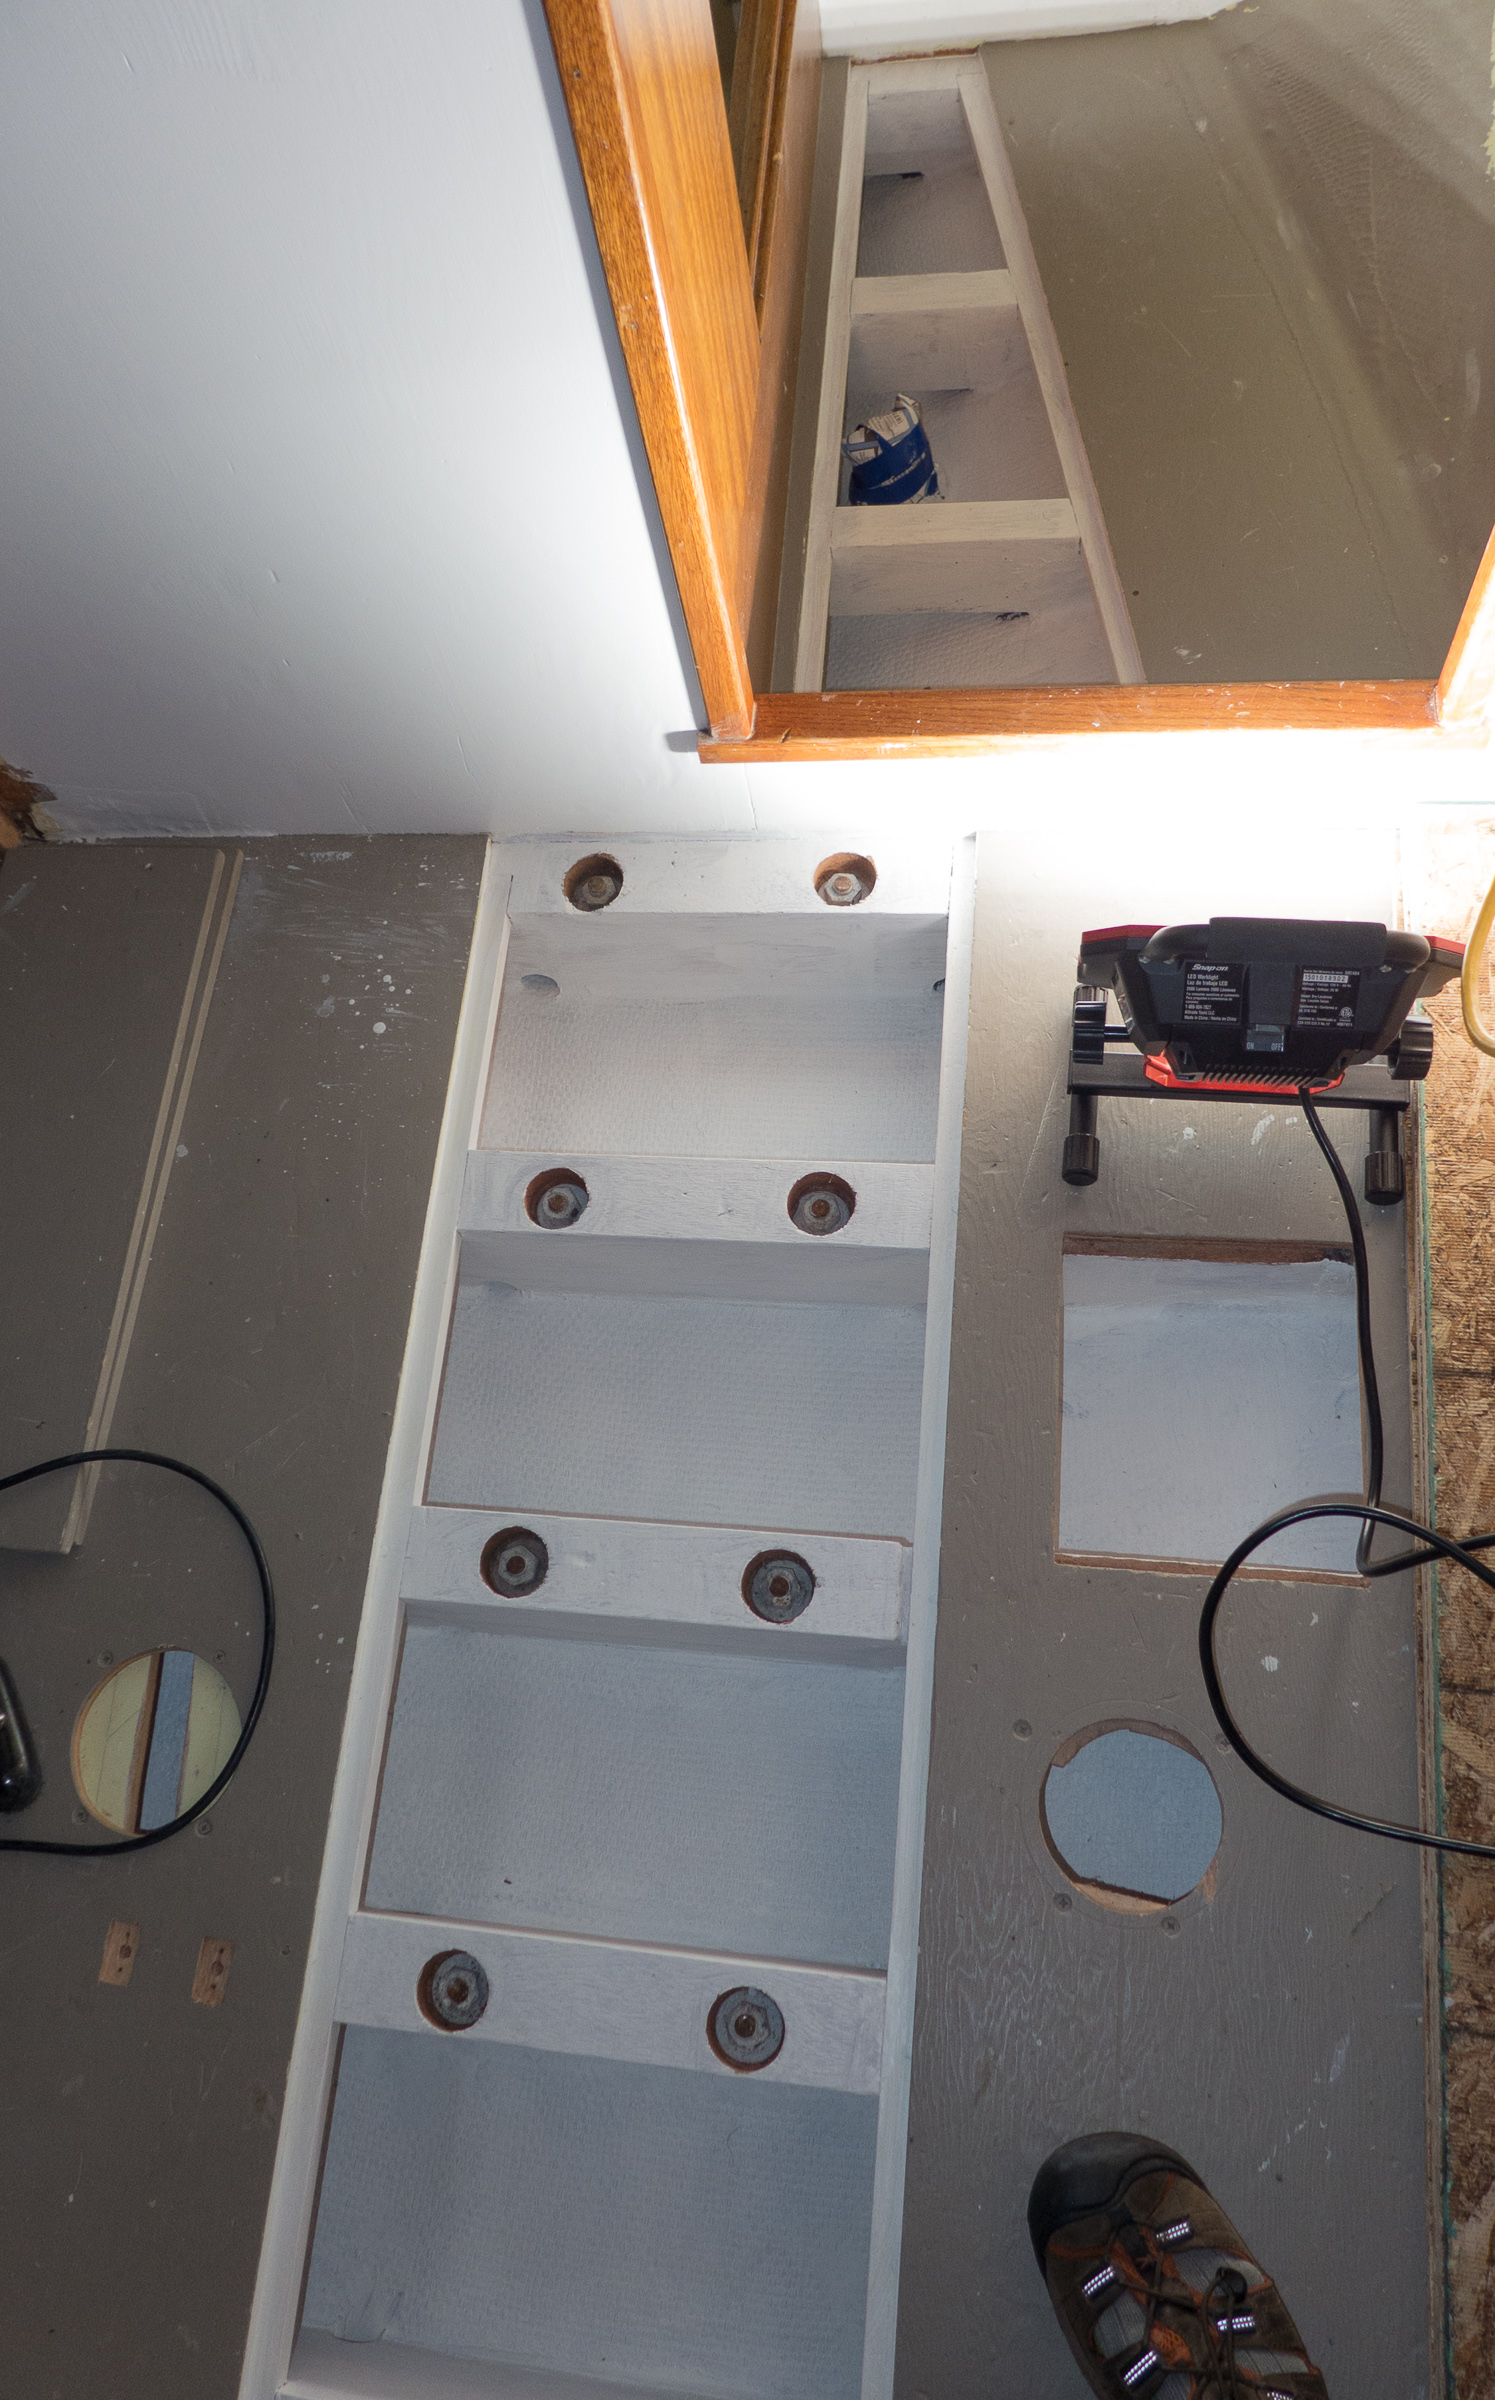
We are trying to get all of the projects done that need a clear space to work in. Getting the furniture bulkheads built in means that we know where we can install the plumbing, wiring, insulation and ducting for the furnace neatly and logically. The other thing you can see in the photo is our new LED trouble lights. Nina likes them because they are not hot. Incandescent lights in a small space are not a good thing for slightly beyond middle aged women. Bill likes them because the bulb doesn’t break if you bump it and Nina is happier.
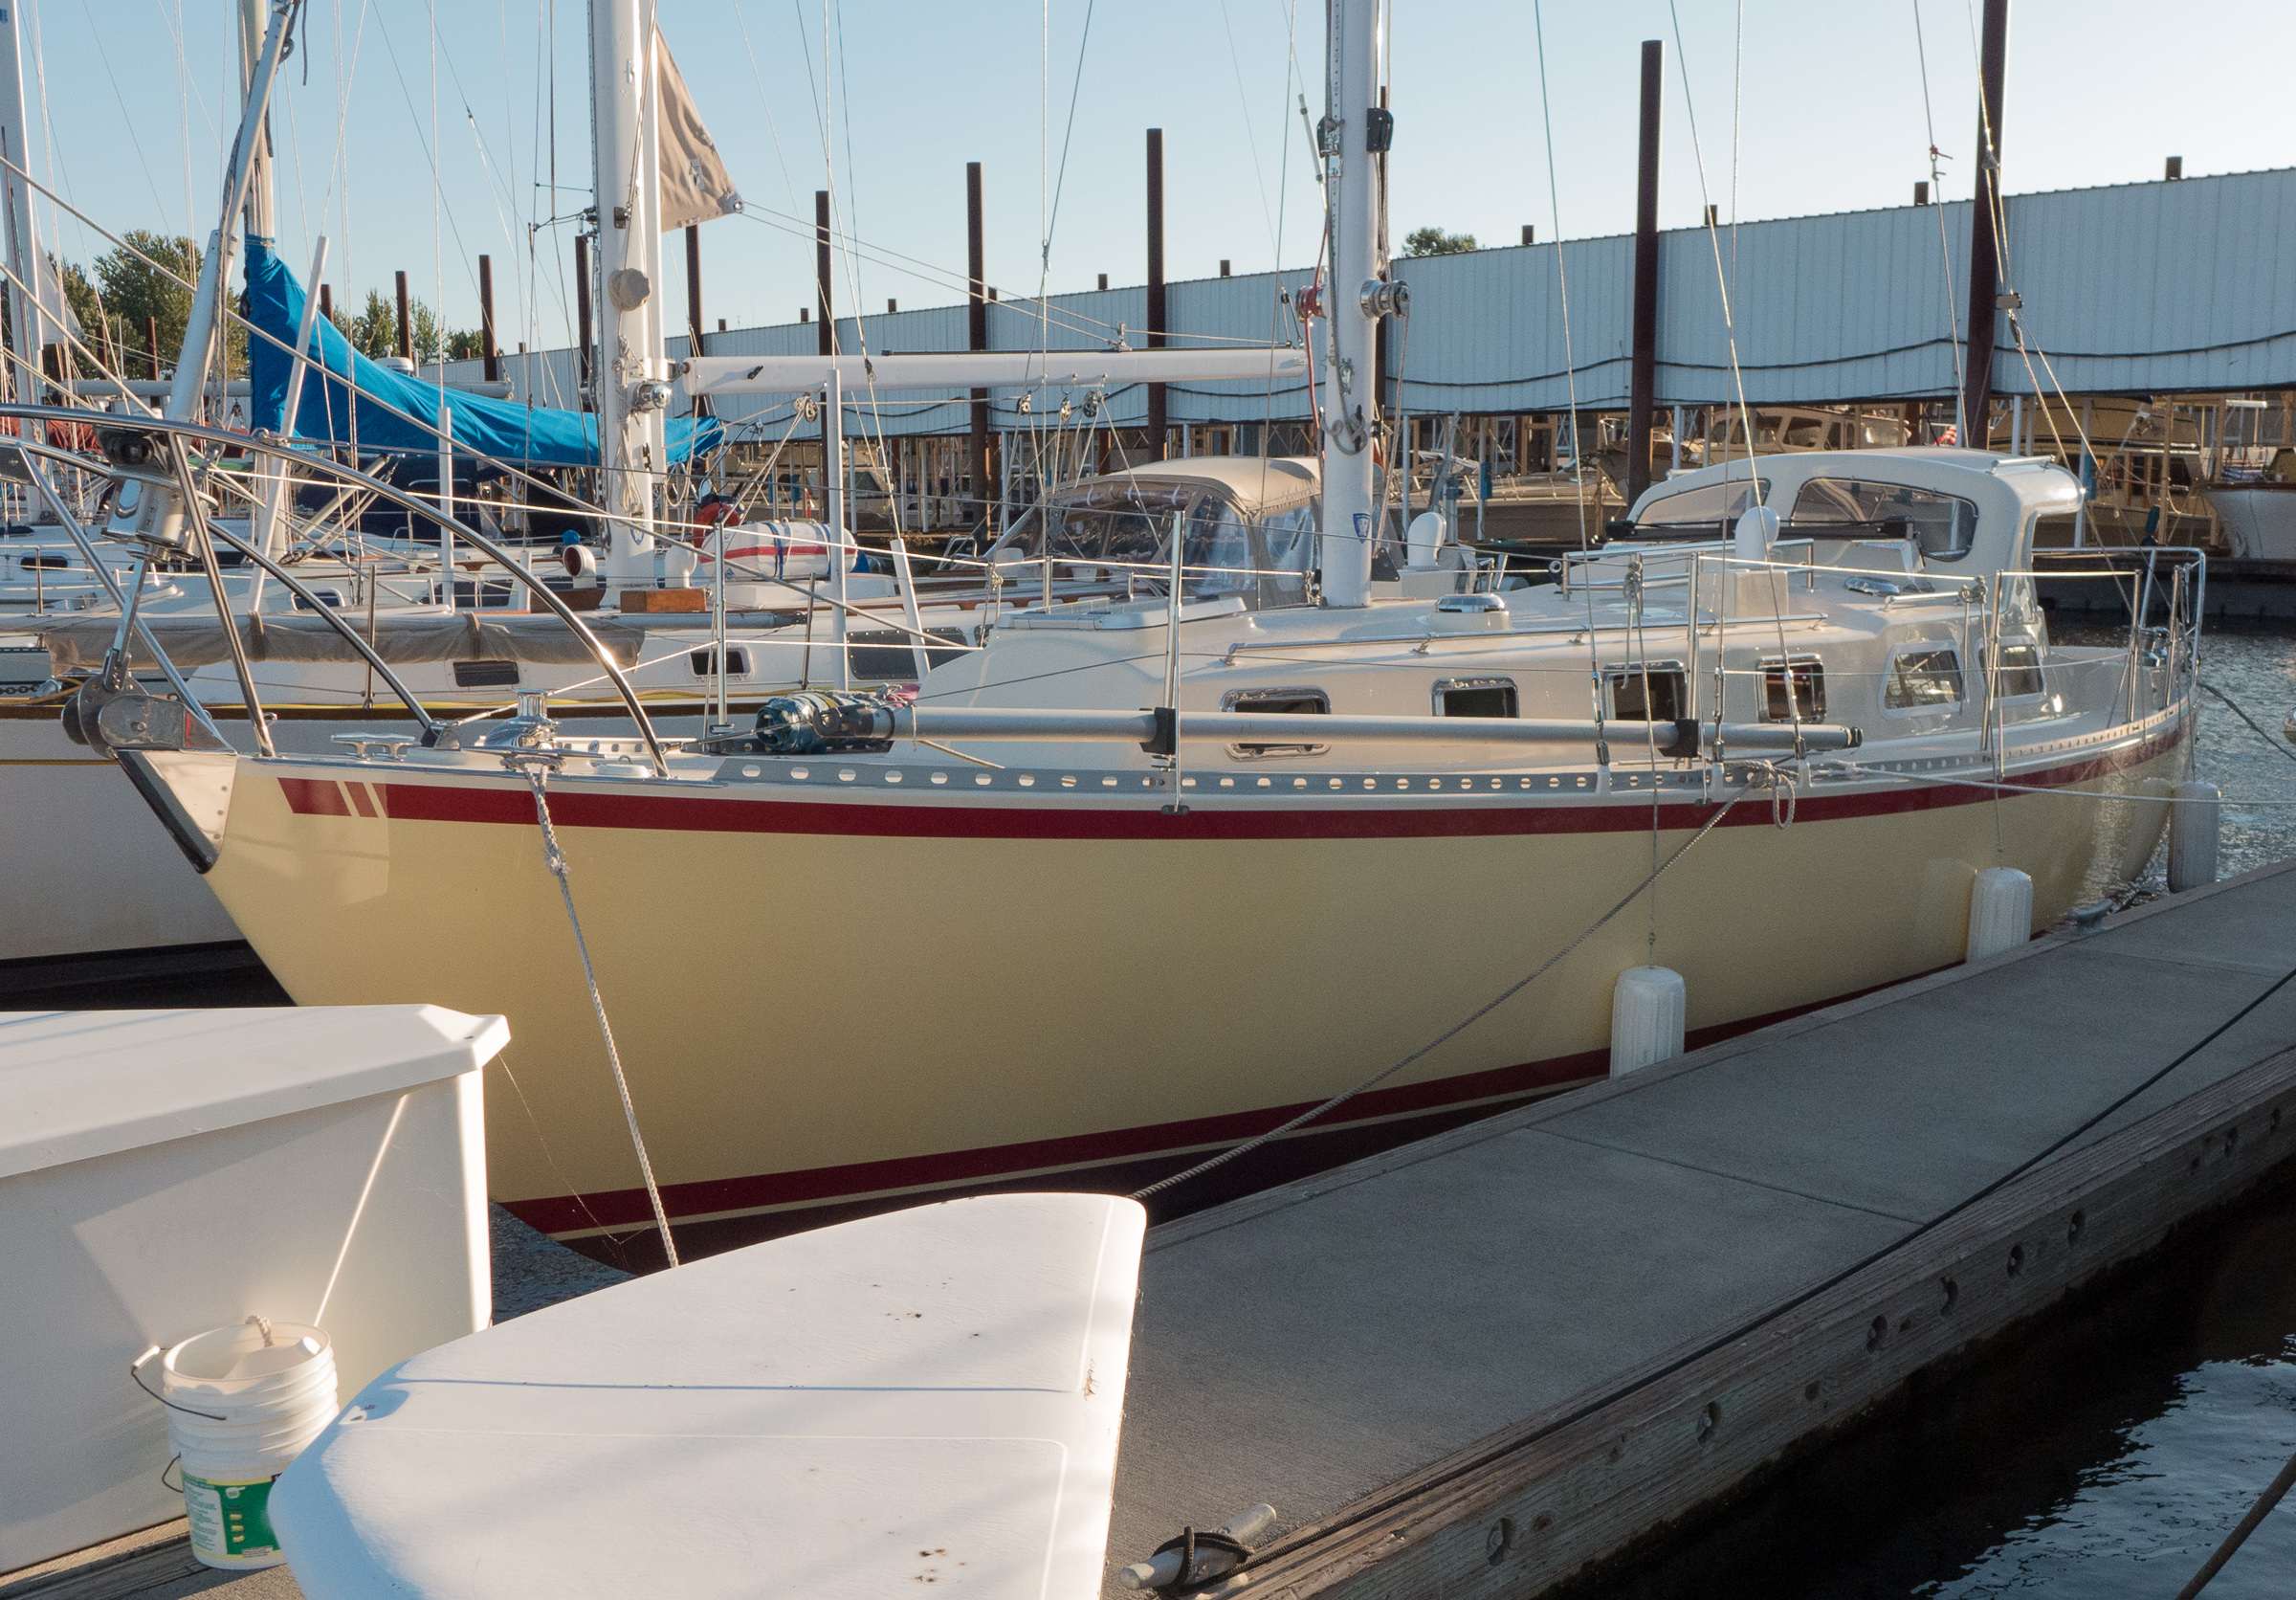
It is time to celebrate. Gypsy is back in her slip and while there still is lots of work to be done we have passed a milestone. We want to invite all of you who have been following our adventure to come and celebrate with us. If you are in Portland Sunday October 4th please drop by. The time is from 4:00 to 7:00 pm. The place is Rose City Yacht Club (RCYC). It’s a potluck party and BYOB so drop by and see Gypsy and have a good time. We will have food in the clubhouse and tours of Gypsy.
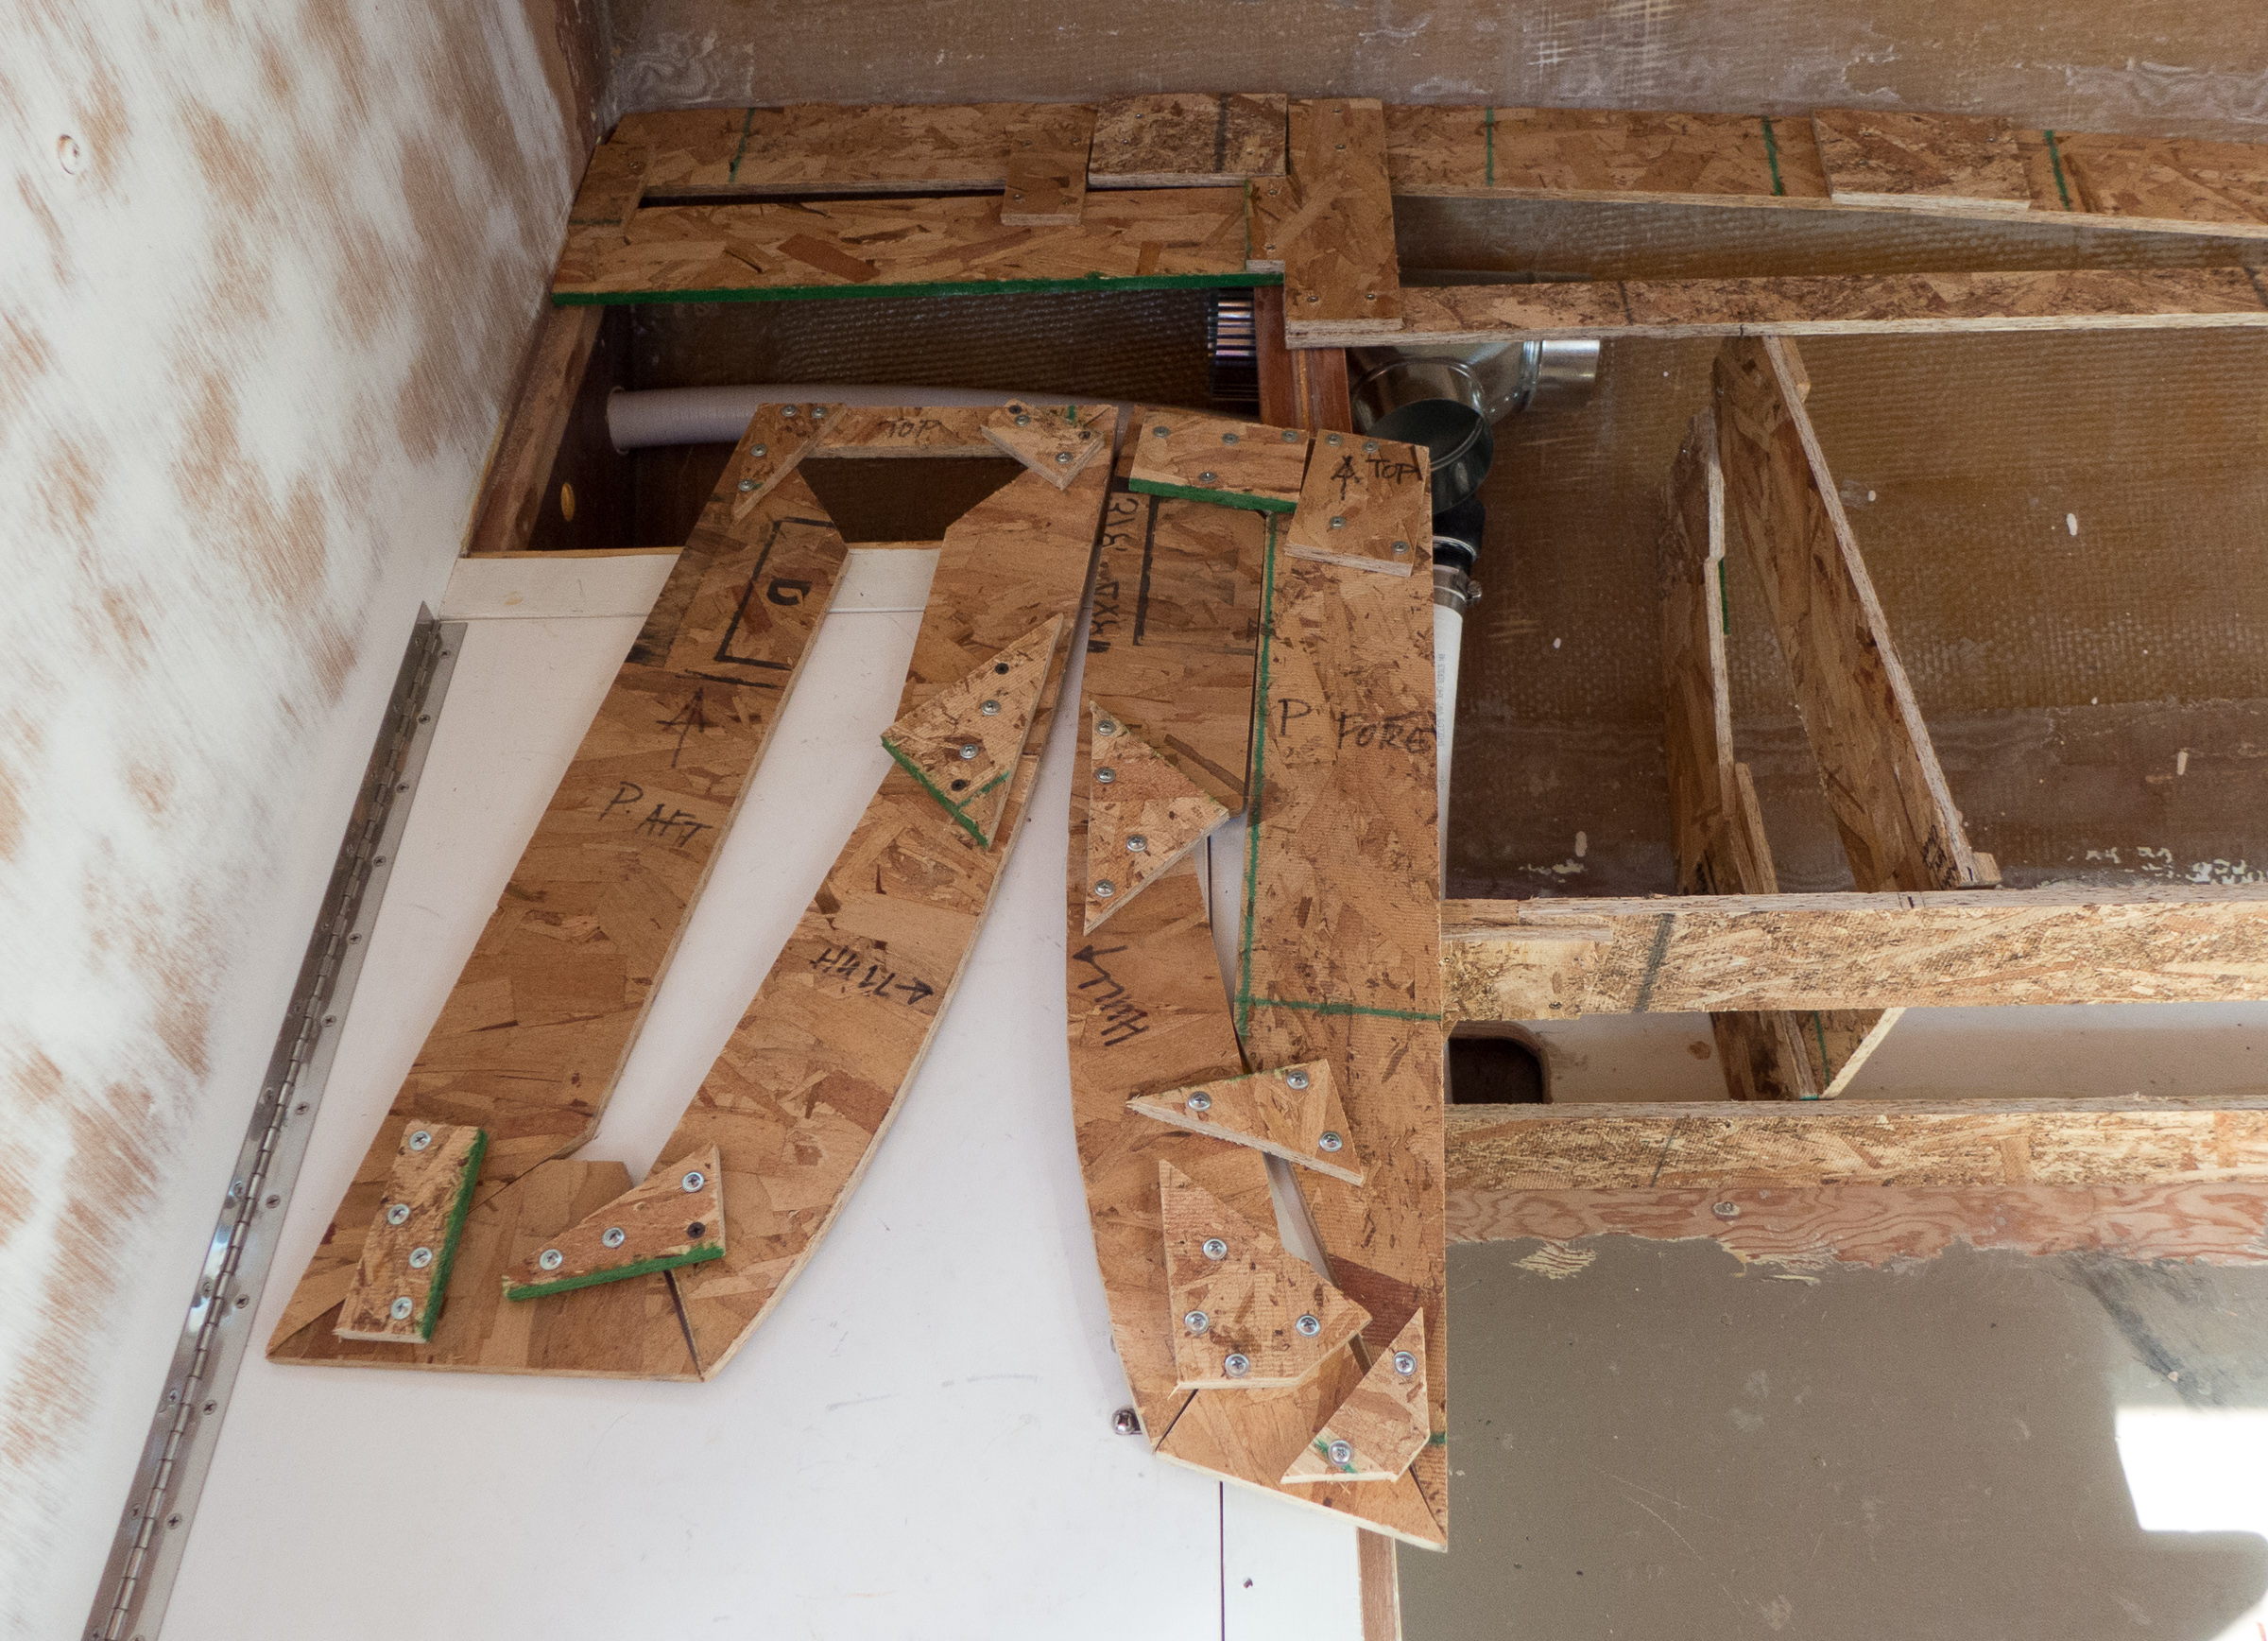
So besides thinking about throwing a party, here’s what we’ve been up to inside the boat. This week we started working on building the cabin furniture. To make sure it will fit, we are making templates that we will use to cut out the plywood parts. Then we can epoxy in the new pieces.
The templates form the seat and will be used to cut out the plywood. There will be another bulkhead in the middle of the seat, and another on the left side of the picture (not shown).
A close up of the templates for the port settee.The backrest for the starboard settee. This will be new storage. The port side will also have similar backrest/storage.
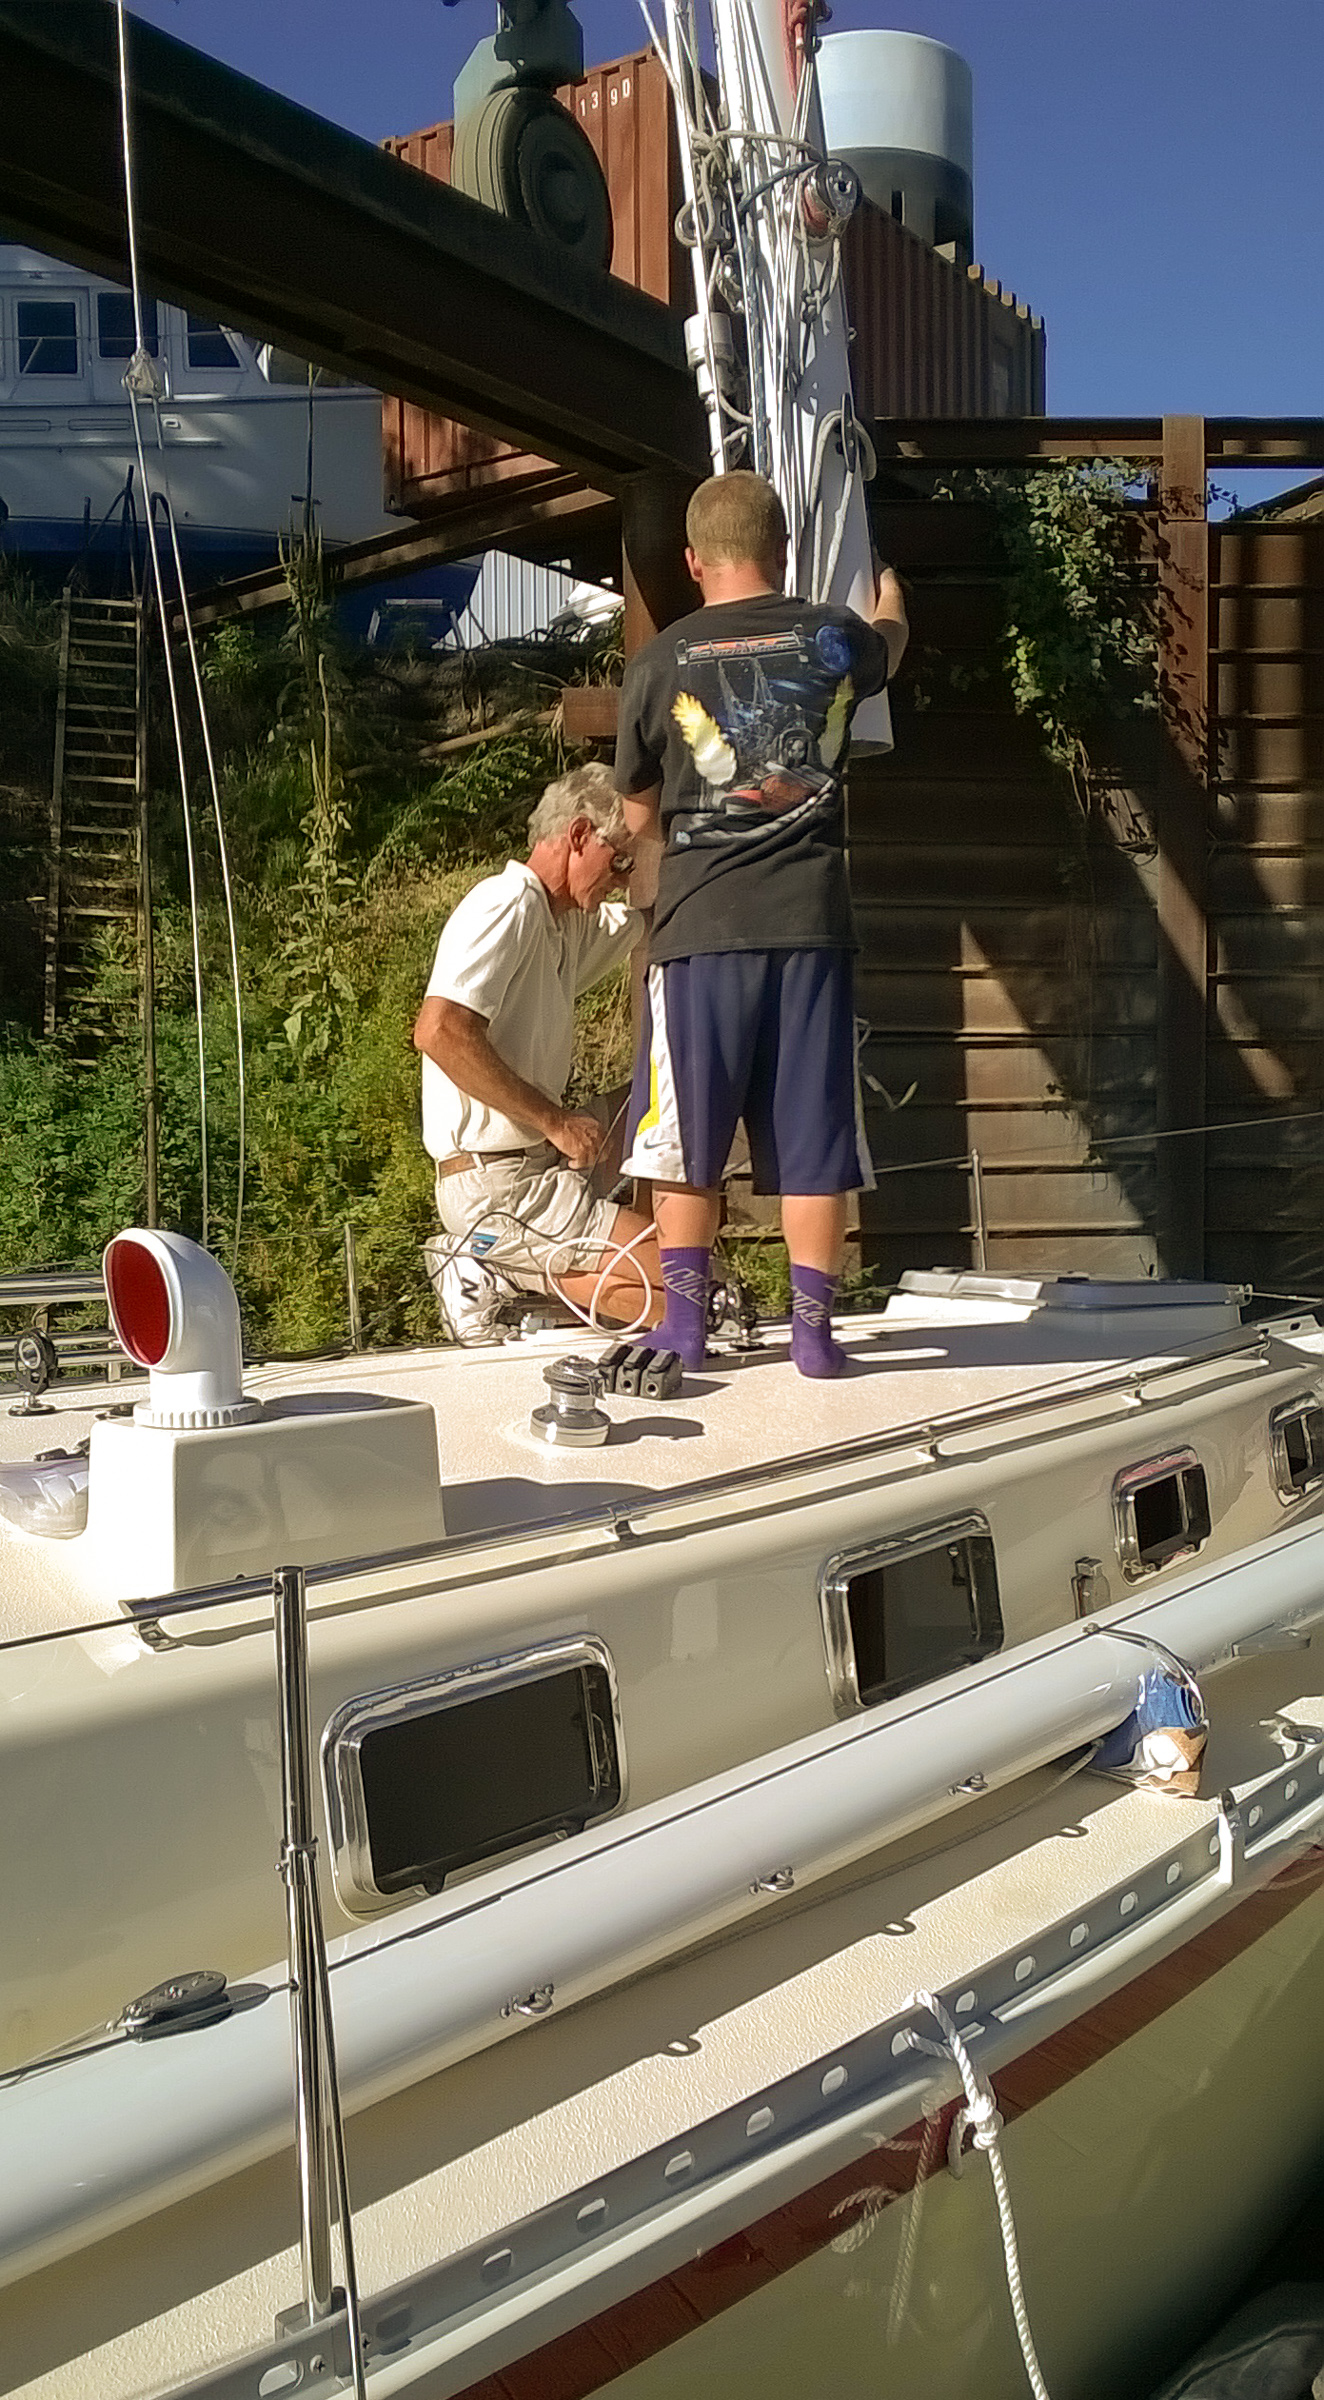
It is great to have Gypsy back in her slip. What a difference a ten minute instead of an hour commute makes. We went down on Friday night and had dinner on Gypsy. Sandwiches, chips and a beer. It was great. We did some work too. We put the boom on the mast and set up the main sheet on the traveler to control the boom. We also installed the vang.
Sunday we were back for a day of cleaning. First thing Bill wired up the shore power cord inlet to a temporary outlet so we would have power on board. This let Nina plug in the vacuum. Bill then washed the outside of Gypsy while Nina vacuumed and washed the inside. The outside went much faster than the inside. When Bill finished washing Gypsy, Nina had finished cleaning the vee berth and anchor locker.
Bill discovered the bag of fender covers that had been dropped off and went to put those on. Nina kept cleaning. The fender covers are bright burgundy. They fit Gypsy to a Tee. Nina thinks they need gold tassels. It was time for lunch so we went home and had lunch.
Even at dusk, aren’t the fender covers great!
After lunch, Nina kept cleaning and Bill installed the furler blocks and the spinnaker tack line blocks on the stanchions. We called it a day and went home.
Monday morning we finished cleaning the cabin. We still have the cockpit lockers to clean, but it was raining and you have to crawl into the lockers from the outside, so we decided they could wait for a sunny day. We did notice that we had installed the vang upside down and we fixed that. This seems to be a problem we are having. I think the solution is to go sailing.
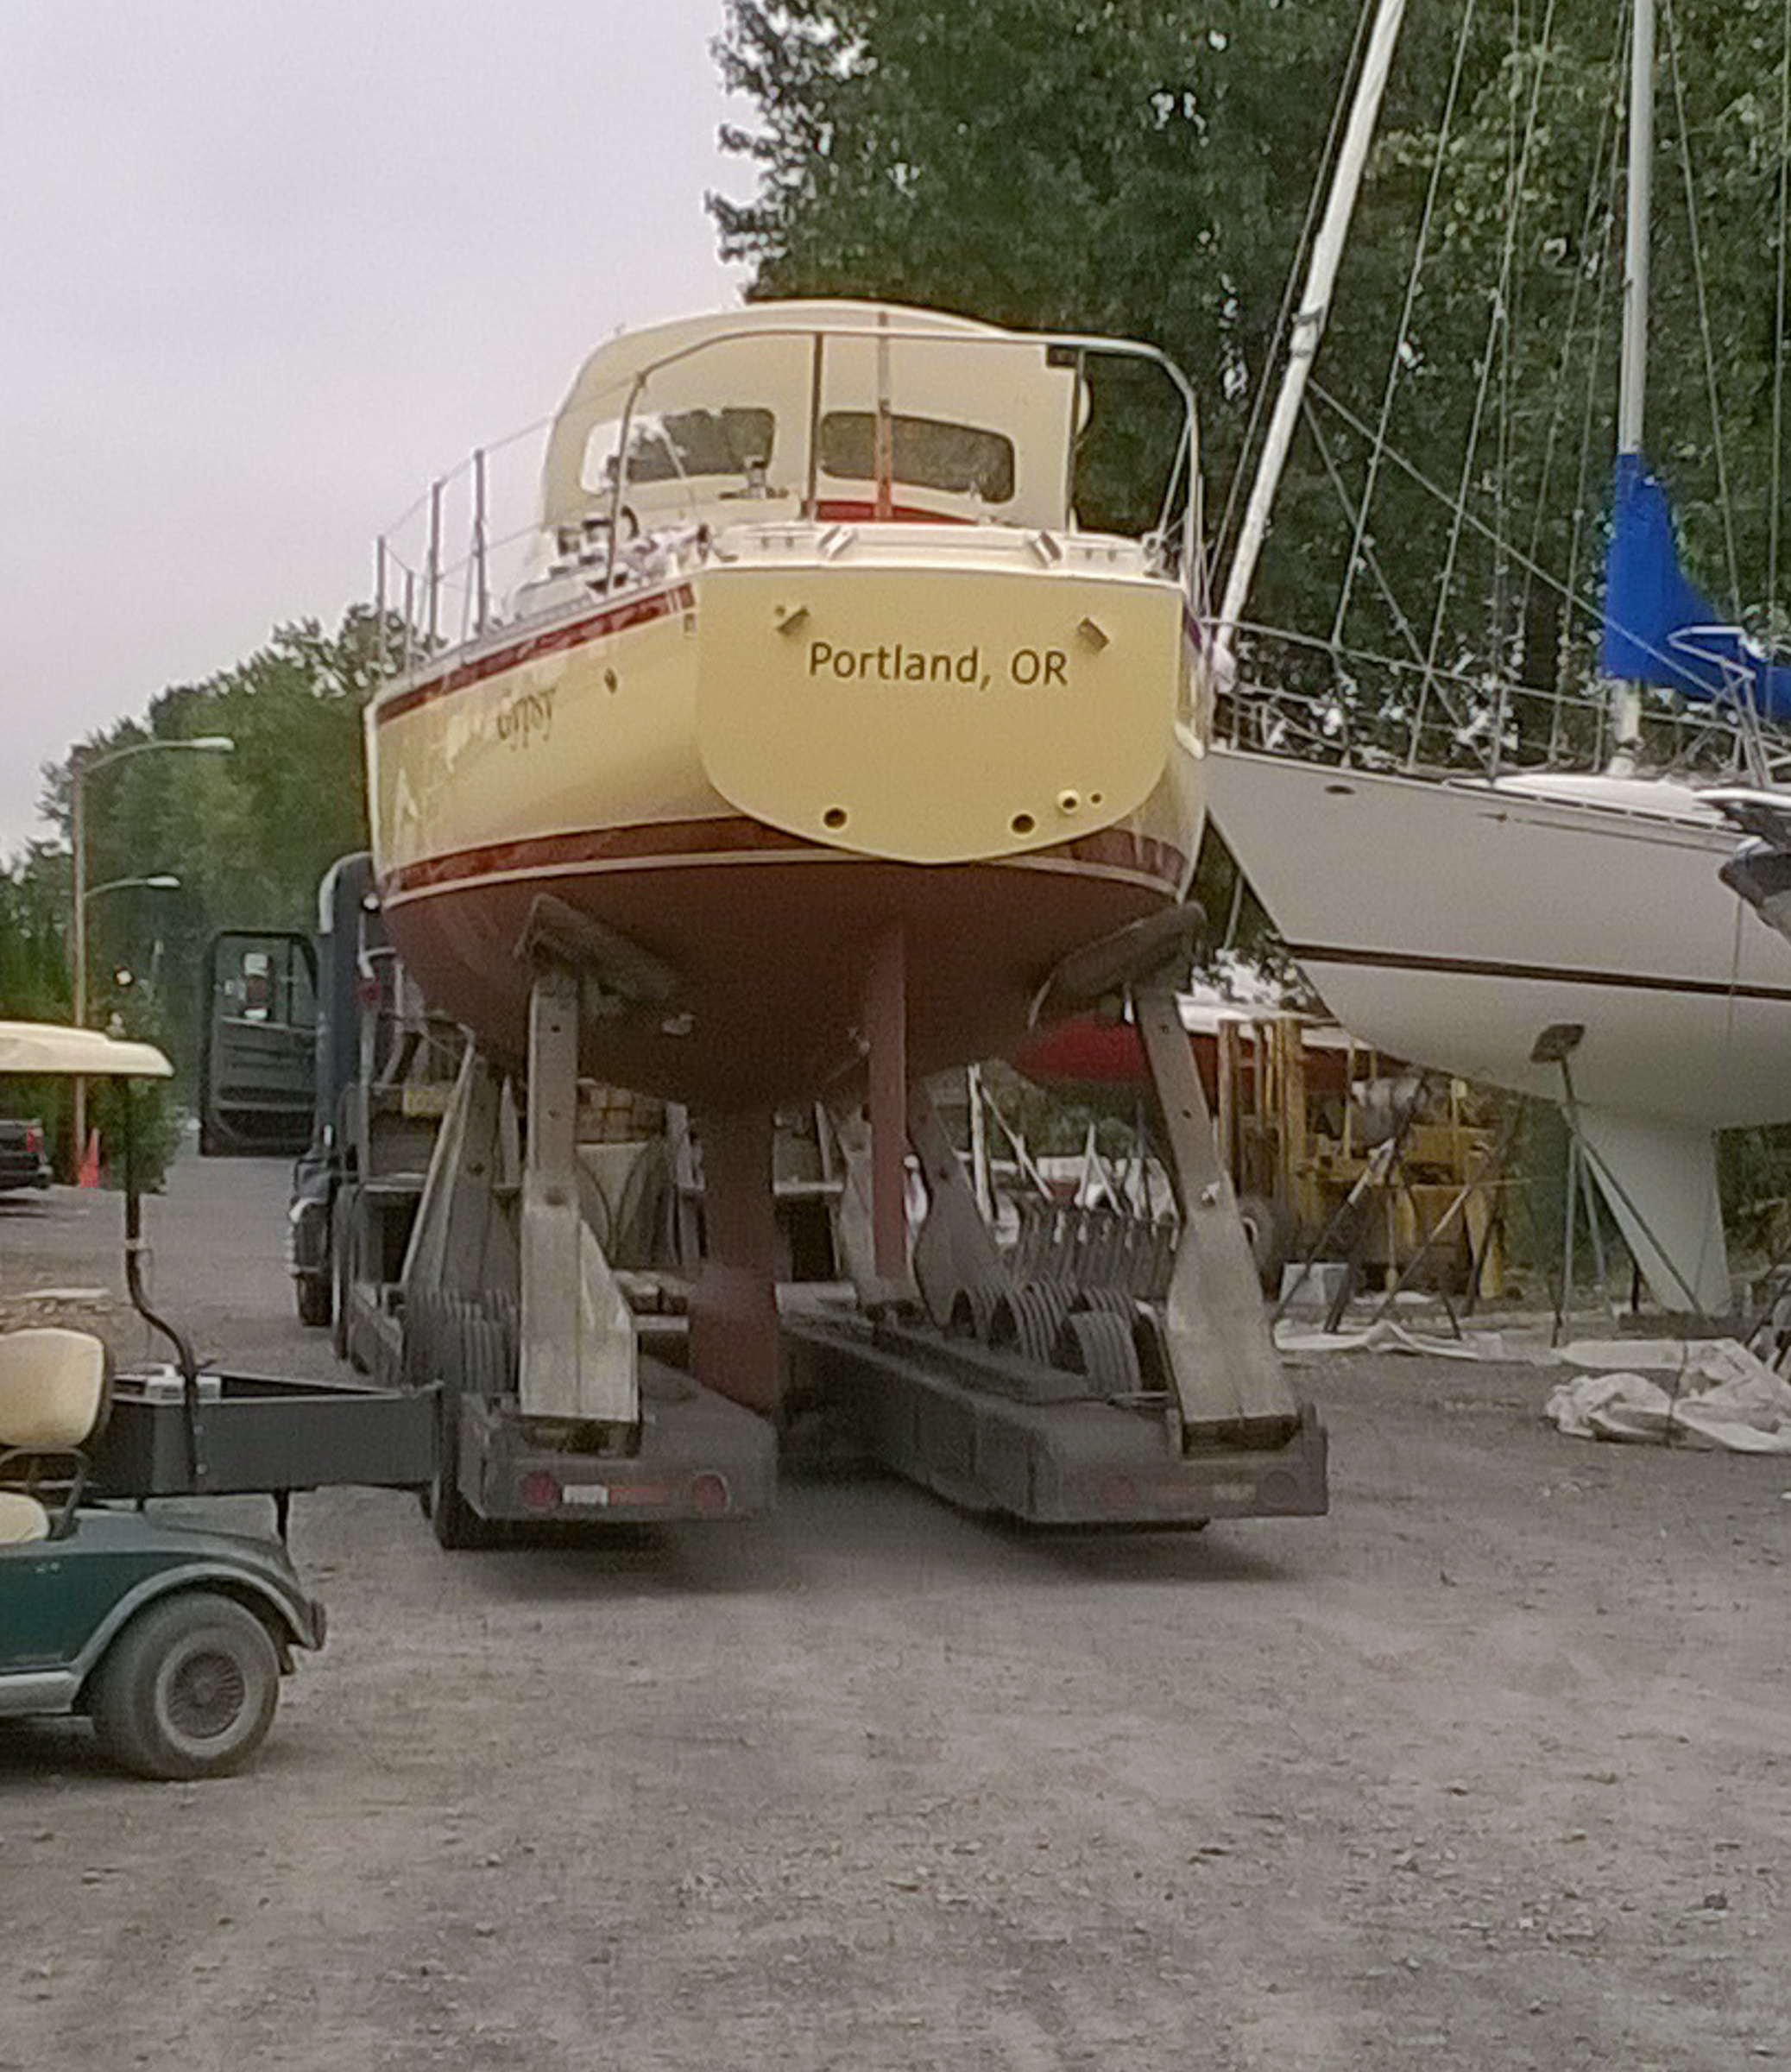
Gypsy has been launched. The blessed event has happened and we survived. Wednesday was filled with excitement, anxiety, waiting, and last minute tasks.
Gypsy is ready to be off loaded from the trailer.
We met the truck carrying Gypsy at Danish Marine at 9:00 am. While preparations for launch got under way we got the mast ready. The mast was rigged and wrapped for transport. We unwrapped it and started to put the radar, VHF radio antenna on and the wind instrument. And this was when we discovered that we had installed the wind instrument cable upside down. Pull all the wiring out of the mast, cut all those cable ties, flip the wire, rebundle it all with new cable ties, and pull it back up the mast. It’s not as neat as the original job, but it will do, and the job did go much more quickly with four of us working on it (and now Tom has at least one good story about us). Next attached were the spreaders to the mast and shrouds. About now the yard decided that there was not enough water to launch. Consulting the tide charts showed that we would have to wait until about 5:00 pm. This did give us plenty of time for those last minute changes to the mast.
Gypsy is waiting for the river to rise.
On the days leading up to the launch all the last minute things were done. The engine was started for a test run, the mast had the rigging attached, the boom got lashed to the deck. All that was left was the waiting.
The mast is padded and wrapped to get it ready for the truck.
About 4:00 things started to happen.
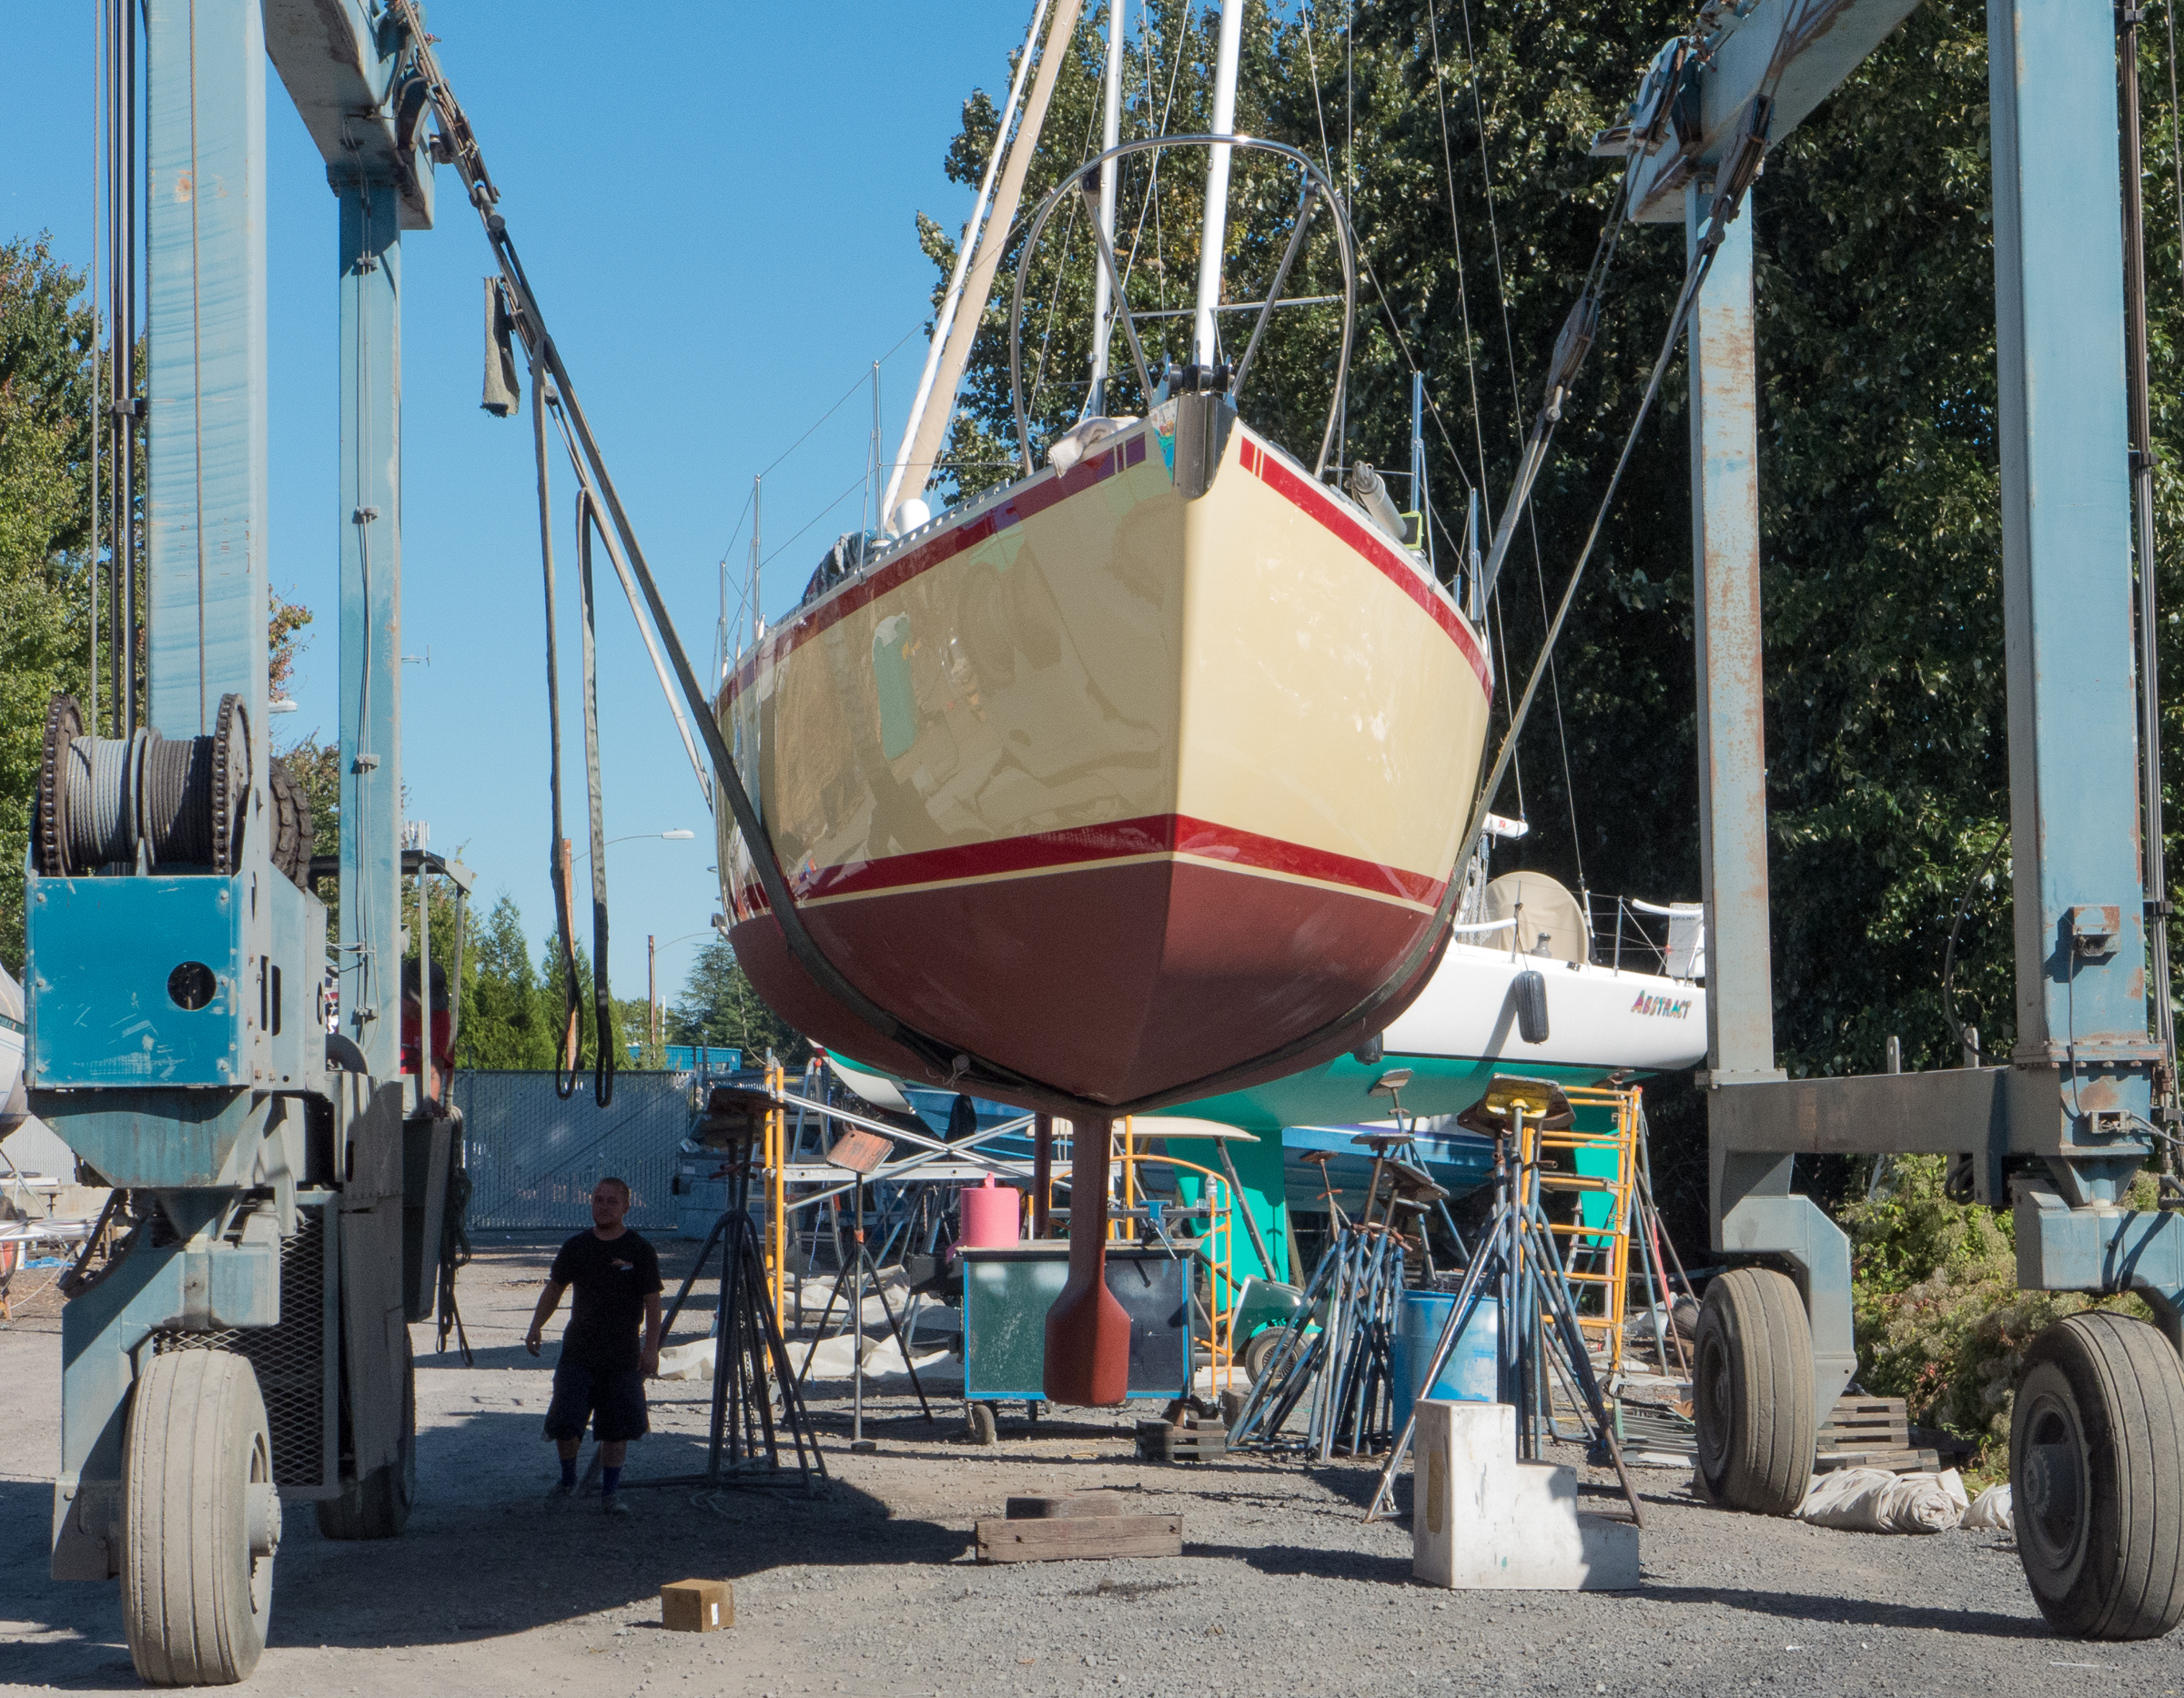
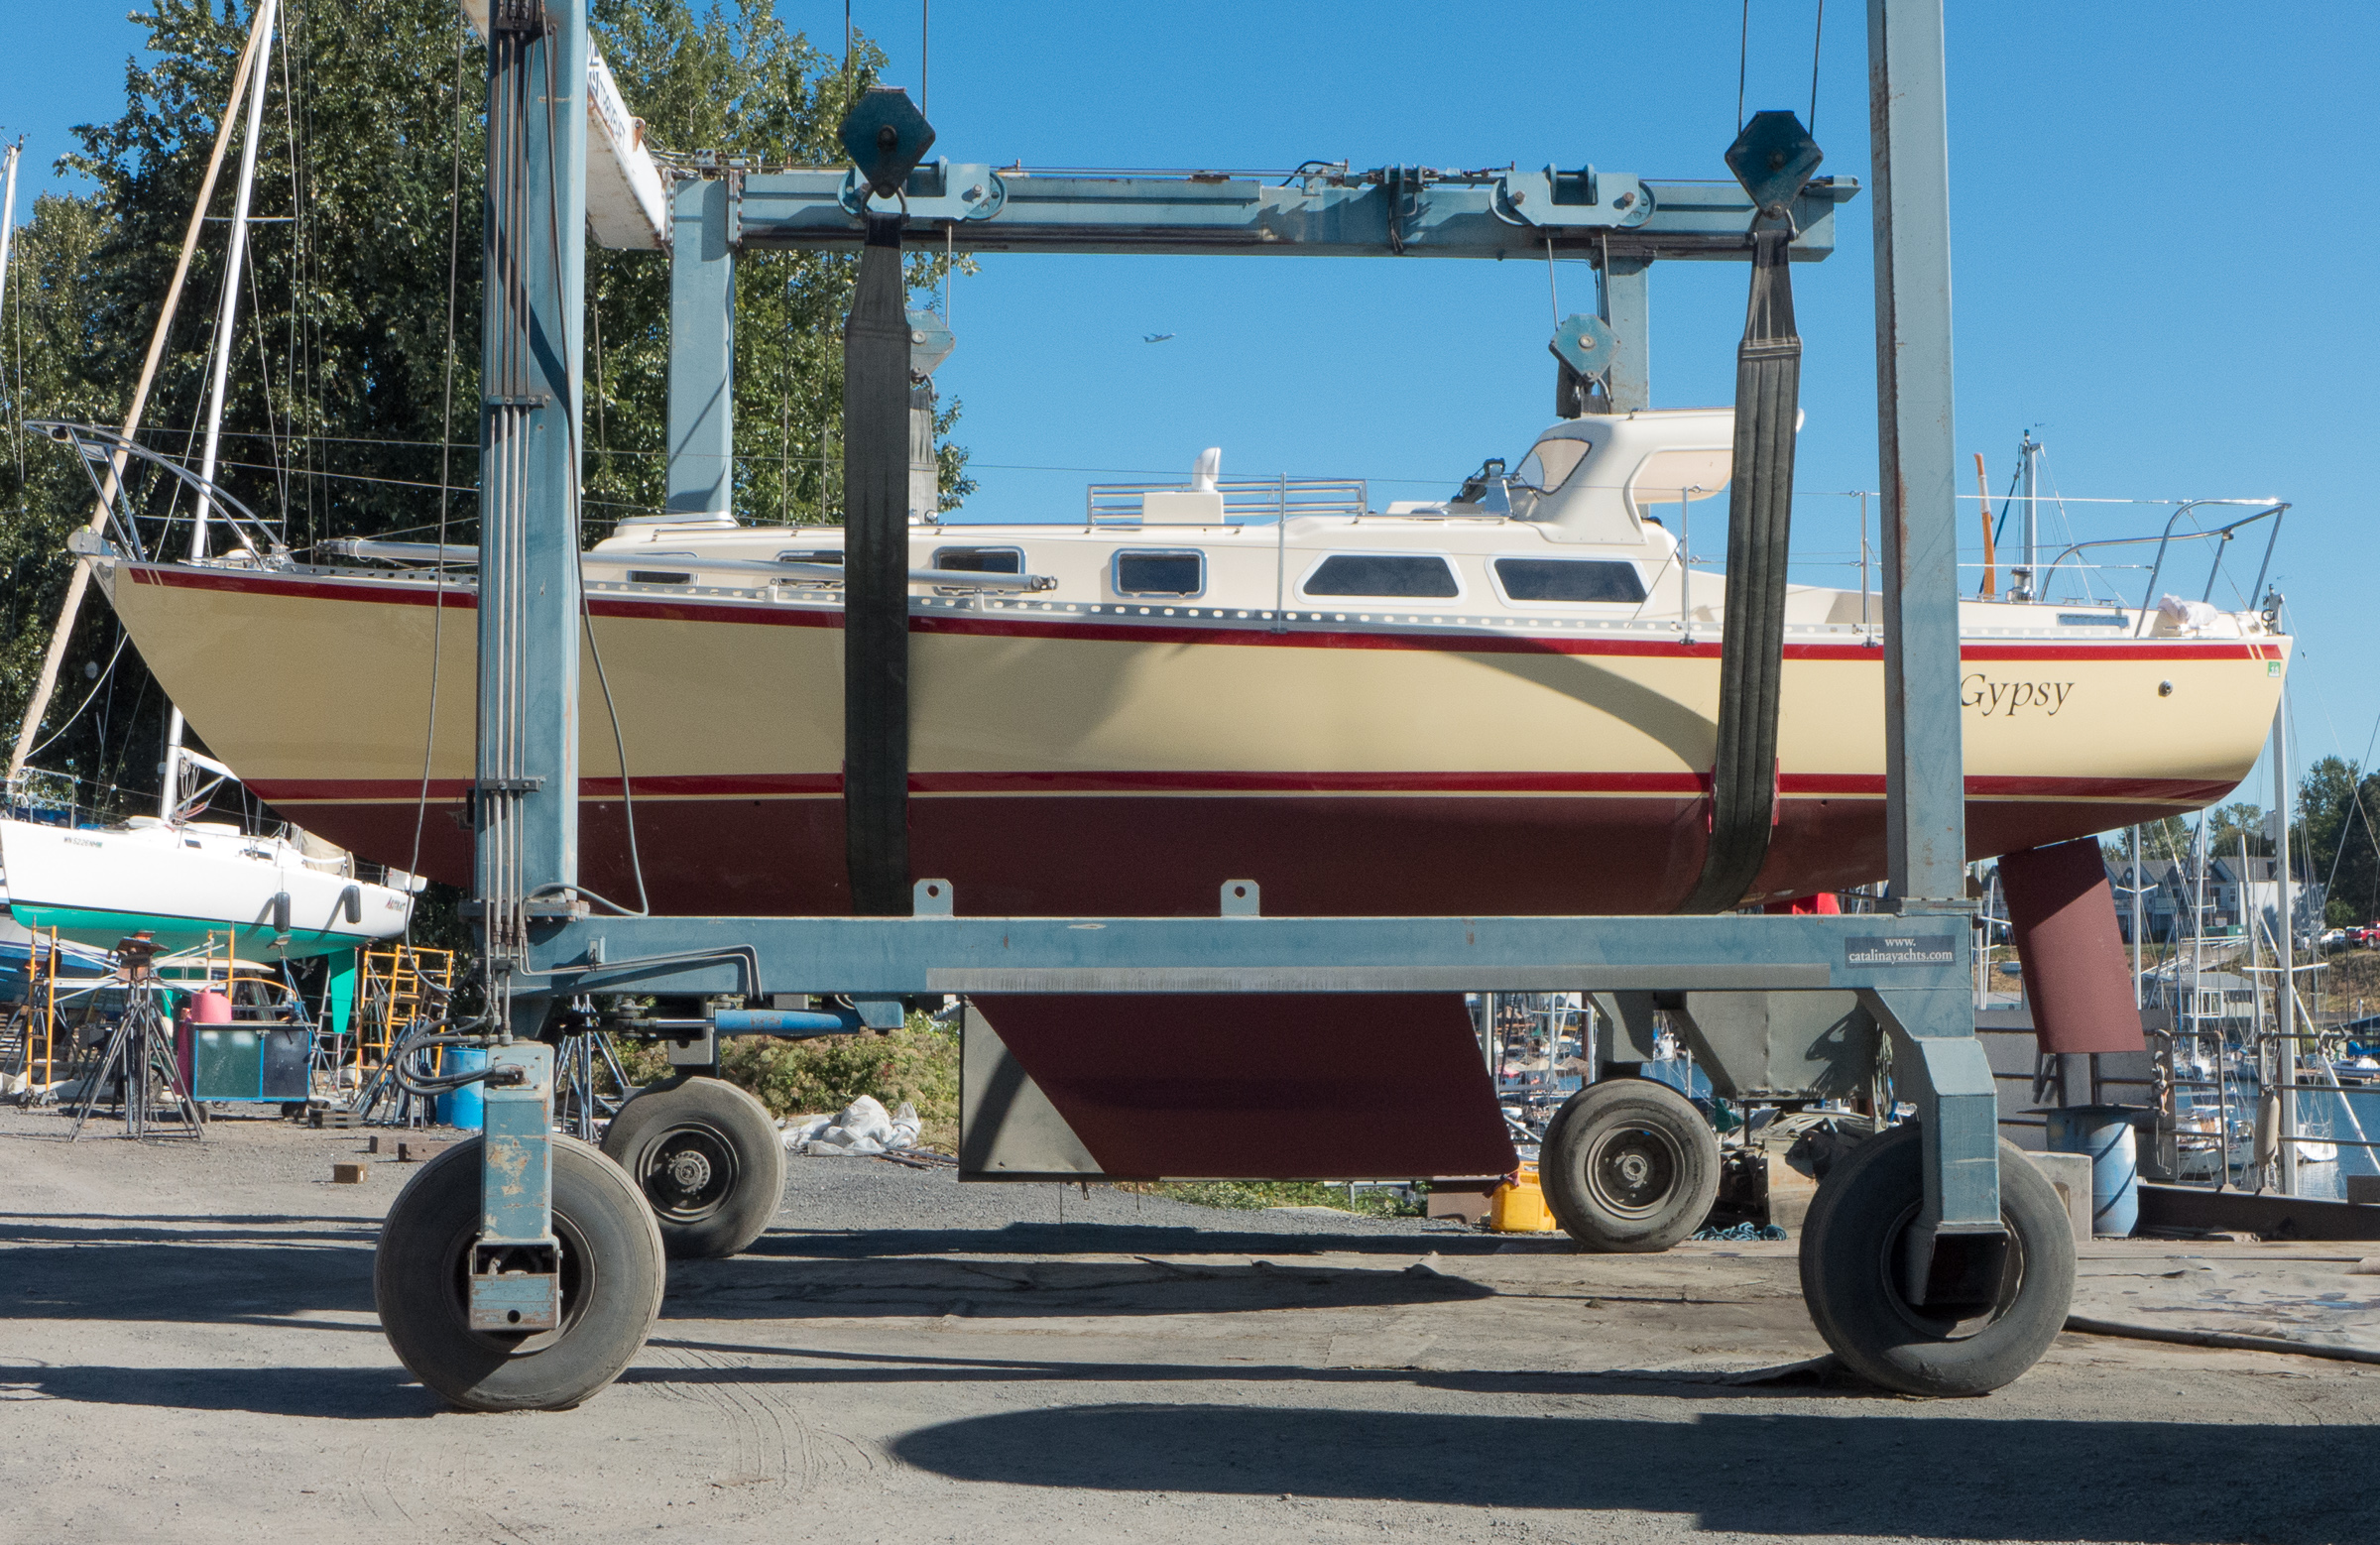
Gypsy got picked up by the travel lift.
Lowering down.Stepping the mast. This involves stuffing the wires down through the deck and then attaching the rigging wires to hold the mast up.
We cast off from Danish about 5:30 and arrived at RCYC at 6:15.