November has been a long wet grey month where we faced a number of realities that were not pleasant. We knew that both the air and water temperatures were going to get colder and we were in a race to get what we could done while we were still in the operating temperature range of our paints and glues. The cabin sole, which was a big part of our October efforts was too big of a project and it was going to have to wait until spring. We needed to get the head and galley painted, and we needed to get the foam in the refrigerator space. Both of these needed to get done so the head and galley work could continue.
Painting required that we sand the old paint and fill all of the little dings in the surface. When we were ready to paint the big problem was the damp cool weather which is not ideal for painting. At least we had no problems with the paint flashing and getting tacky too fast.


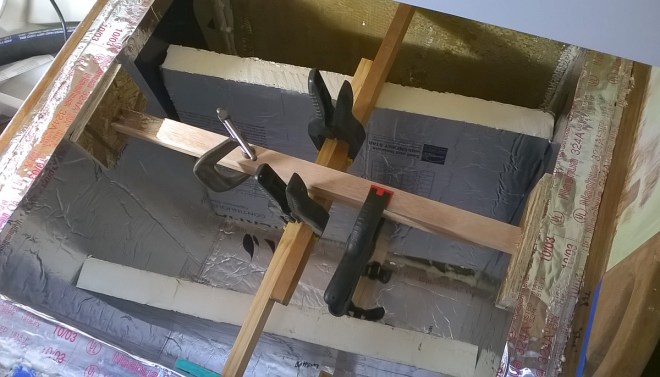
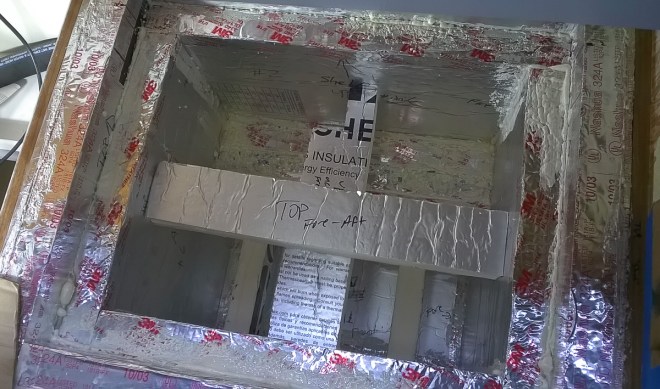
We also wanted to get the insulation into the refrigerator. Bill was torn between building the liner for the fridge first and insulating around that or insulating first and building the liner to fit. Insulating first won. It allowed us to be sure we got enough foam installed and avoids having odd small gaps to fill. The space was measured and the foam panels were cut out. Then the panels were fit to the box. When the dry fitting was done the edges of the foam were covered with aluminum tape to keep out moisture. Based on all the info he found, the best practice is to install at least four inches on all sides. Our refrigerator will have 5-6″ of foam around it not counting the pour foam.

The panels were glued into place with industrial polyurethane adhesive. Spray foam, the stuff in a can, was used to fill any gaps.


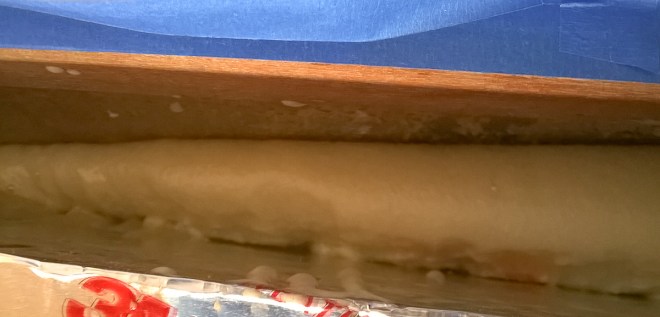
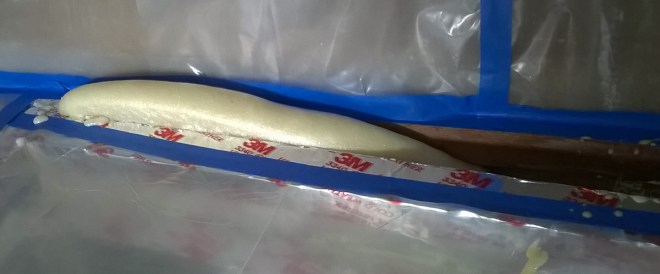
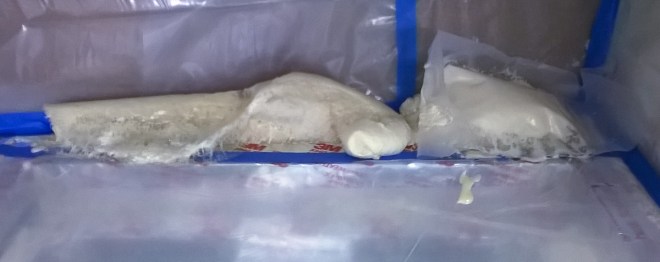
The two chemicals for the foam are mixed 50/50. You get a few seconds to mix and then it starts to foam. The foam expands a lot so you don’t want to distort your structure with too big of a pour. We did 1 cup batches.
Now we will let everything harden and dry and then it is back to work next weekend.

Still, as usual, great!
Respectfully, Charles Needles
>
LikeLike