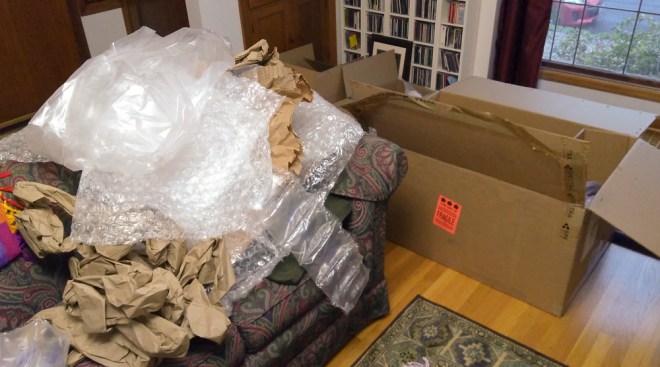
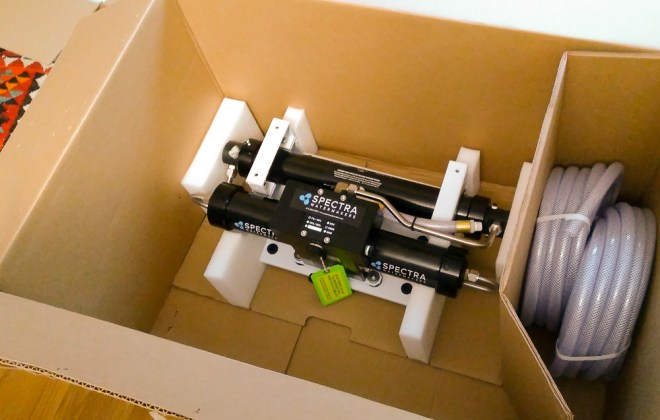
We went to the Seattle Boat show at the end of January and we made a decision on a watermaker. We decided to get it this year so we could try it out, in salt water, on our summer trip to Vancouver Island. We ordered it and it arrived. It was in a huge box.


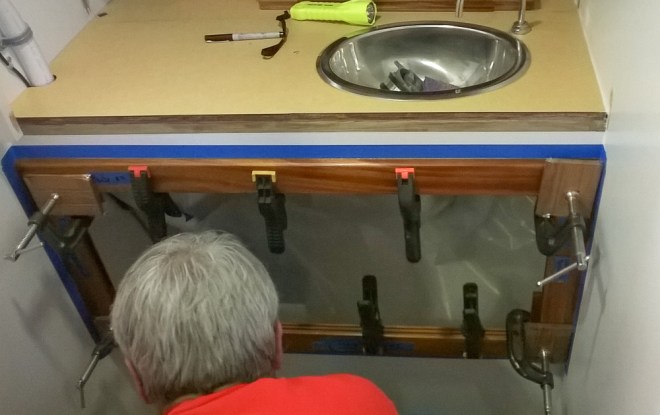
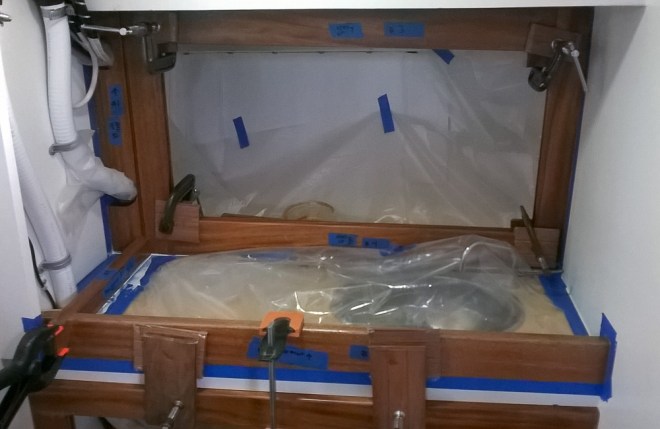
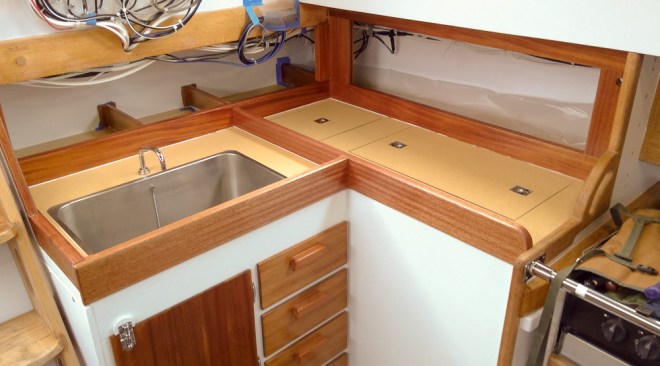
The watermaker was a fun diversion to the real project of putting the galley and head trim in. Being slightly crazy we decided to epoxy the wood to wood joints and use 3M 4000 on the wood to formica joints. This meant we had two different glues and clean ups going at once.
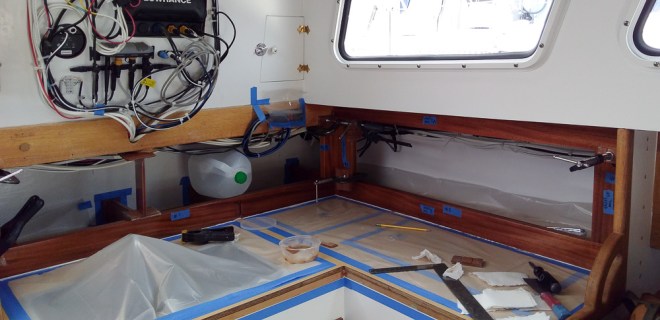
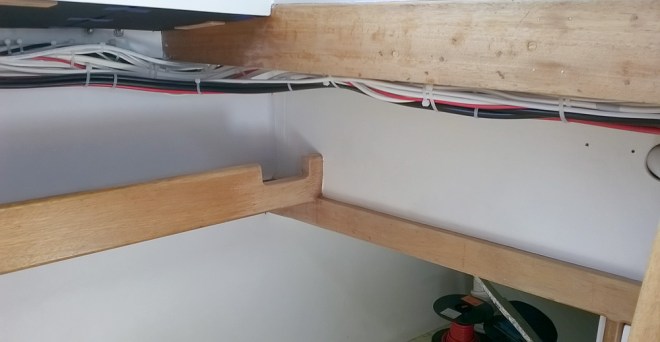
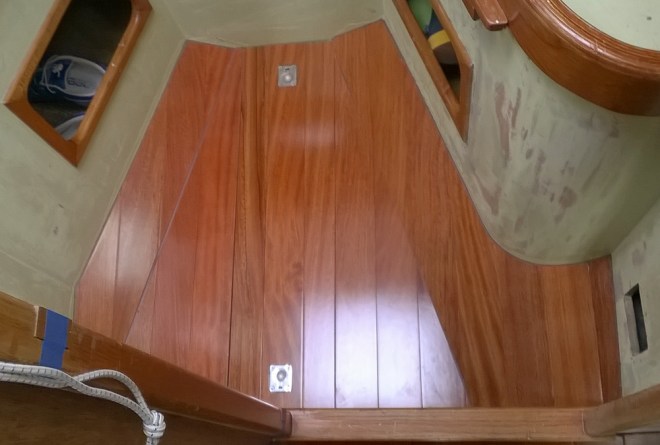
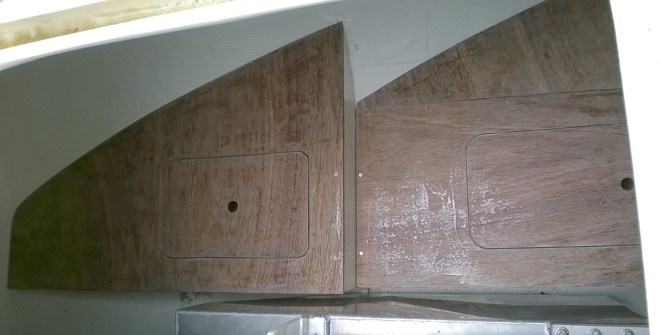
We have also been completing the cabin sole. We got the flooring installed in the head, passageway and vee berth. The trick is getting everything to line up once it is covered in glue and to keep it in place.


Nice work !
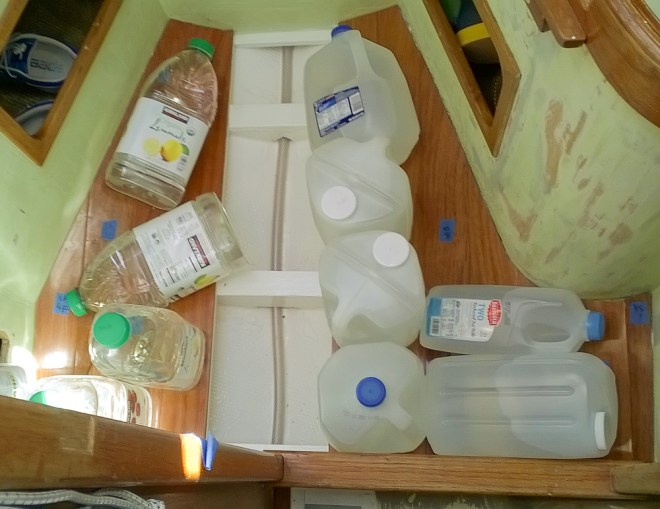
Yes, to gallon water jugs. They are my friends for watering house plants.
LikeLike
Another big step forward! Bravo!
LikeLike