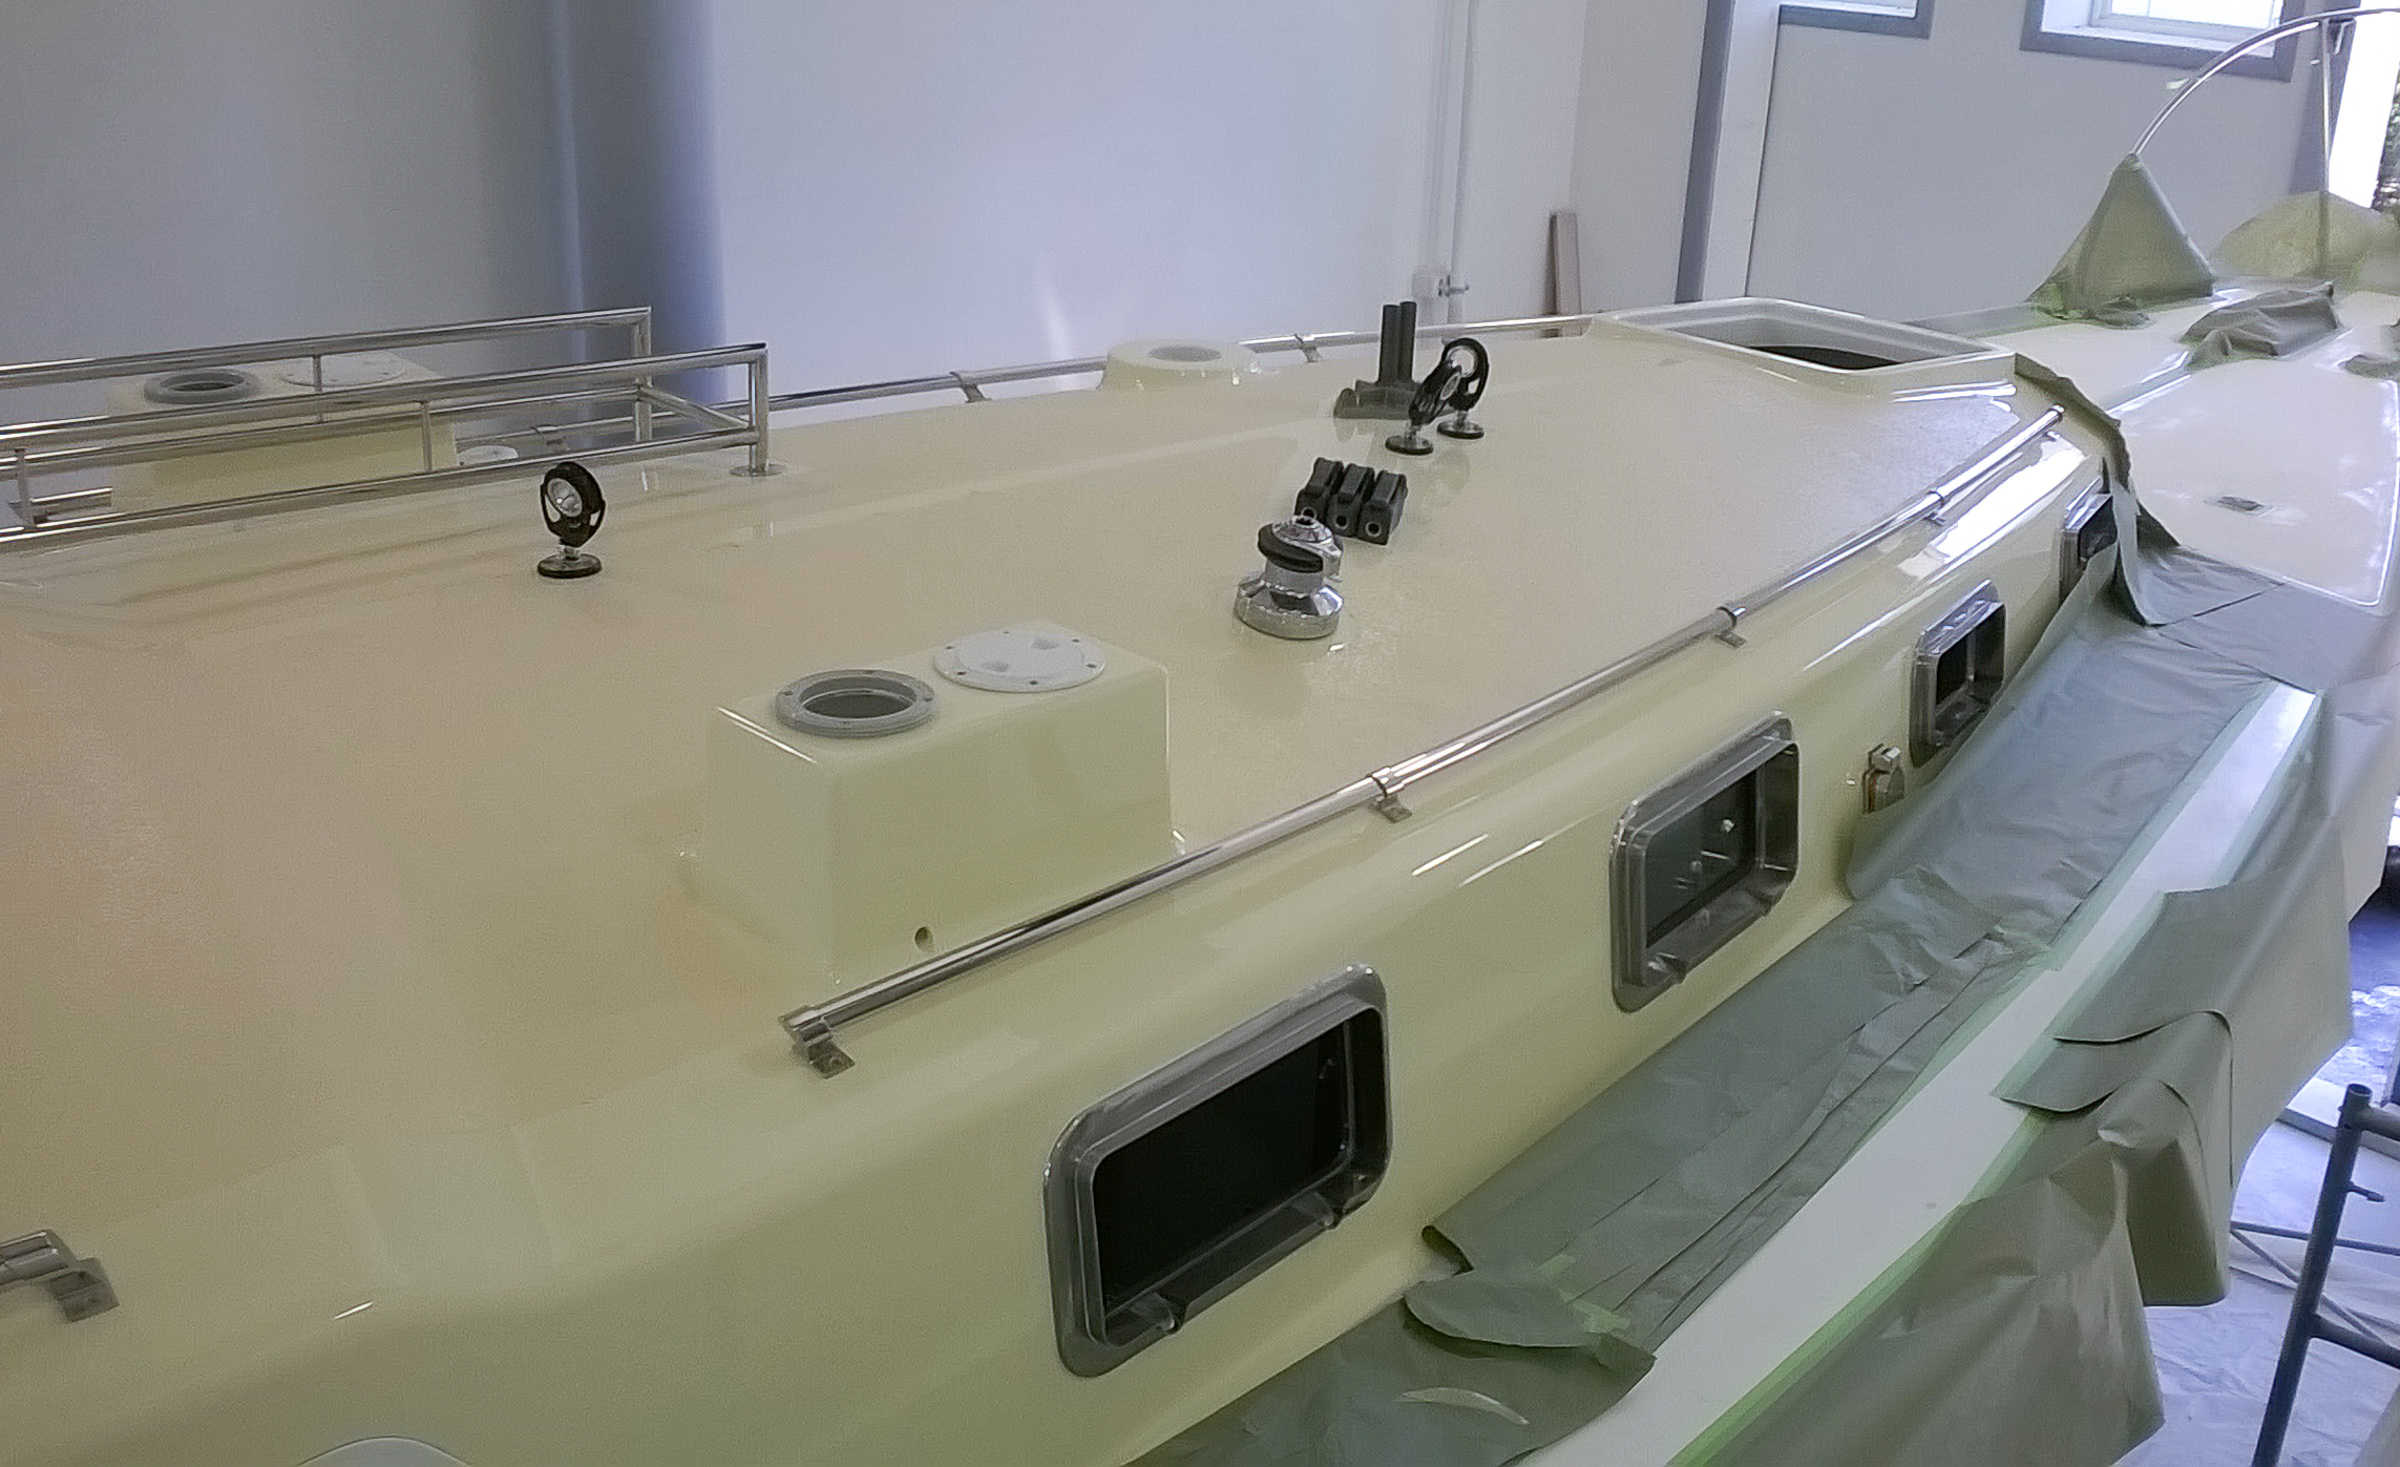
This was the week for installing the rest of the deck hardware and getting ready to paint the non-skid. Long days at the beginning of the week and shorter towards the end.

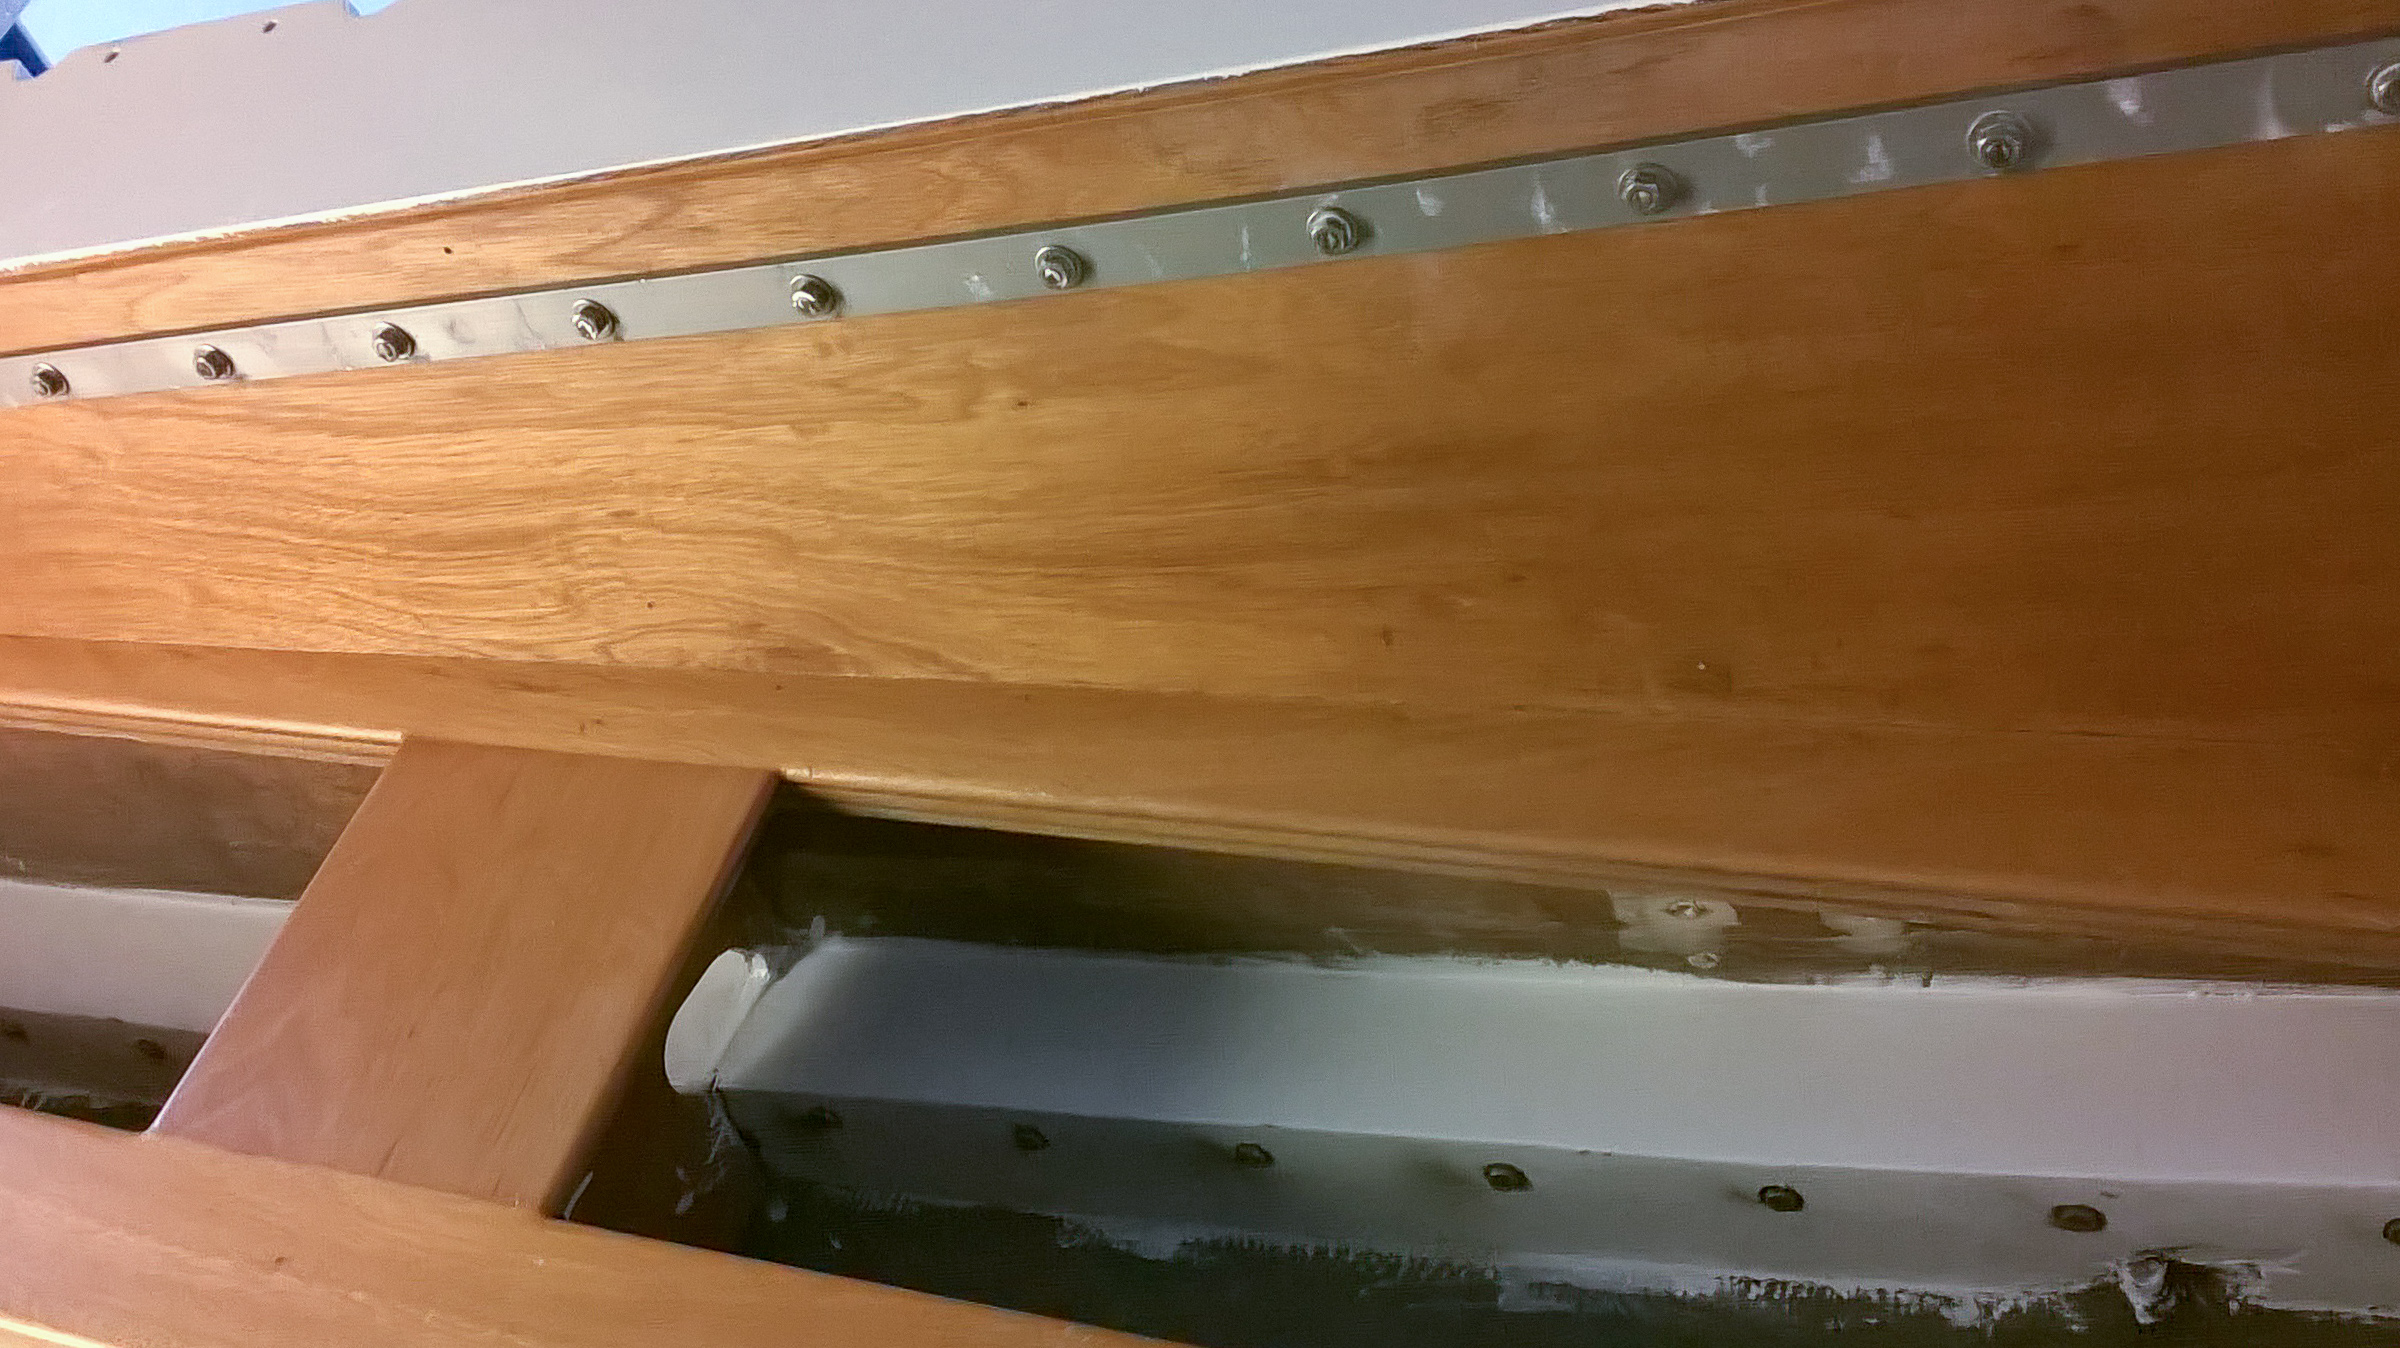
Also below are the hundreds of bolts that were used to install hardware. Bill went through with a die grinder and got them shortened so there are no gotchas when you reach in lockers.

Putting on hardware is pretty straightforward. Once it’s all in place, you can then figure out where the non-skid will go. We thought we’d done a decent job taping off, but Chris straightened us out (literally) the next day. You want nice round corners with consistent radii, minimal fiddly looking areas, and you want really straight lines so that the eyes beholding the job don’t have weird visual moments. Achieving consistency when you have to consider three dimensions, not just two, is an exercise in practice and patience. Wide tape helps, too.

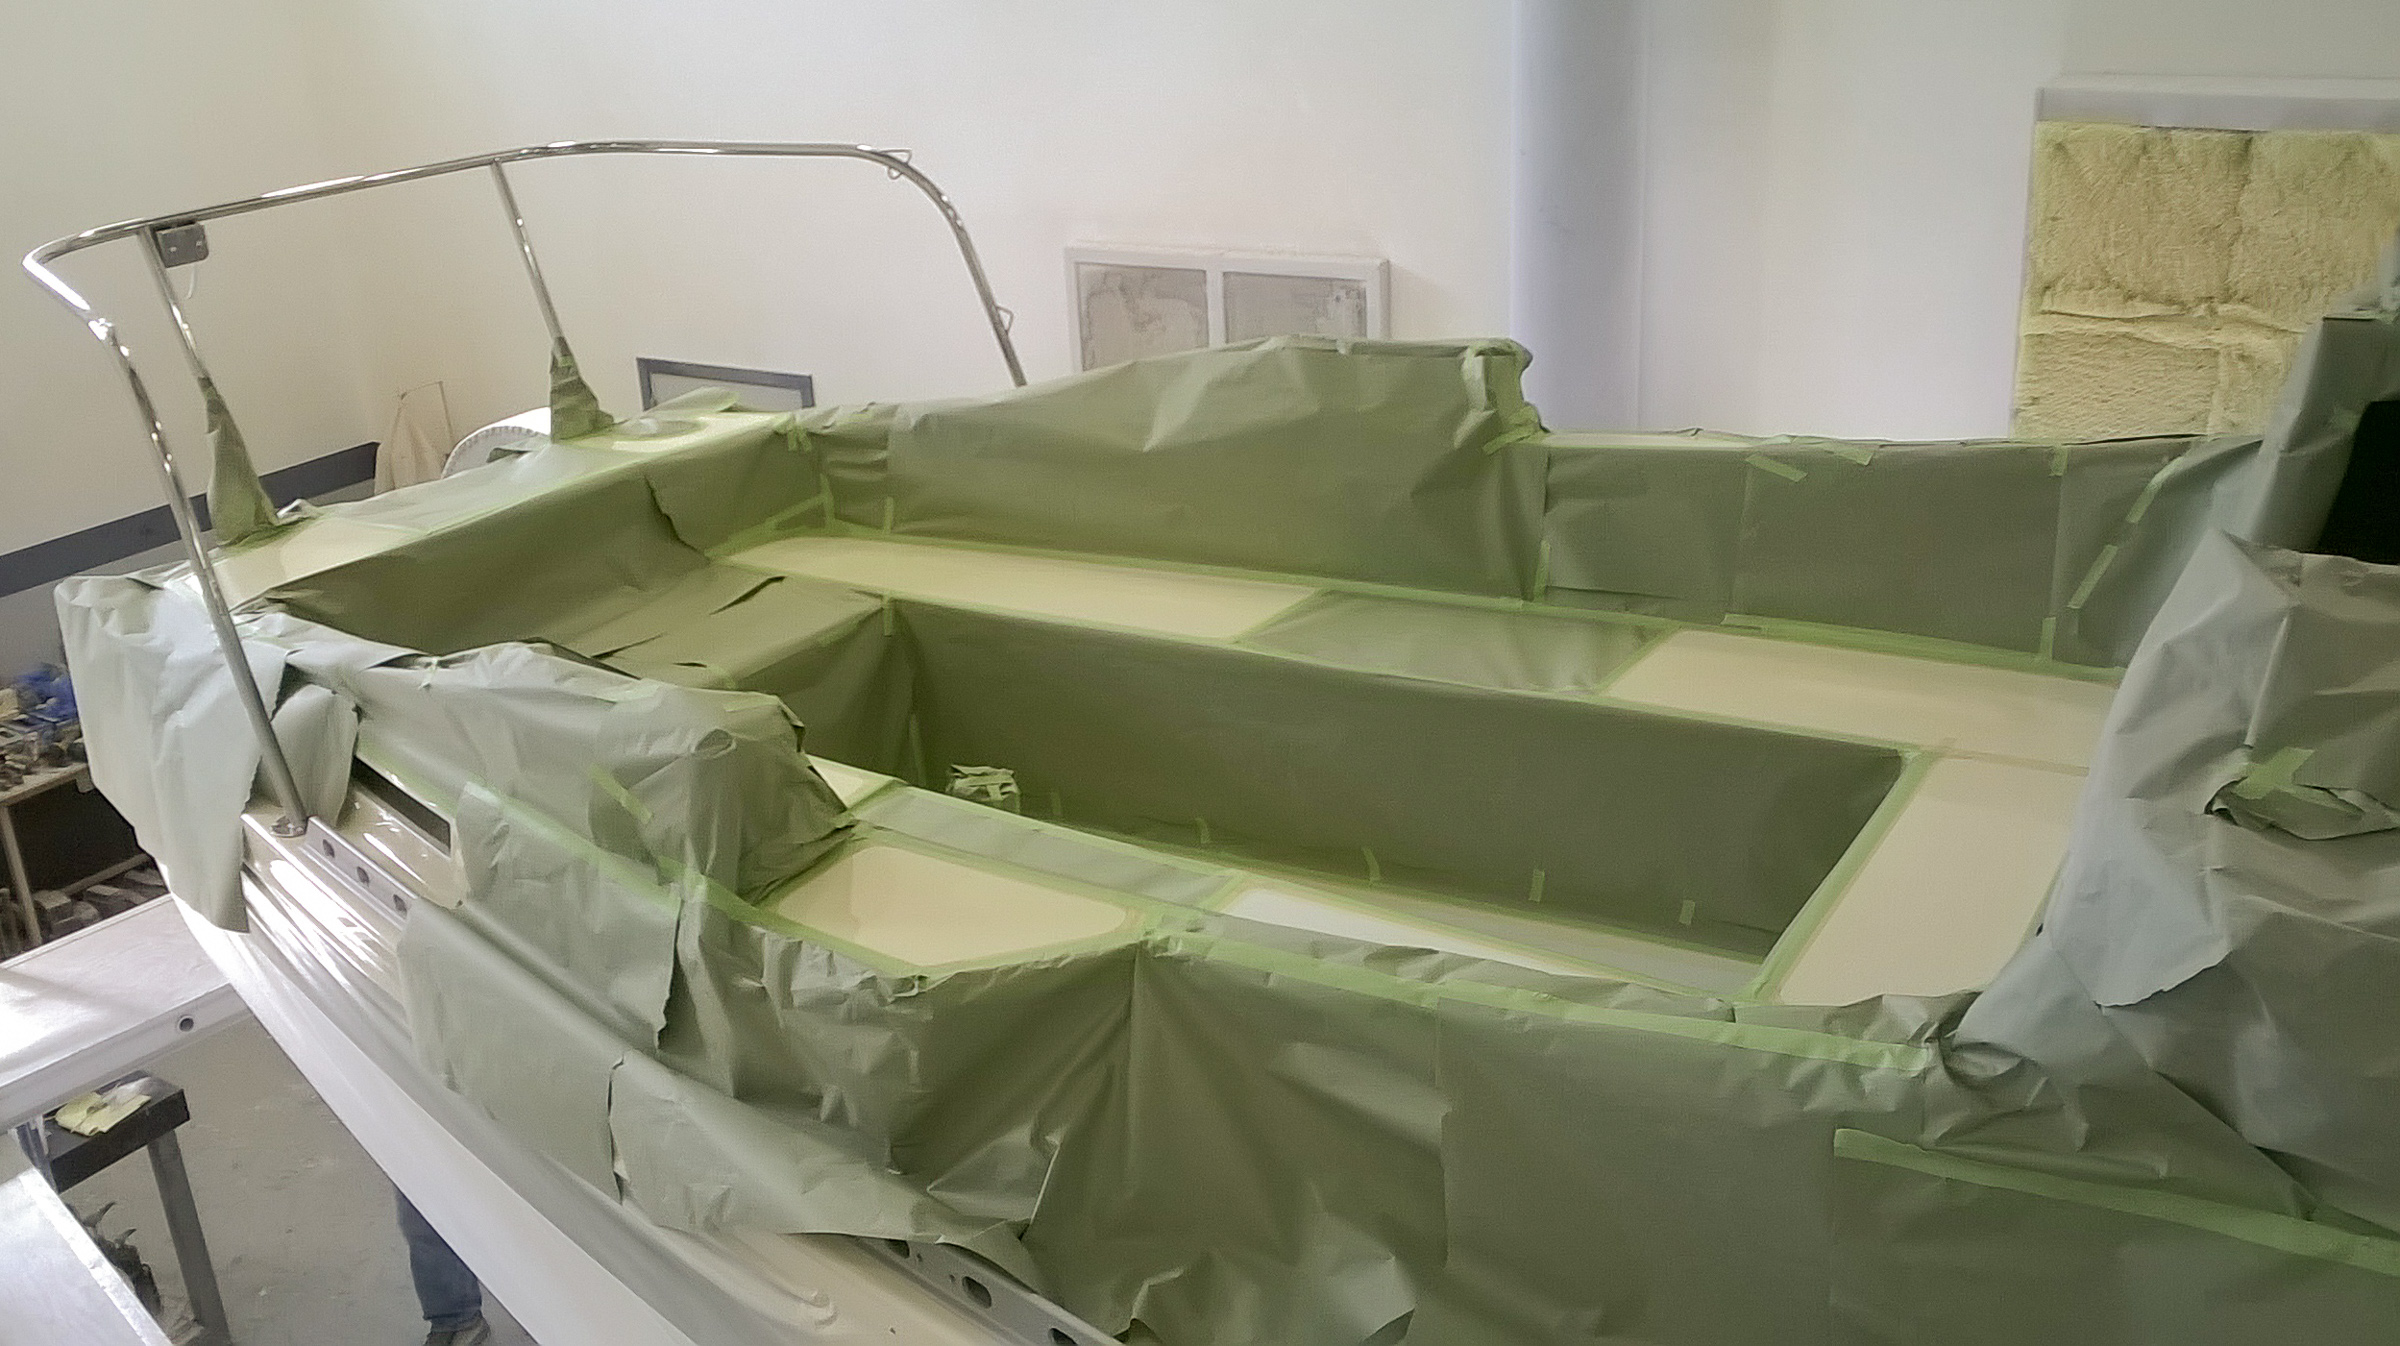
So, you get all the hardware on, tape off where you want the non-skid to go, and then you put masking paper over everything that is remotely adjacent to where you will be painting. And then, you get to take 80-grit sandpaper to the areas that you will be applying non-skid paint. There goes parts of the expensive paint job. It feels like two steps forward, and one step back, but it must be done.
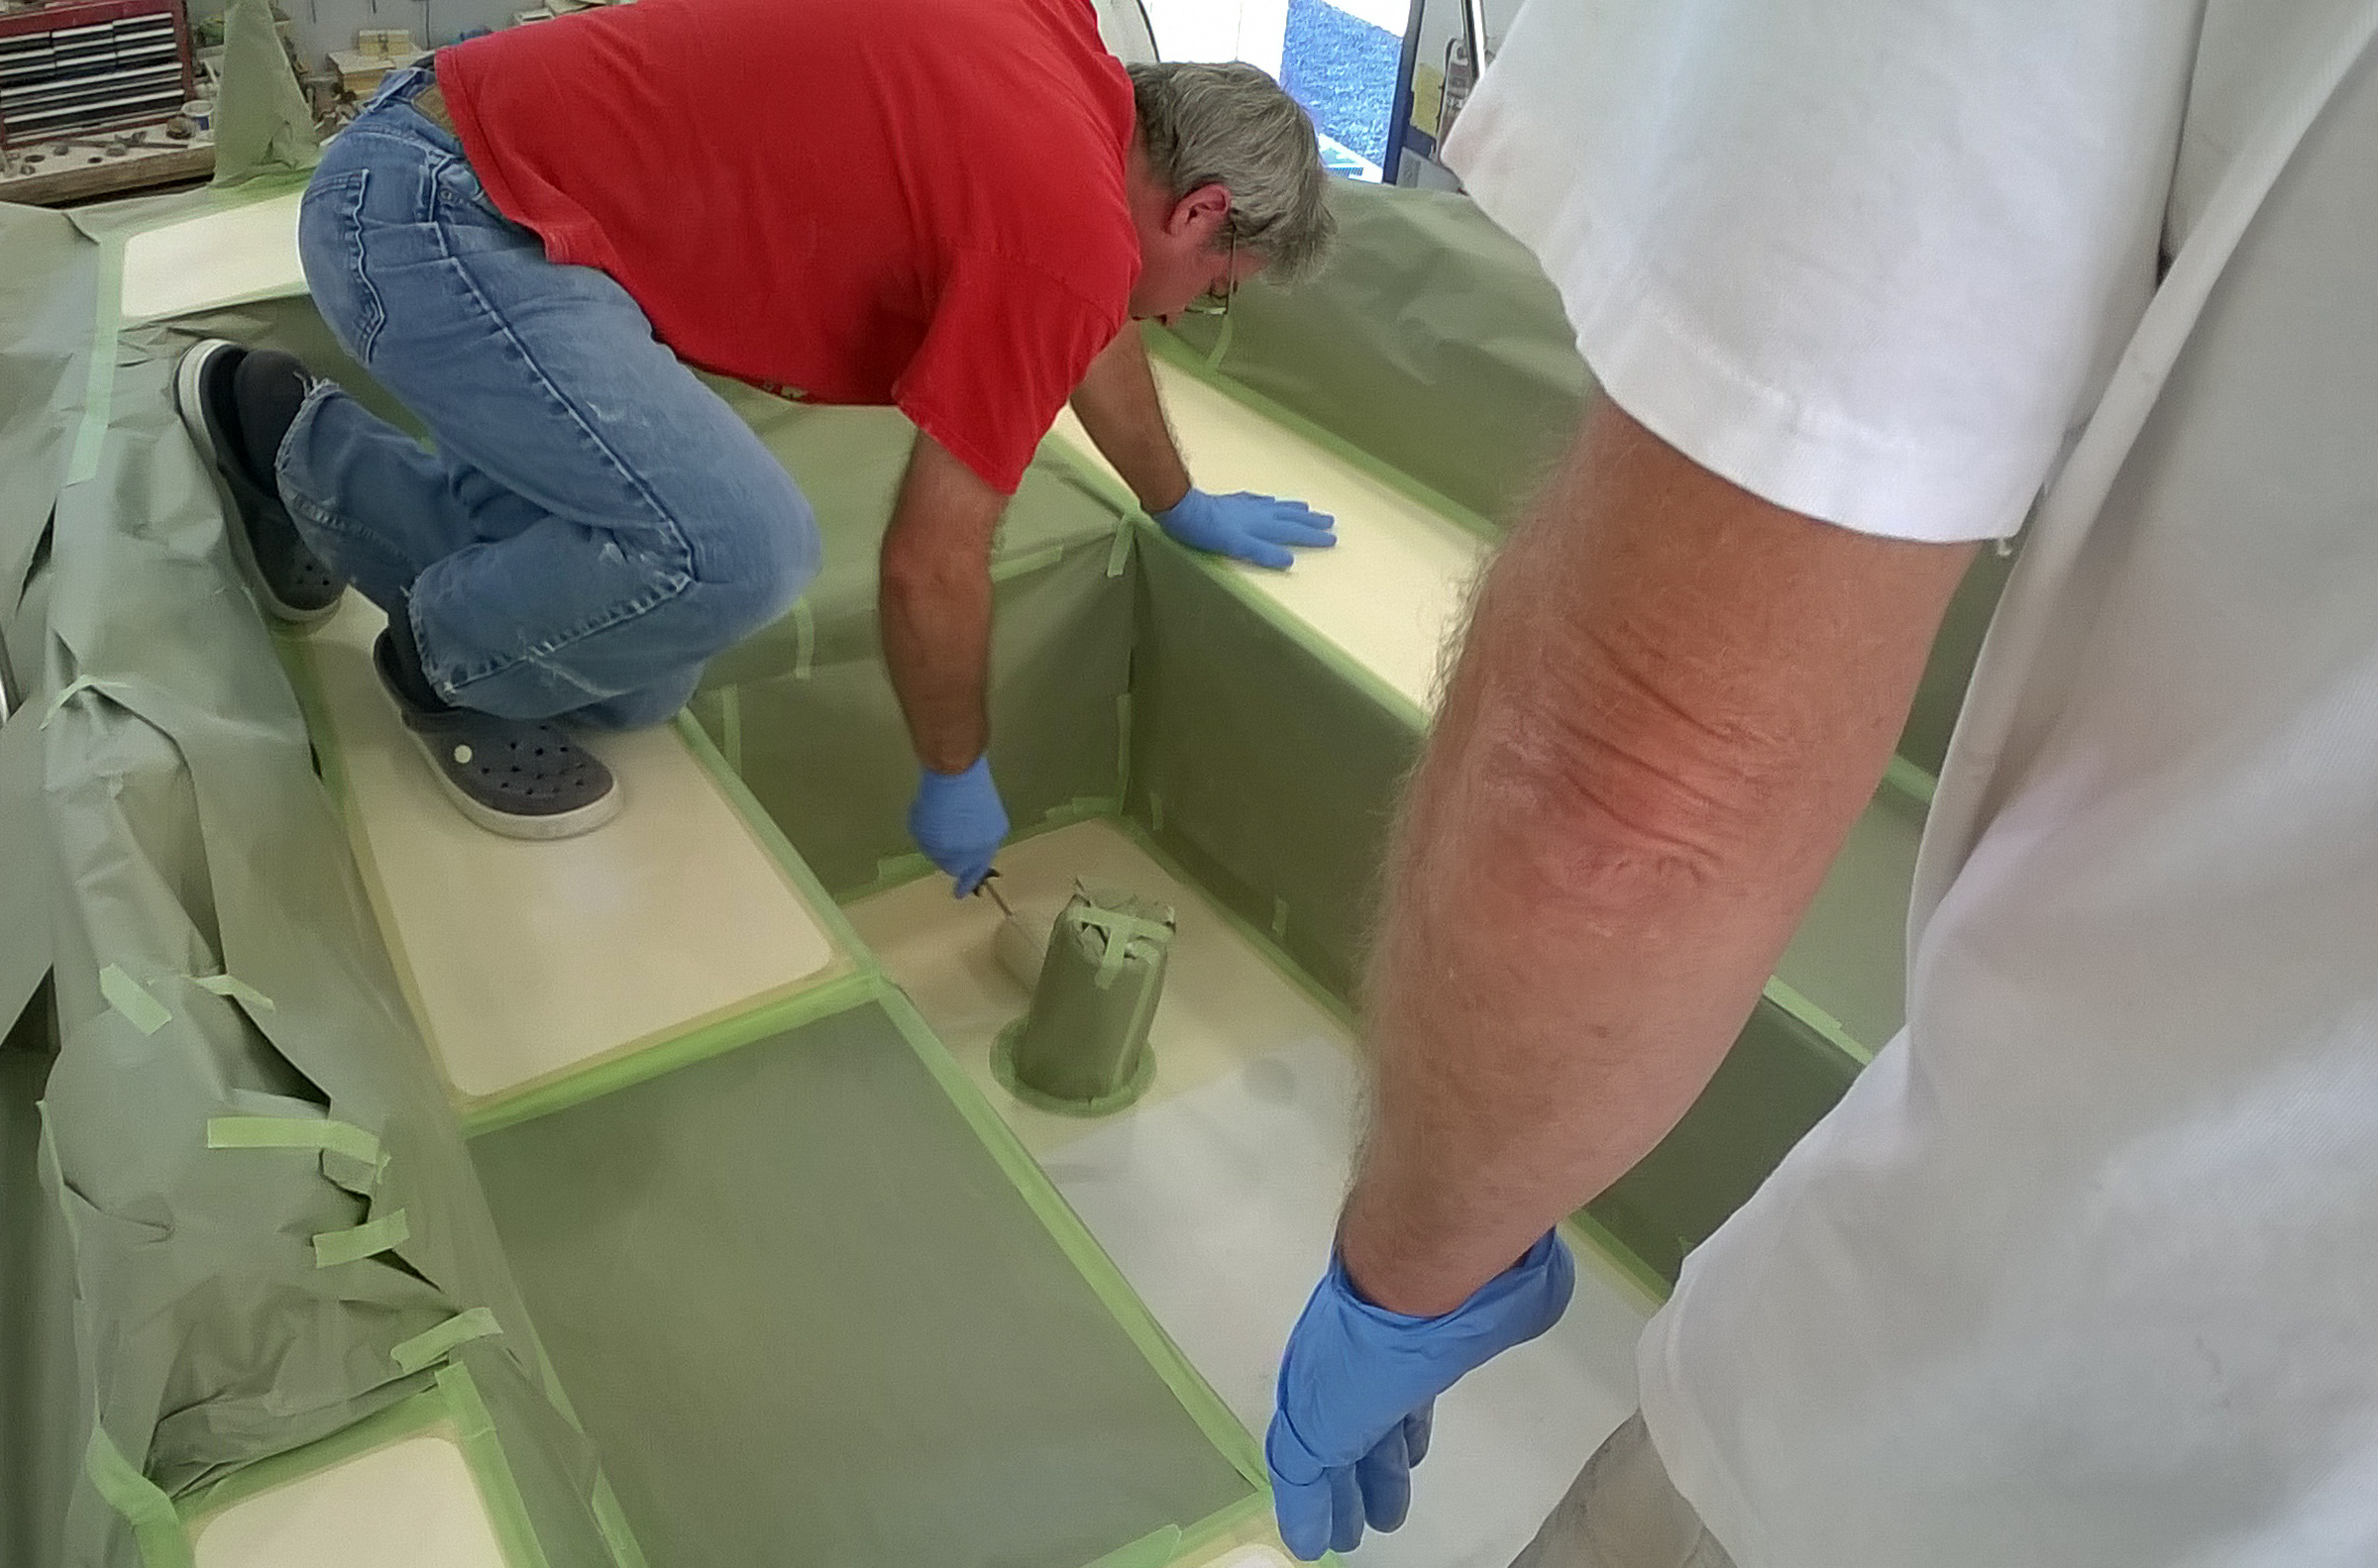
Wednesday, our friend Randy came to help us with the Durabak, the paint we’re using for our non-skid. Durabak is a paint full of rubber bits and it has great traction. All the dust was removed and the surface wiped down with Xylene. Bill rollered the non-skid on, Randy was the spotter and paint mentor, and Nina got to mix and keep the roller tray agitated and full of paint. Lay down a first coat. Wait an hour and roller on another coat. Peel off all the tape and masking for the area painted. Three hours or so later, the cabin top and the cockpit sole were finished. On Thursday, Bill and Nina painted the foredeck and the cockpit seats and coming.

Tally ho!
LikeLike