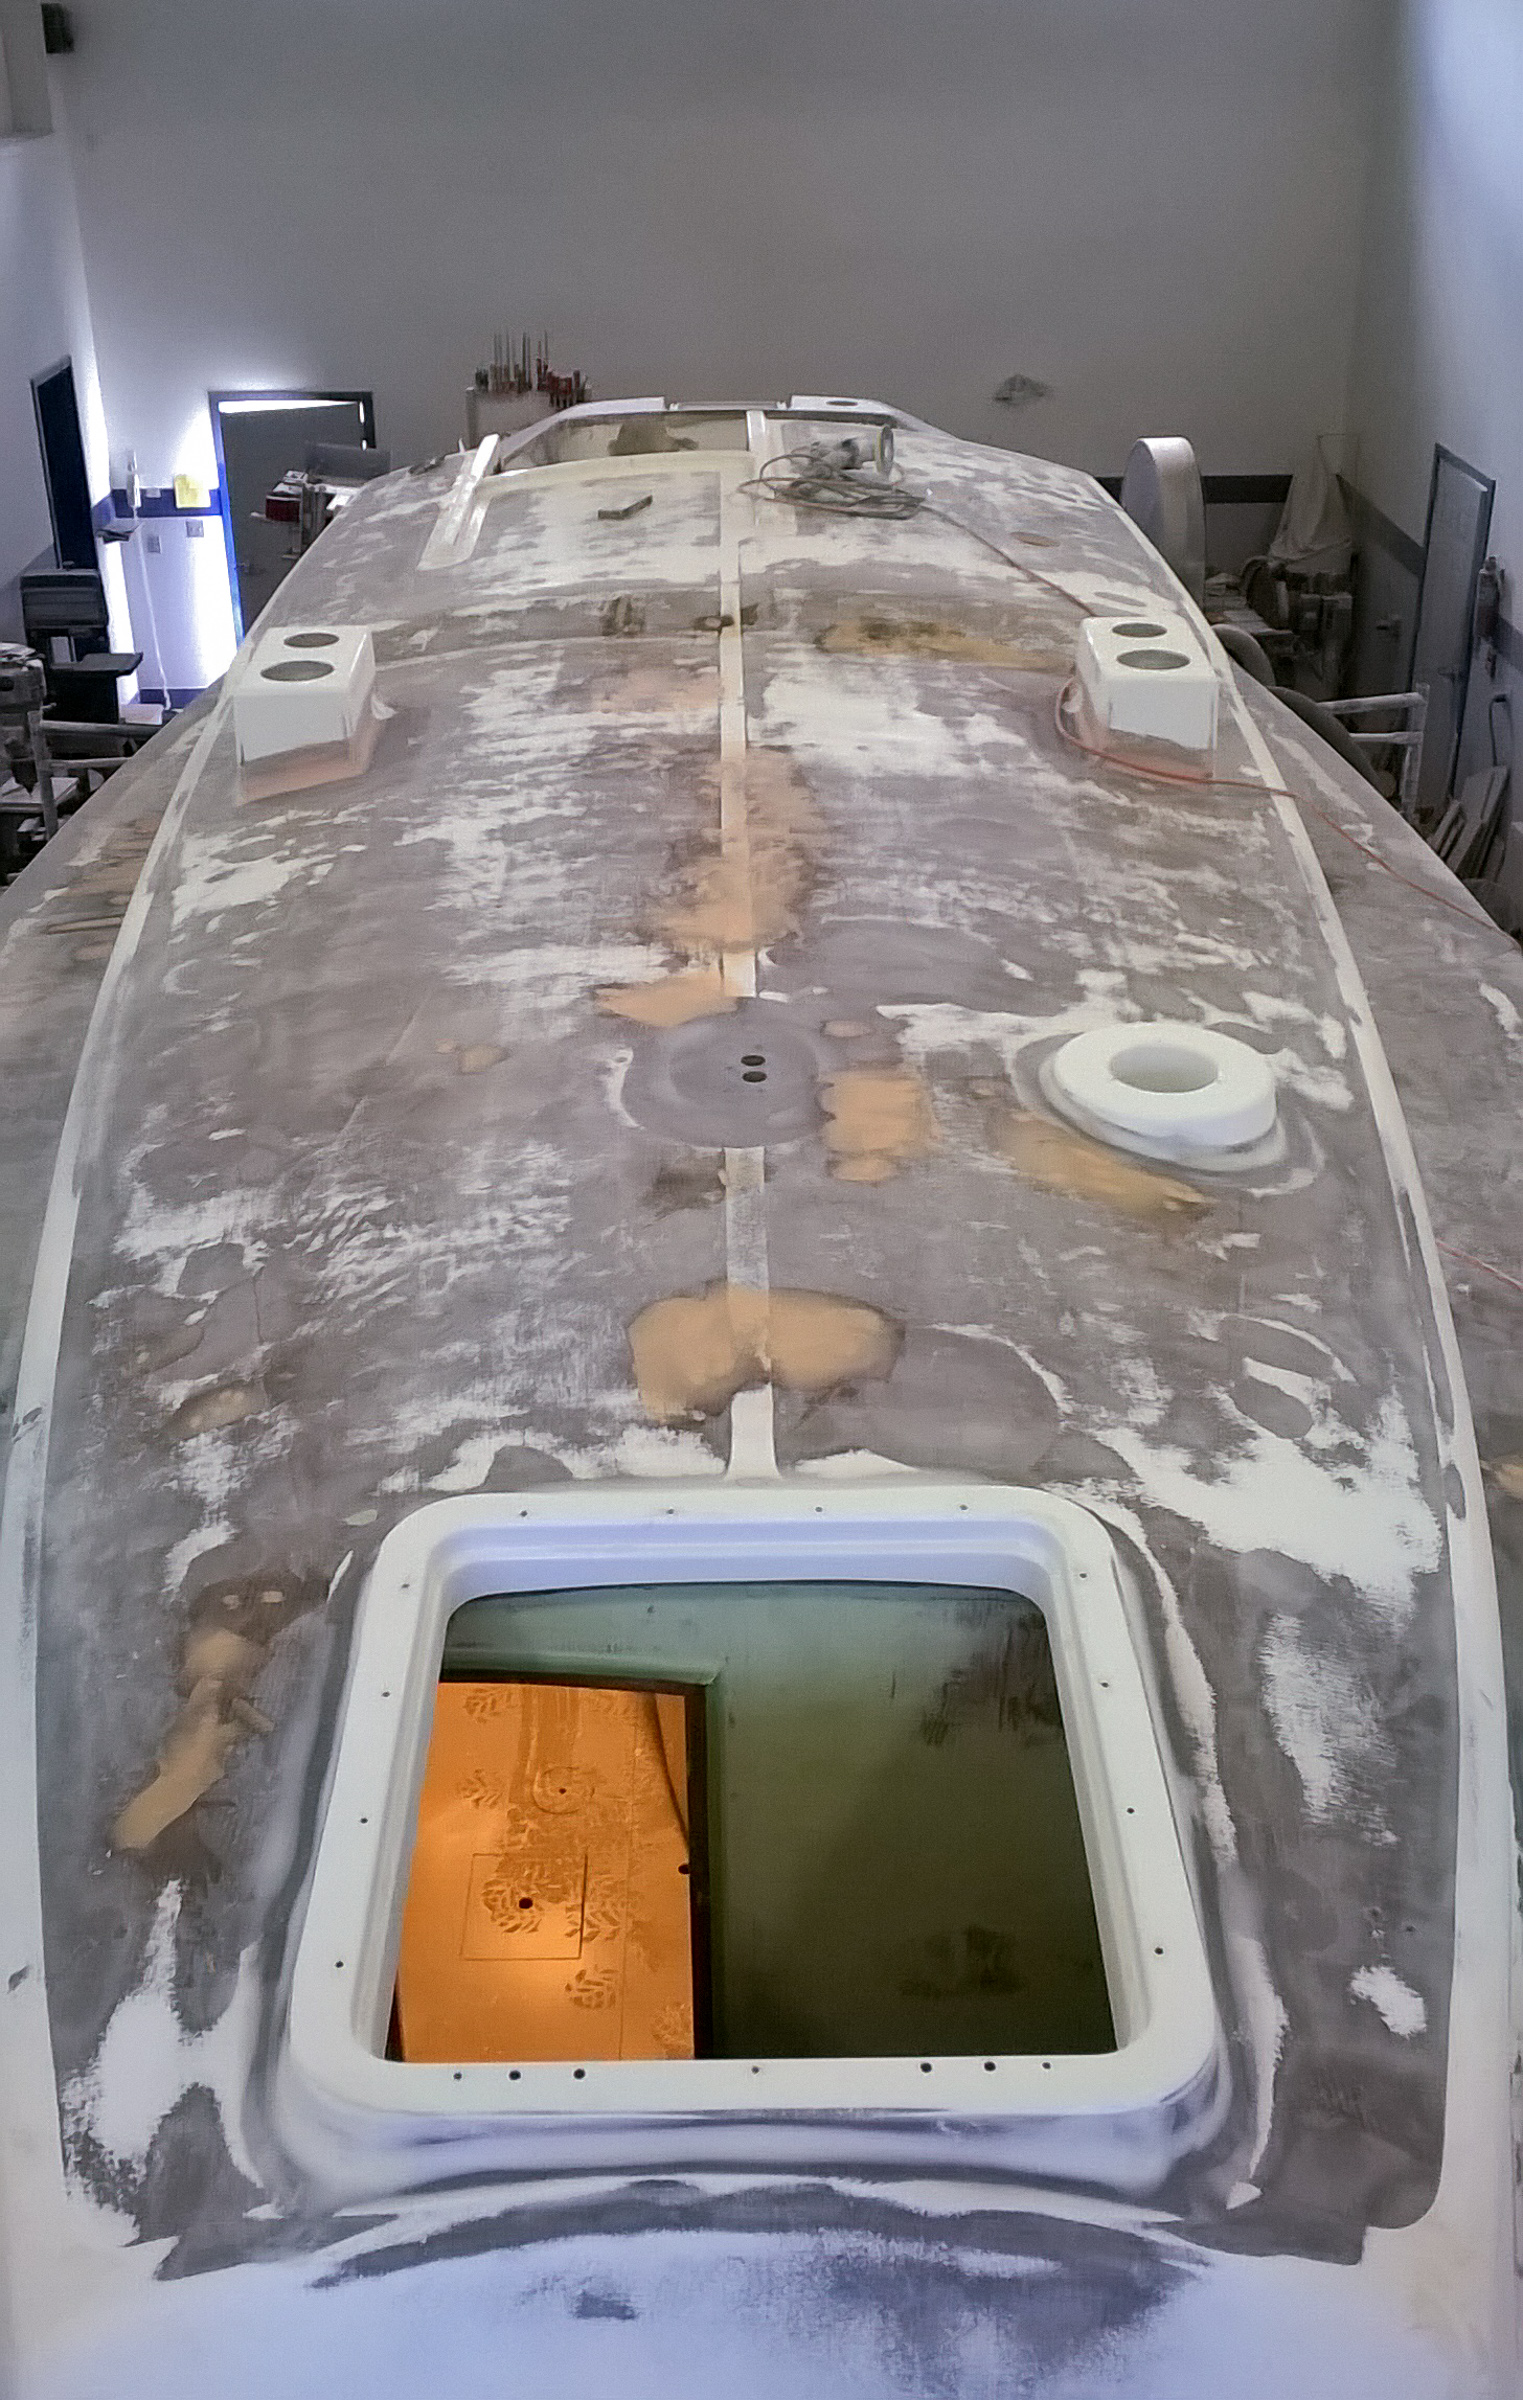
So, life got in the way of posting this week. But, here it is: our weekend’s progress. We arrived on Sunday morning to find a list of things to do and a boat with the non-skid sanded off! And we were greeted with a list of tasks. This was also a good thing, because we weren’t quite sure how much we had left to do. One of Nina’s first tasks was to track down any air bubbles that had been exposed by sanding off the non-skid, grind them down and basically fill them with body putty. This turned into one of those learning curve projects, but after many spots of not quite spot on puttying, she learned how to do it properly. Tom gets to make them smooth.
Non-skid sanded off, oh my! The pinky-beige spots are where the air bubbles have been filled in and are waiting to be sanded smooth.
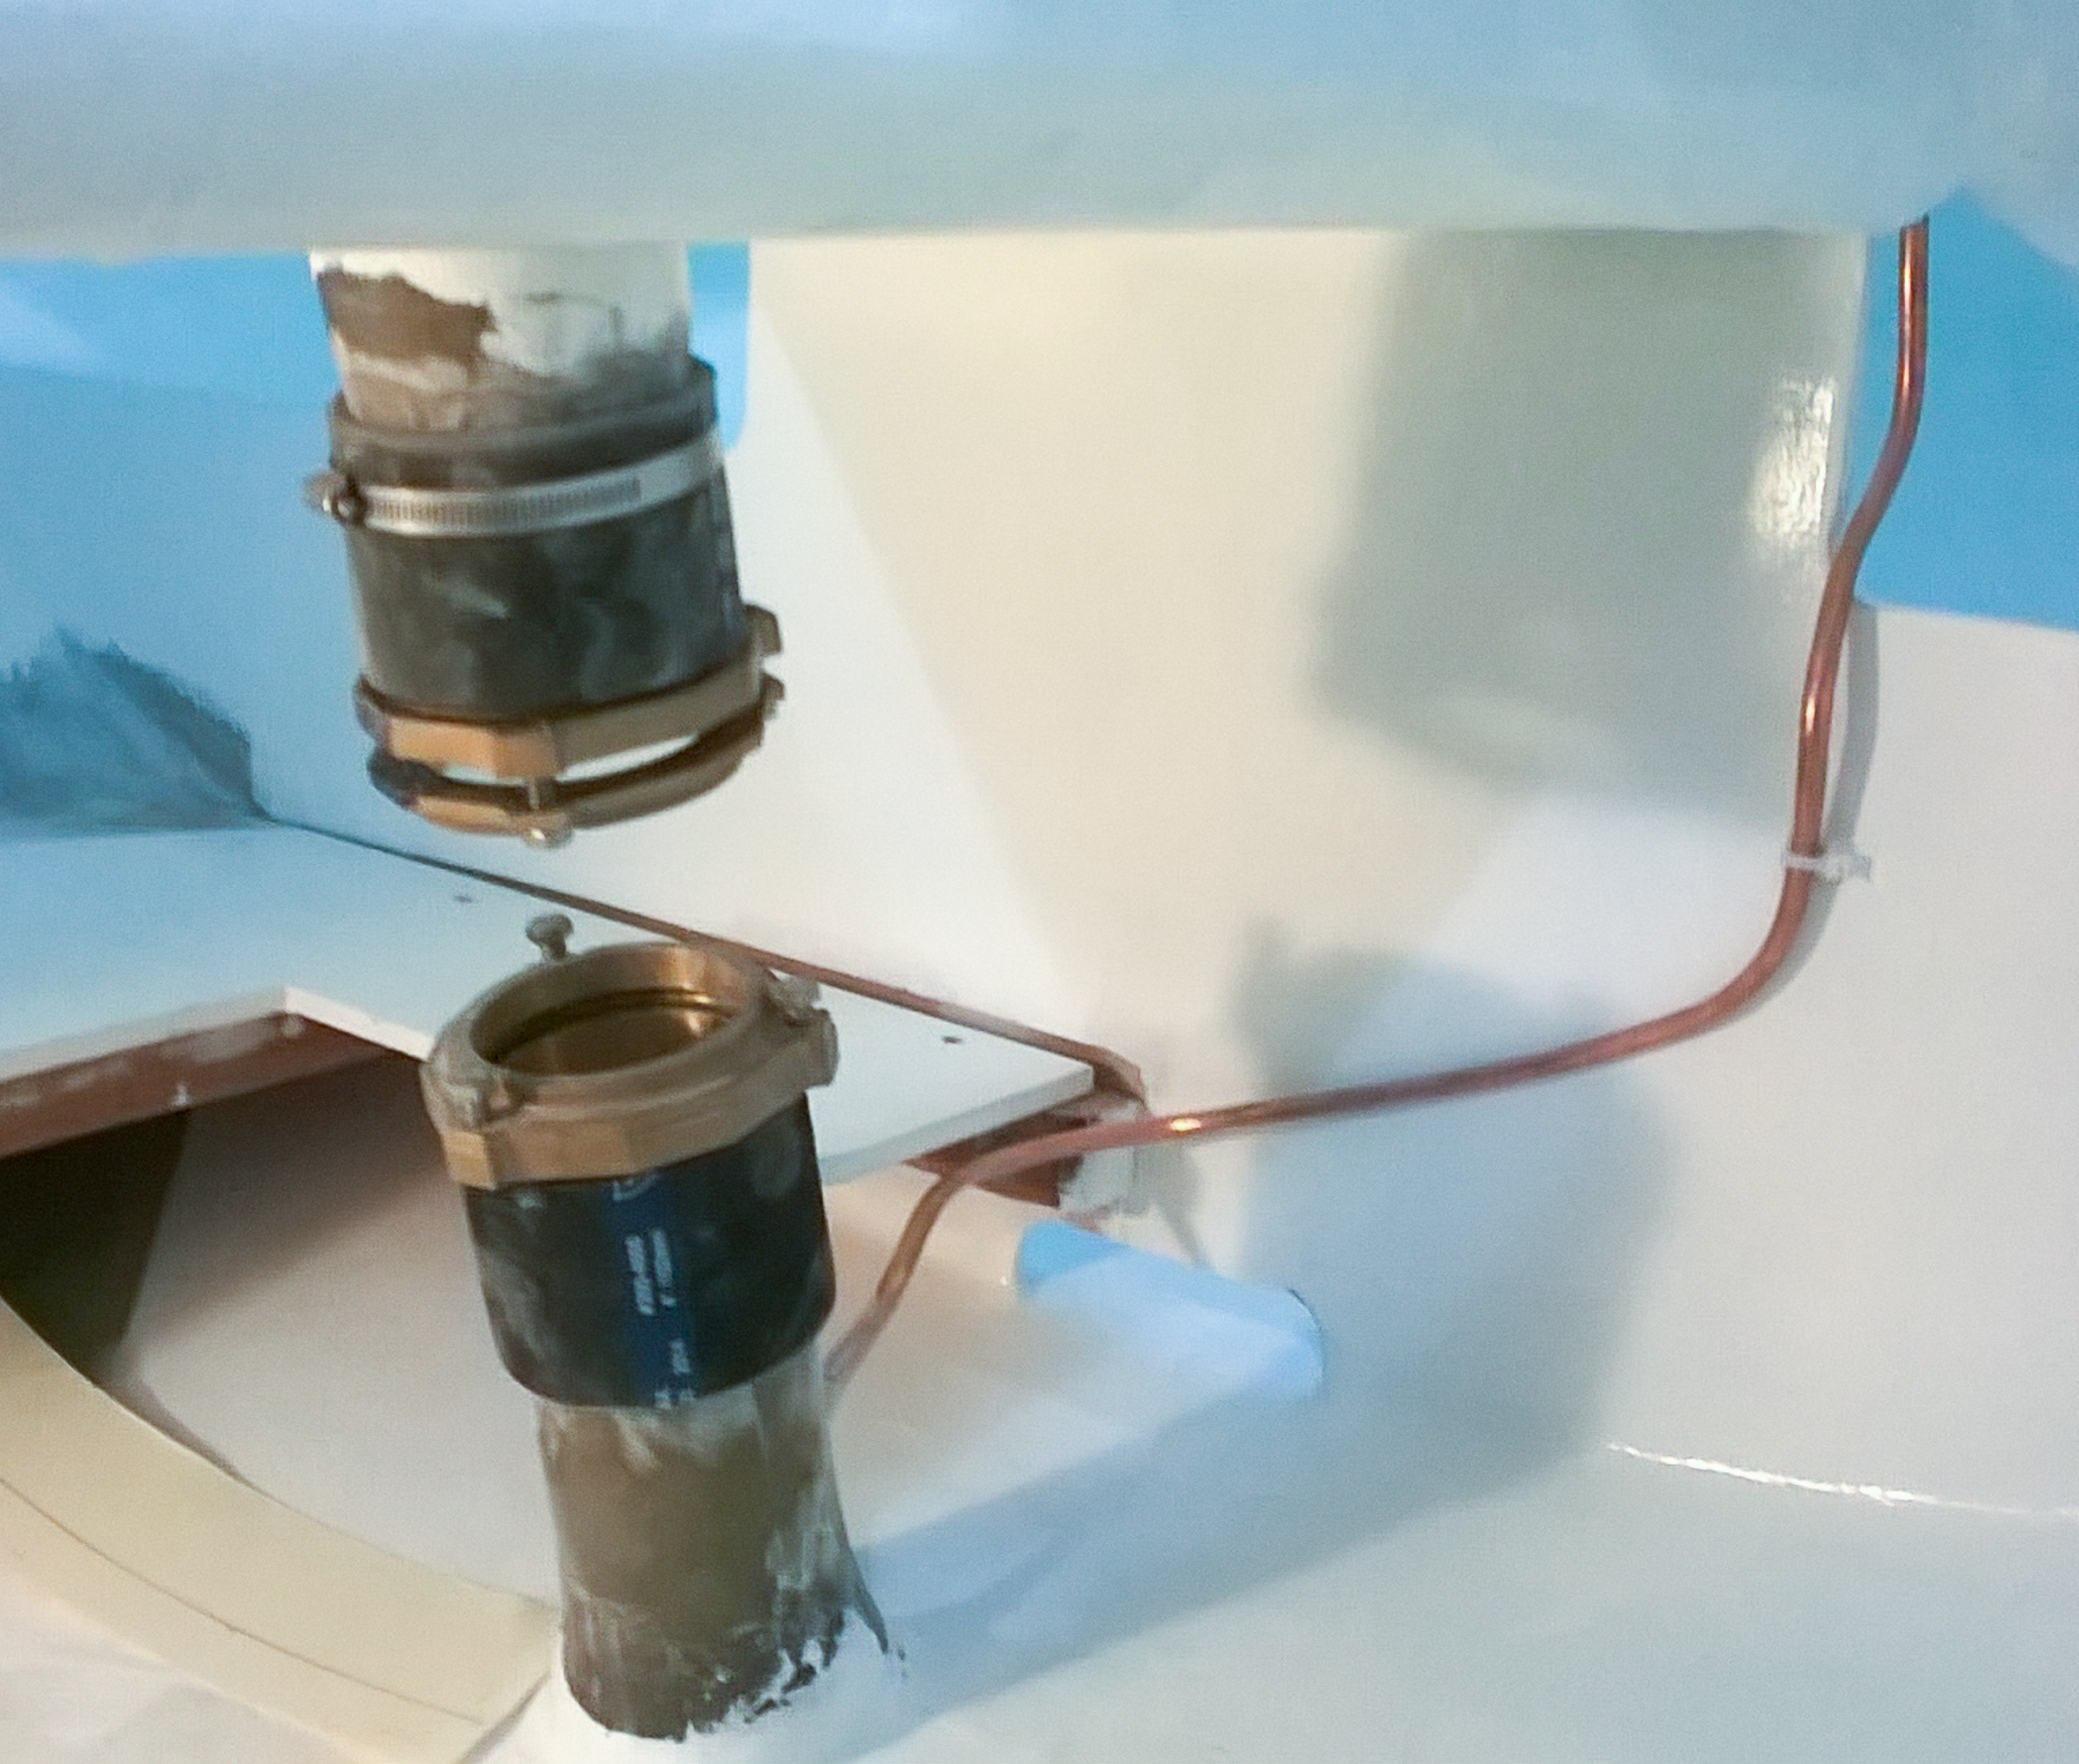
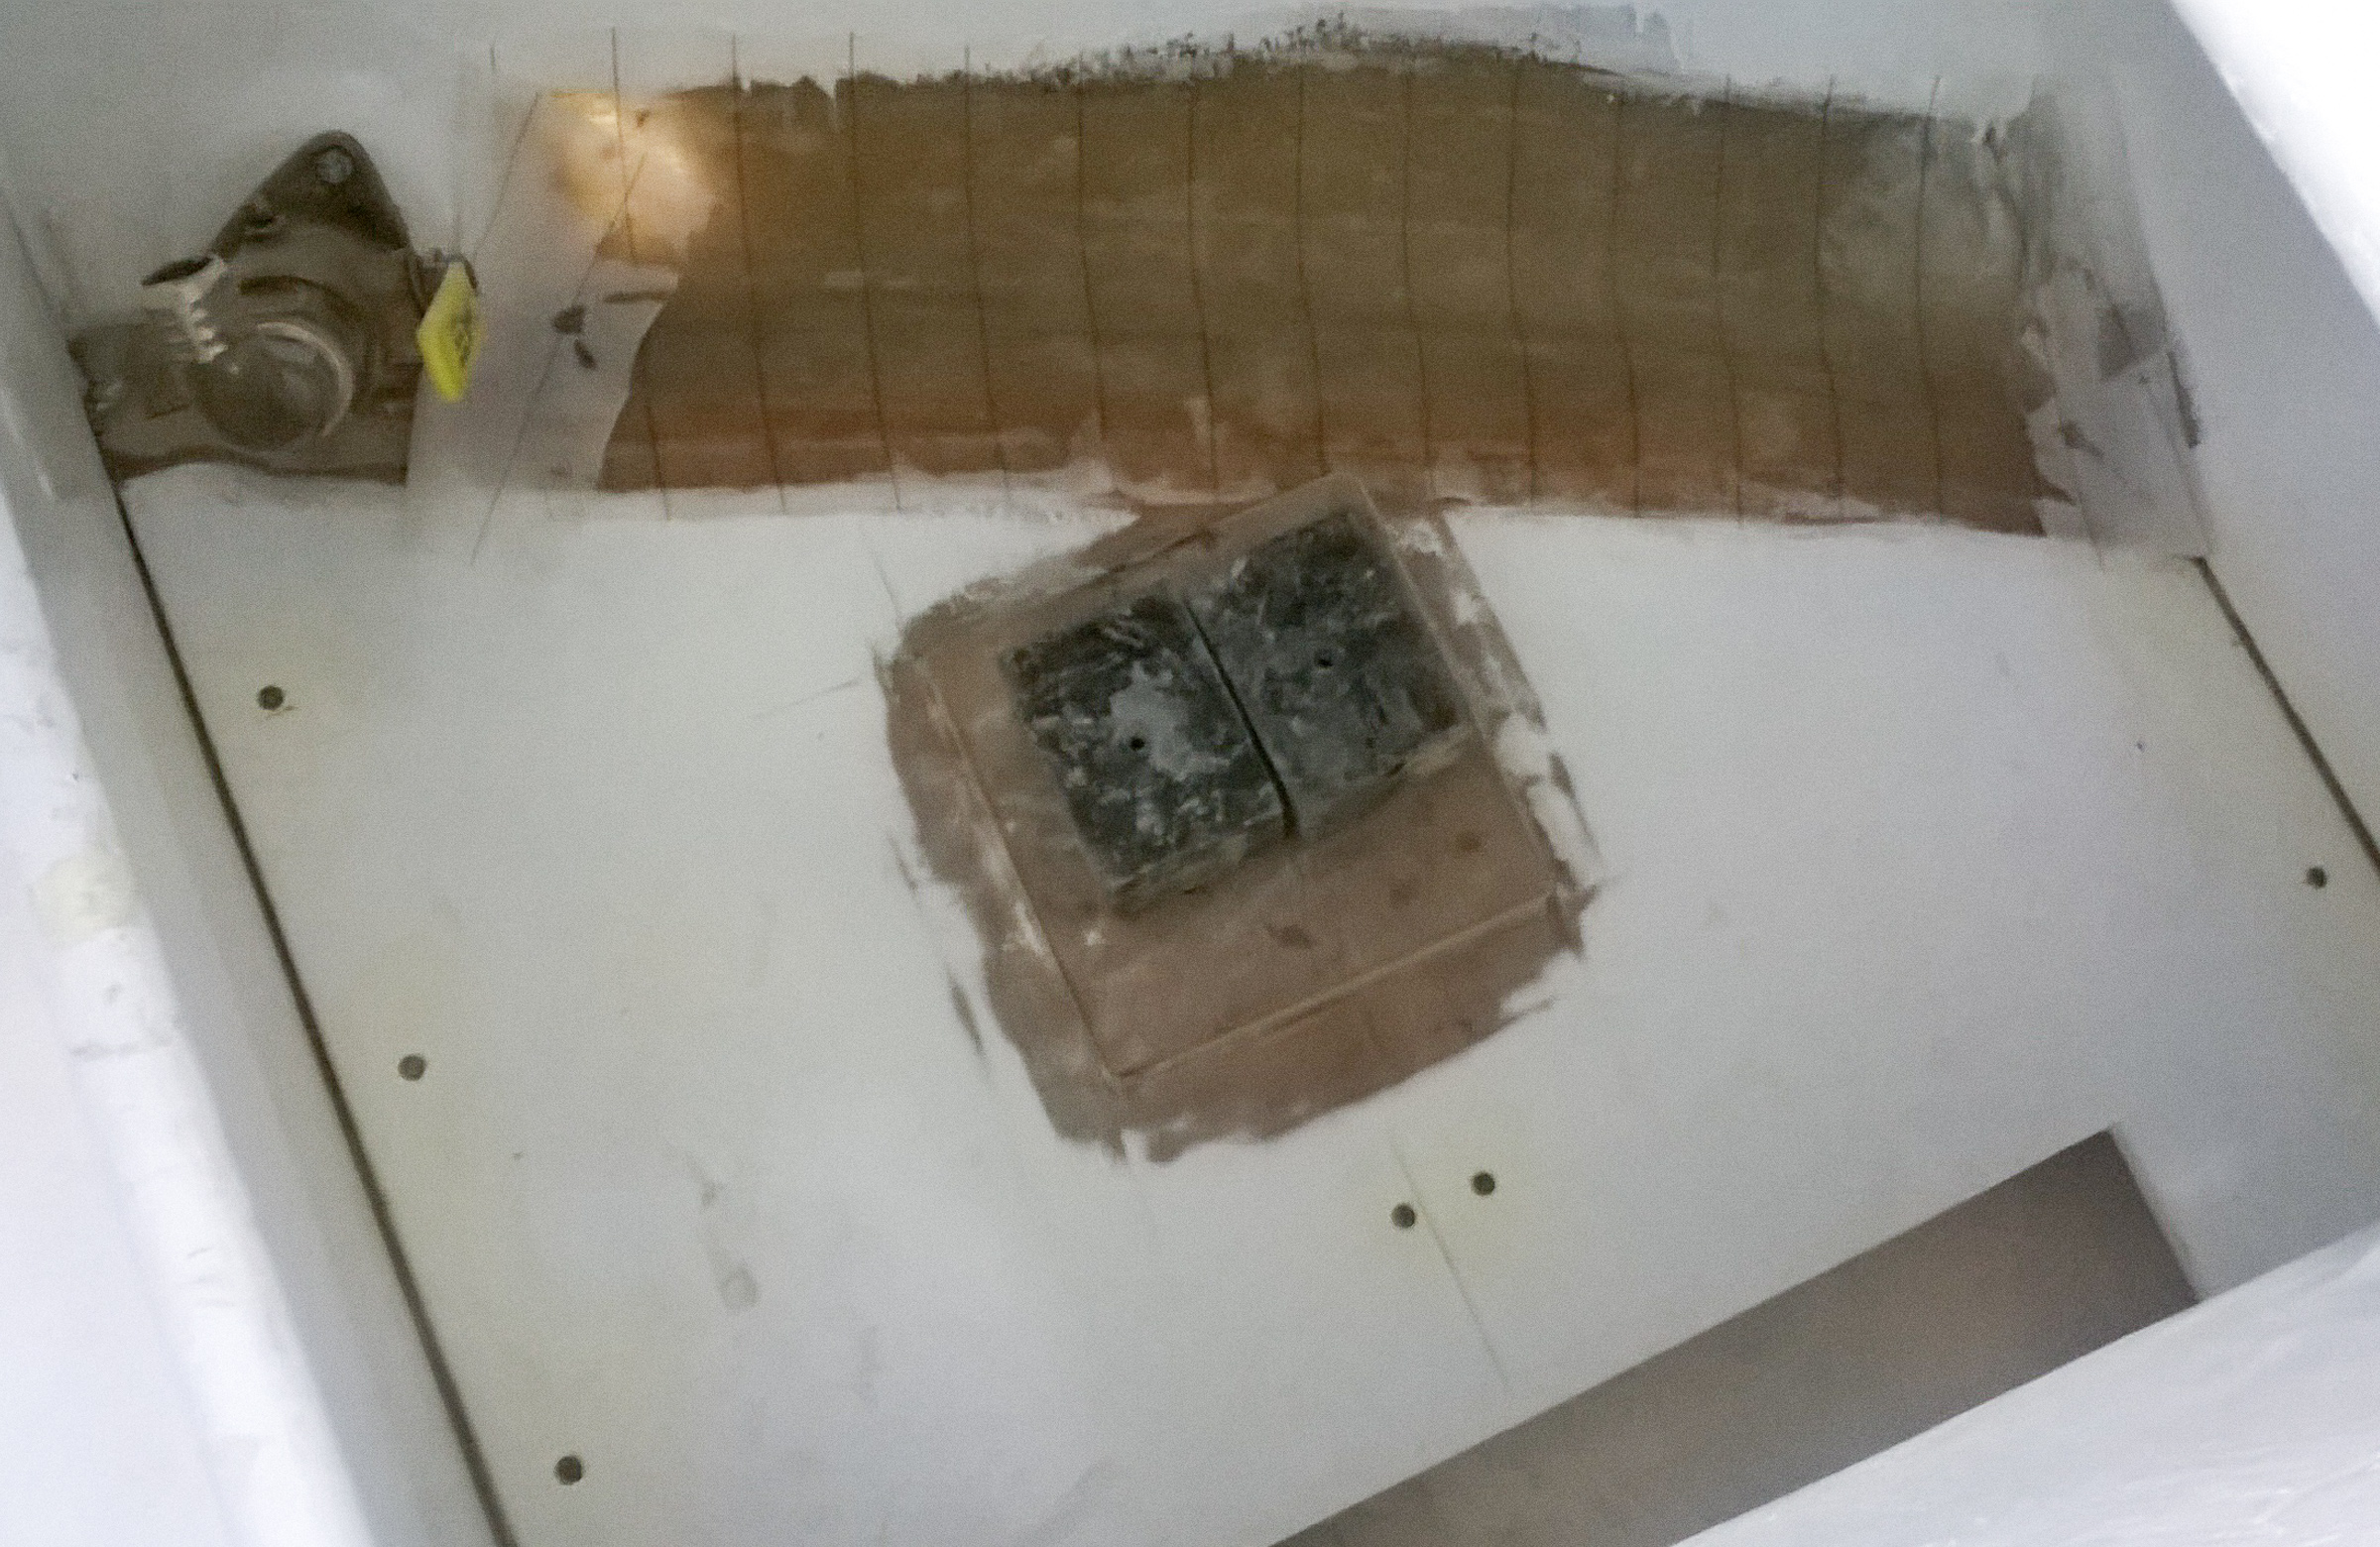
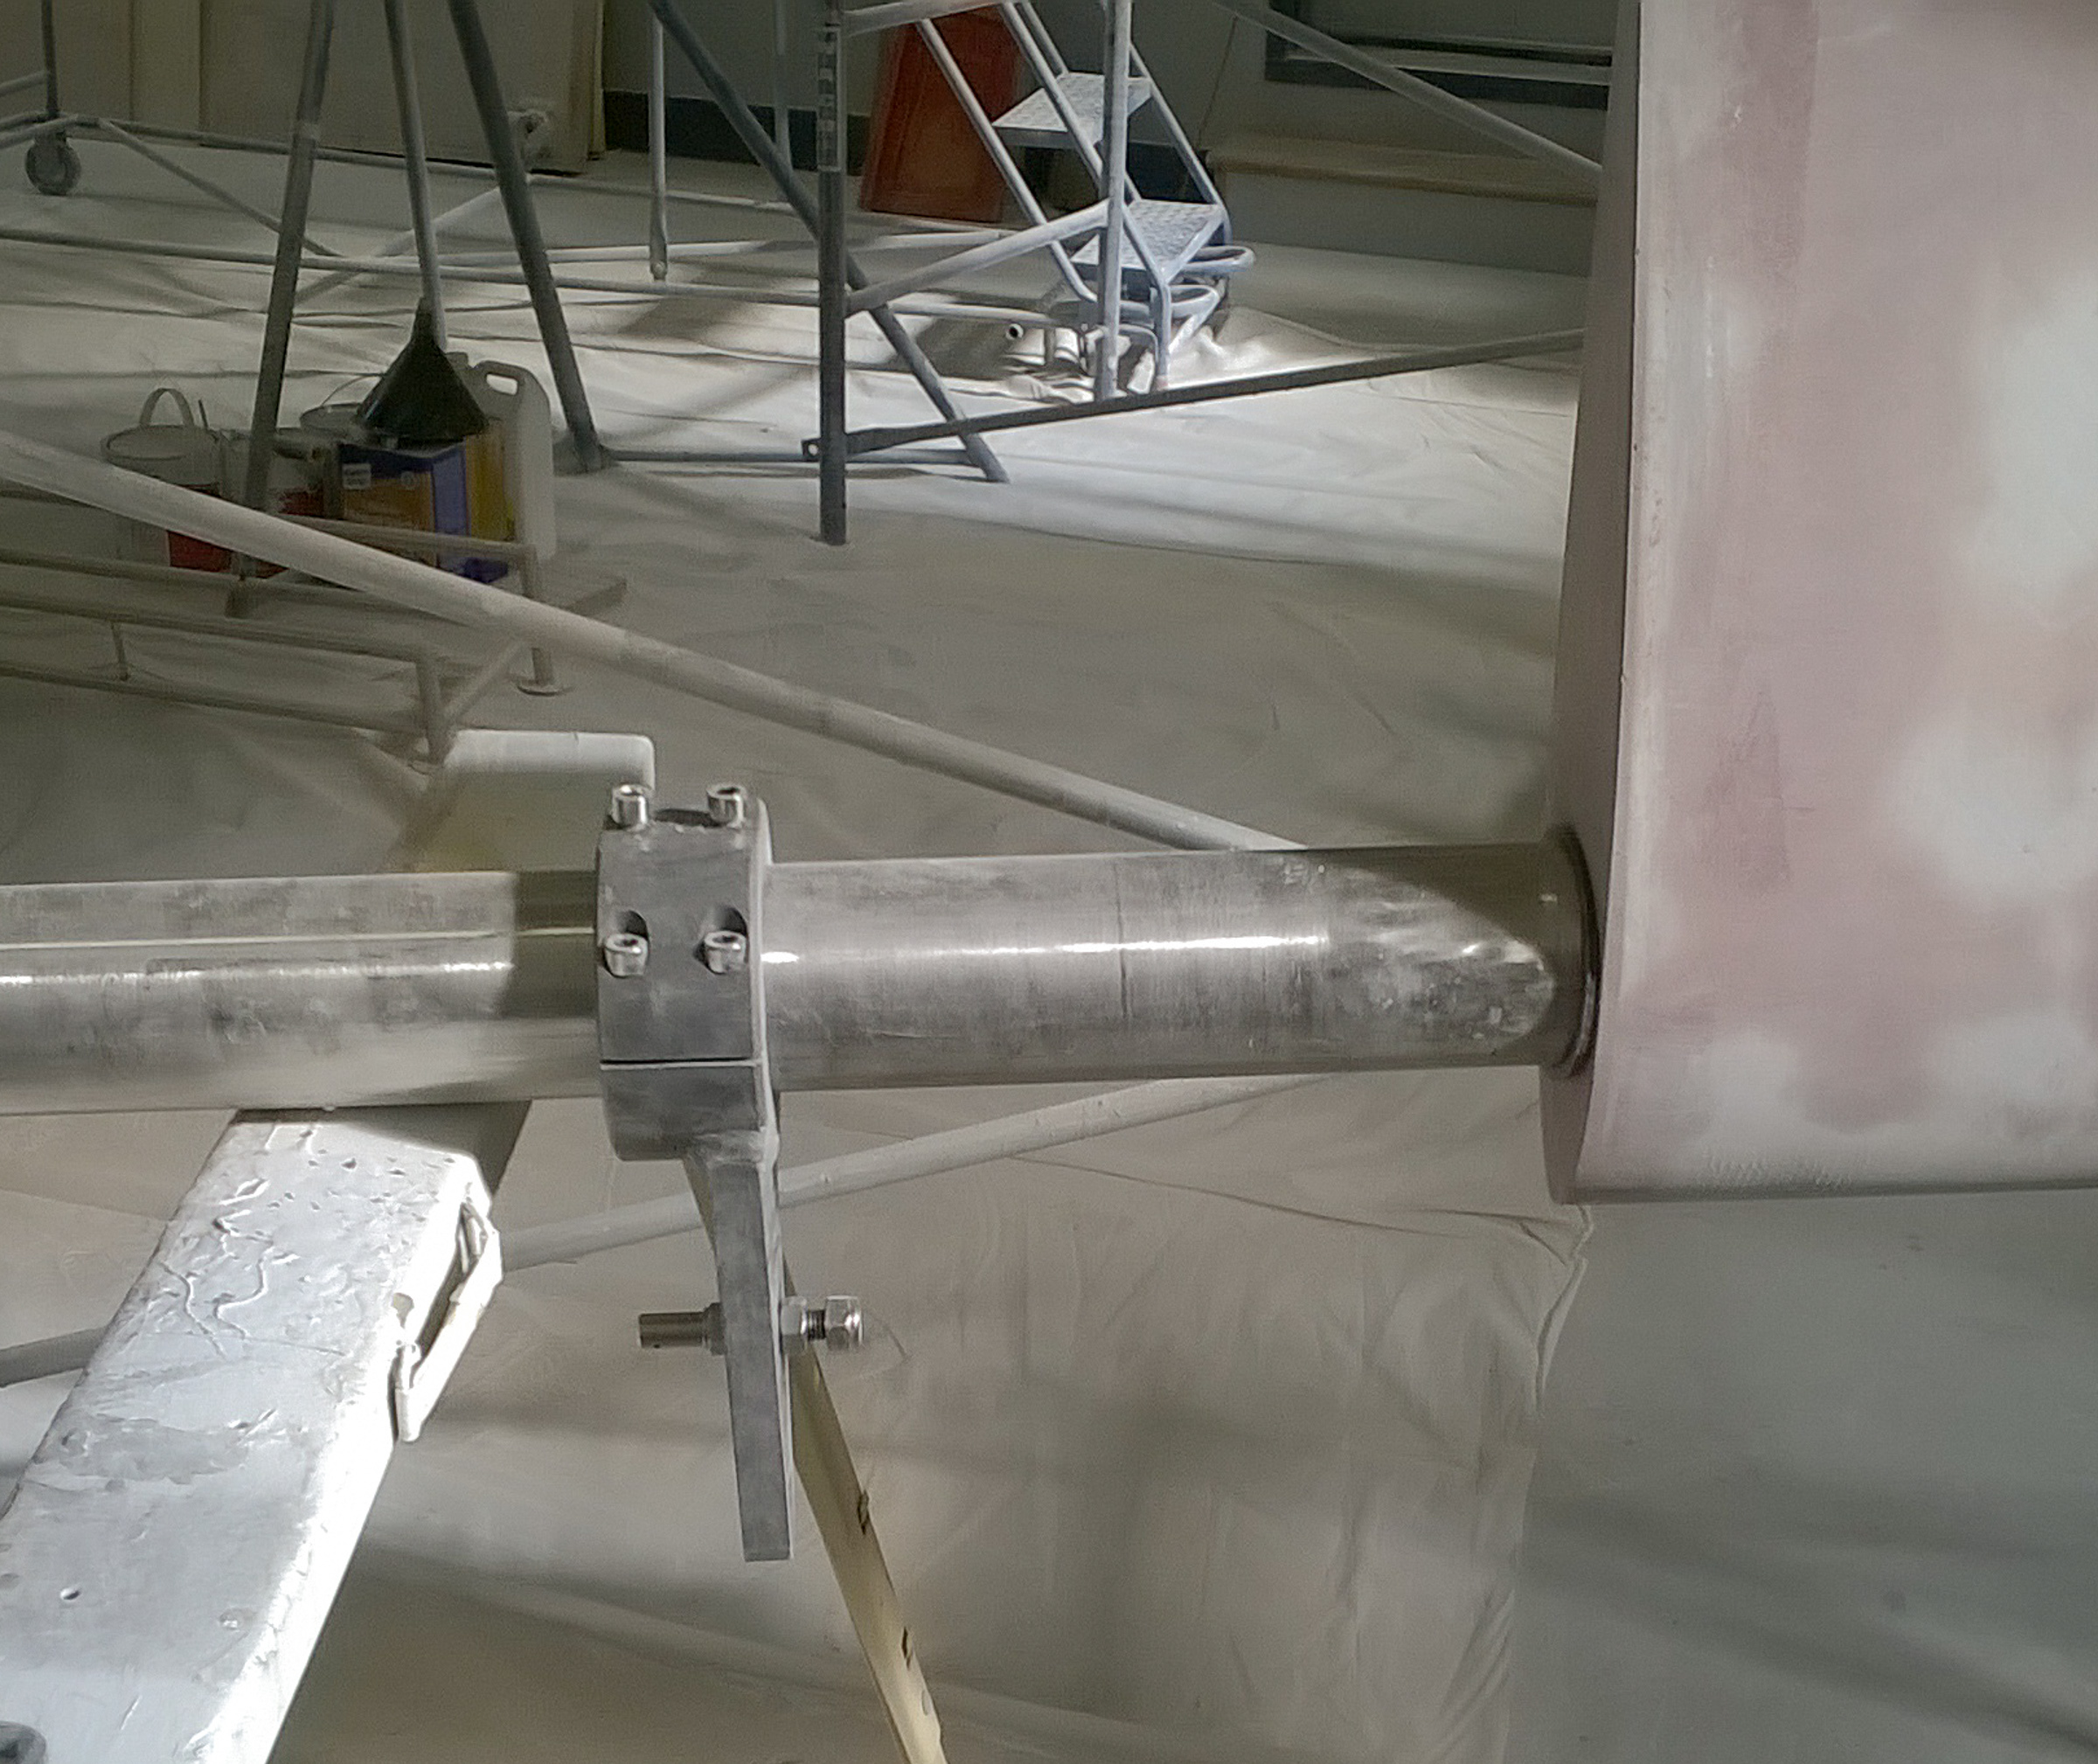
During the week Tom got the mounting plate for the boat anode zinc installed. This is the super zinc that all of the underwater metal parts on the boat will connect to so that if there is any electrical imbalance, the zinc will dissolve before the expensive, important metal bits do. He also cut the rudder tube for the autopilot quadrant (and fixed our attempt at fiberglassing a small copper tube to a larger one).
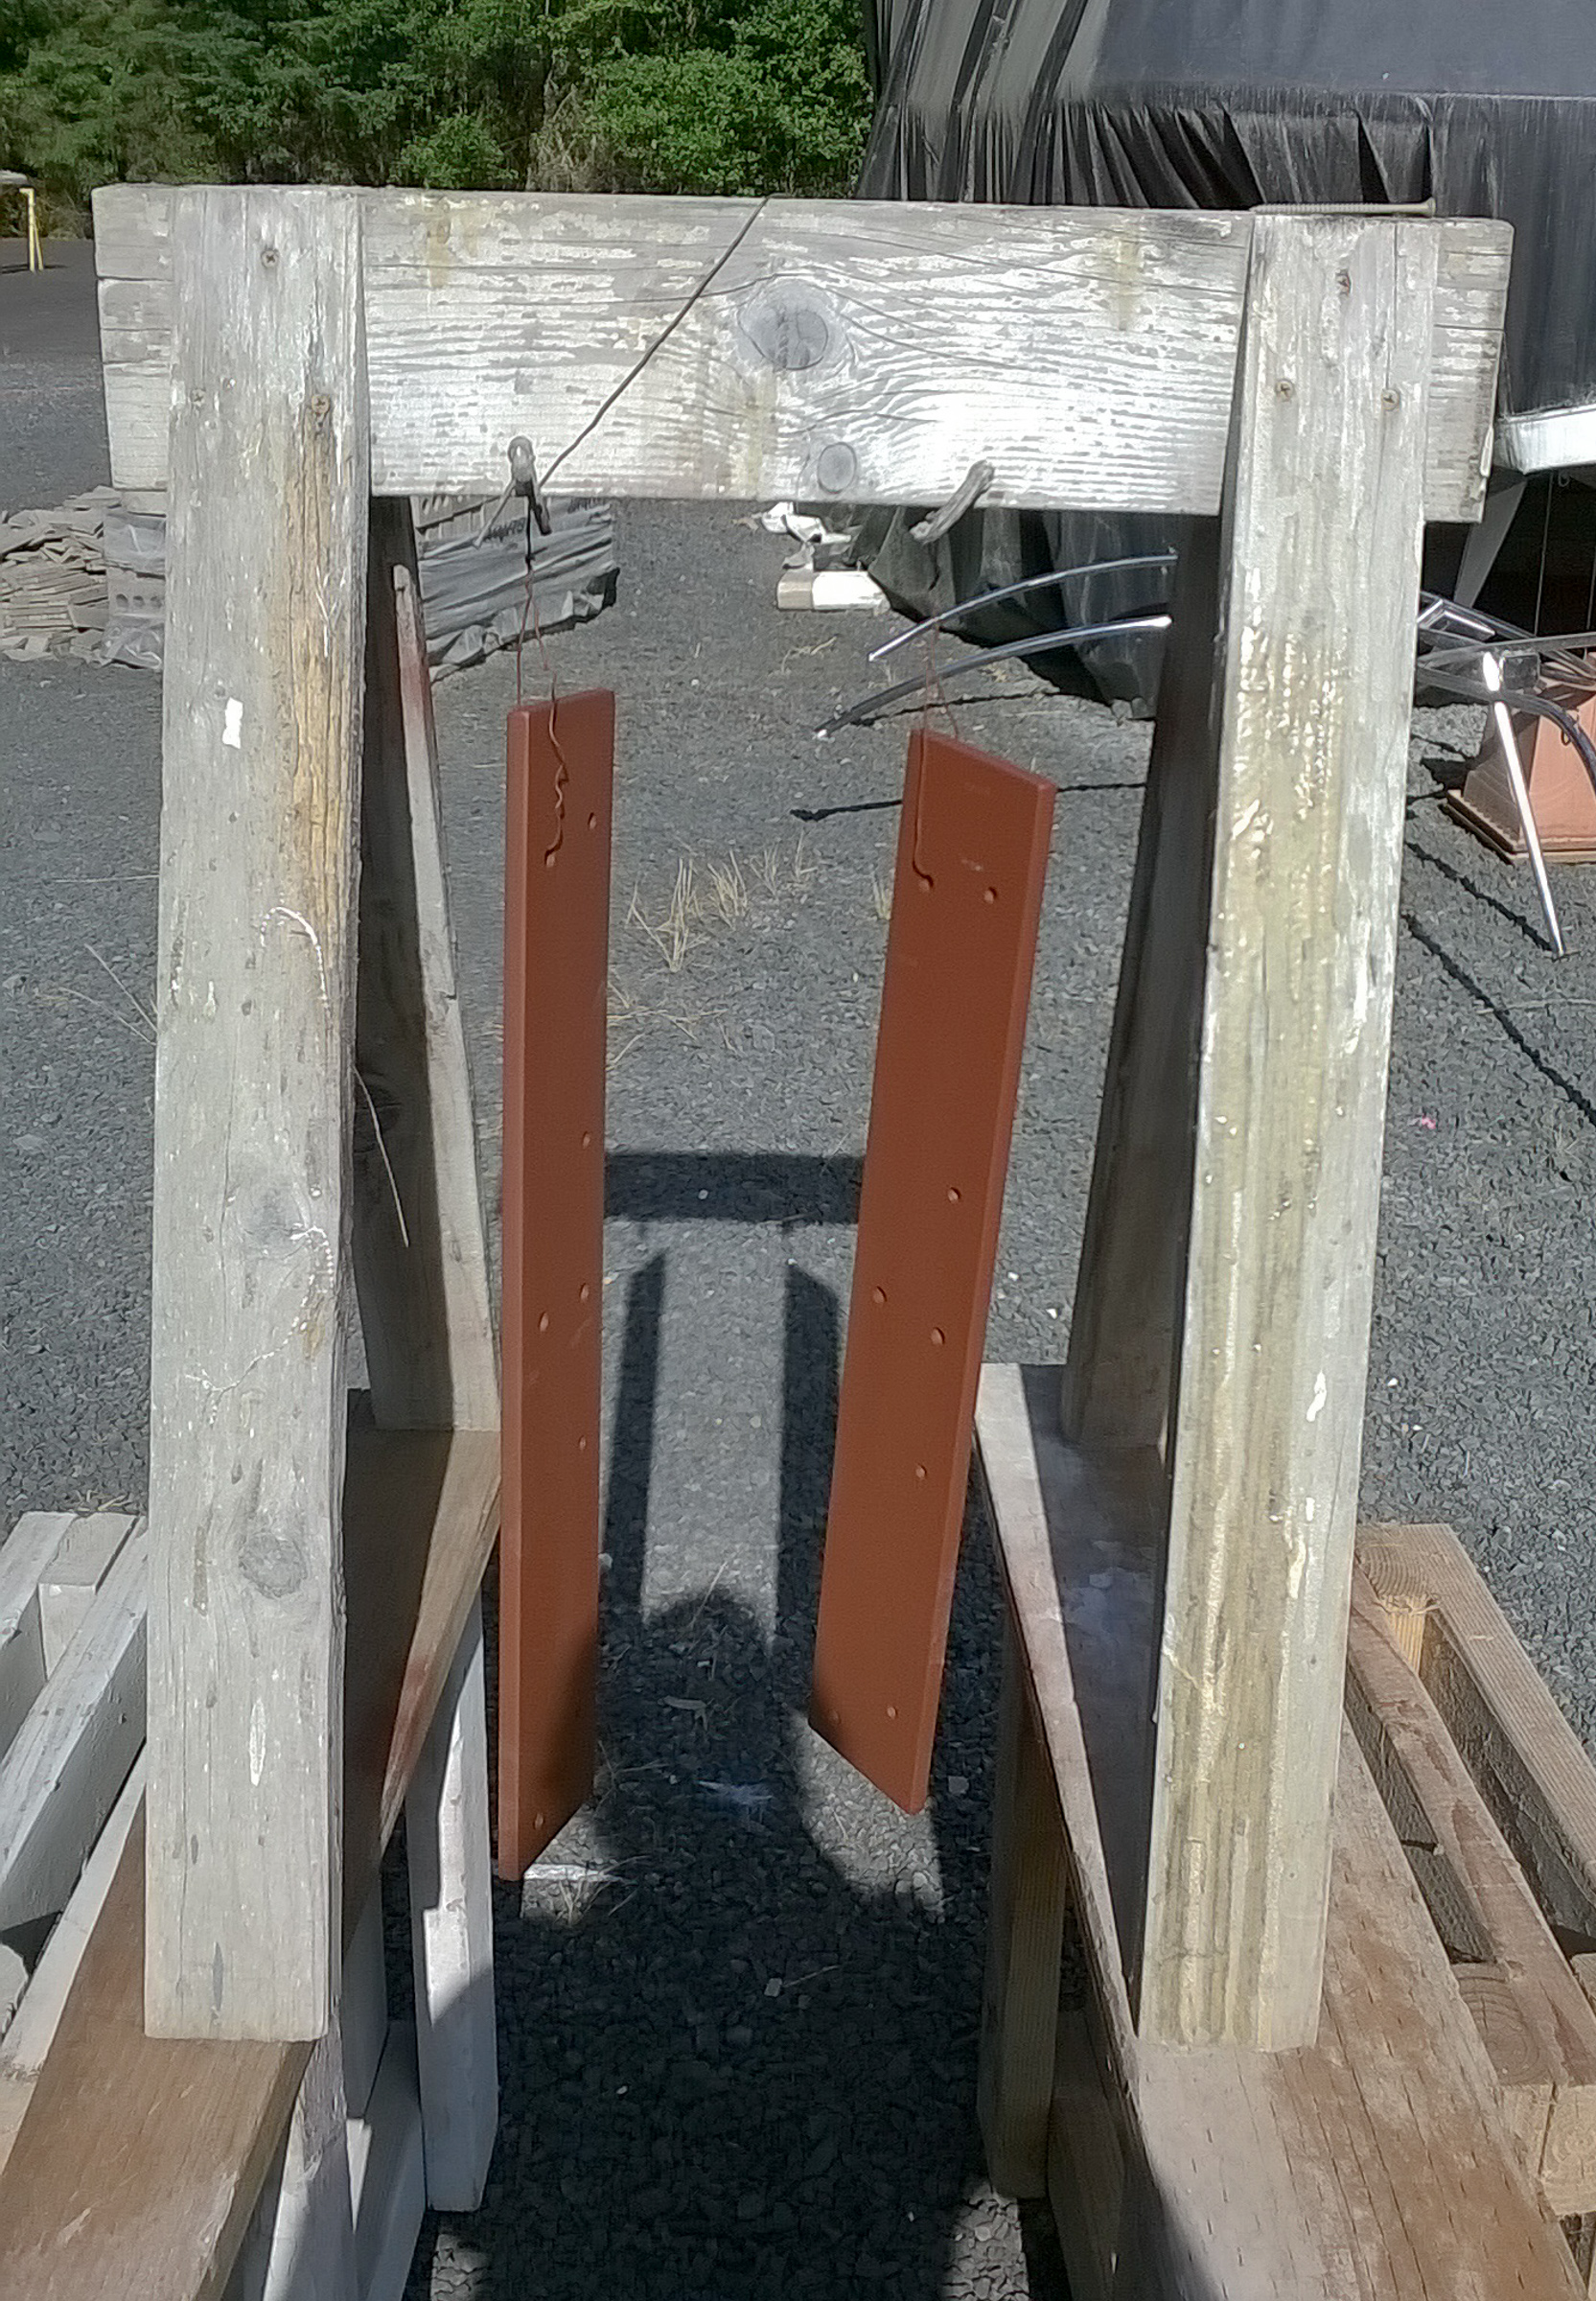
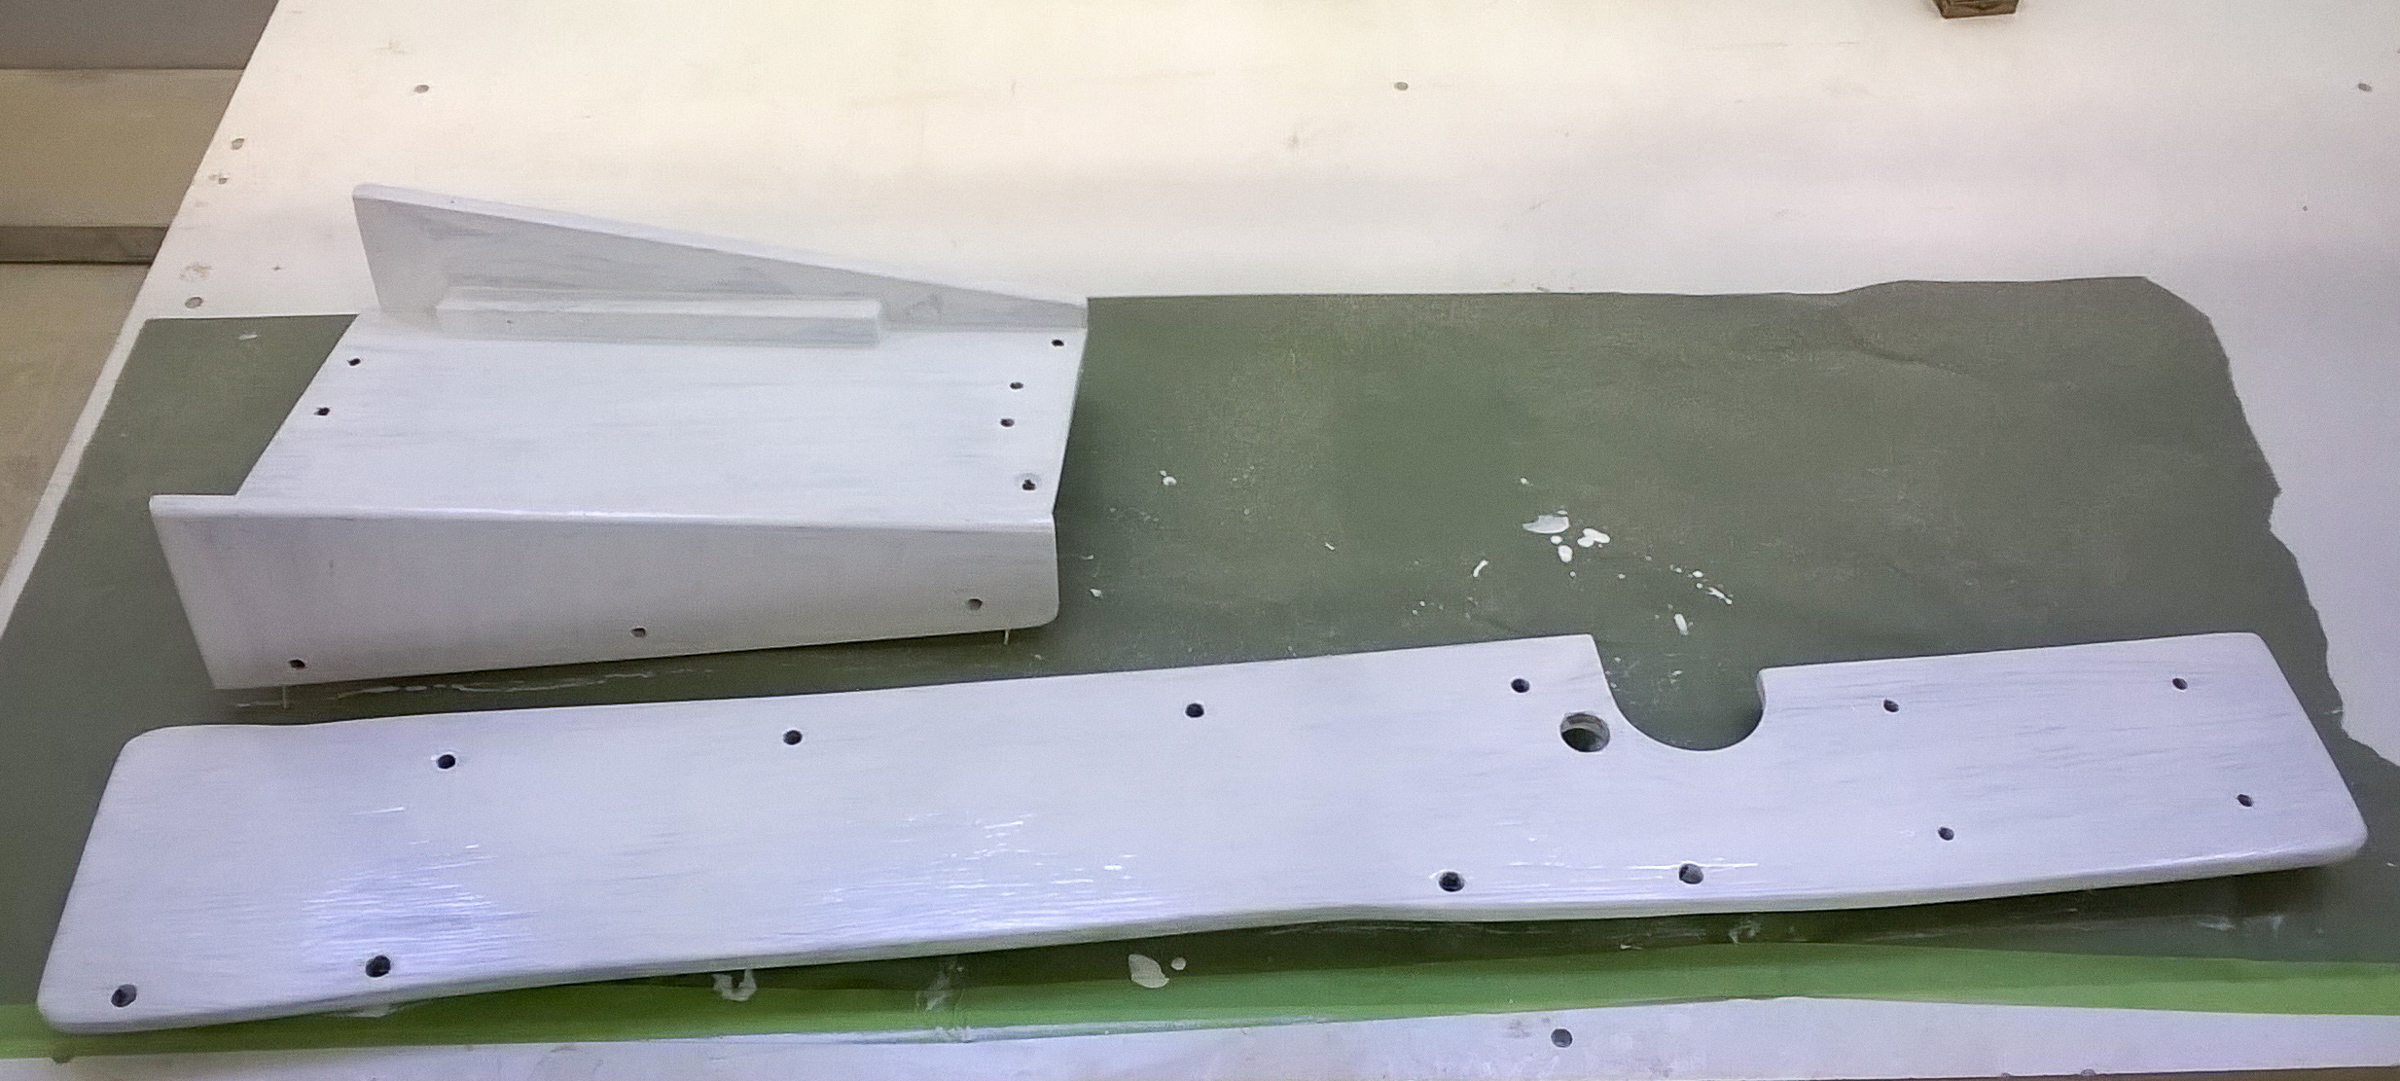
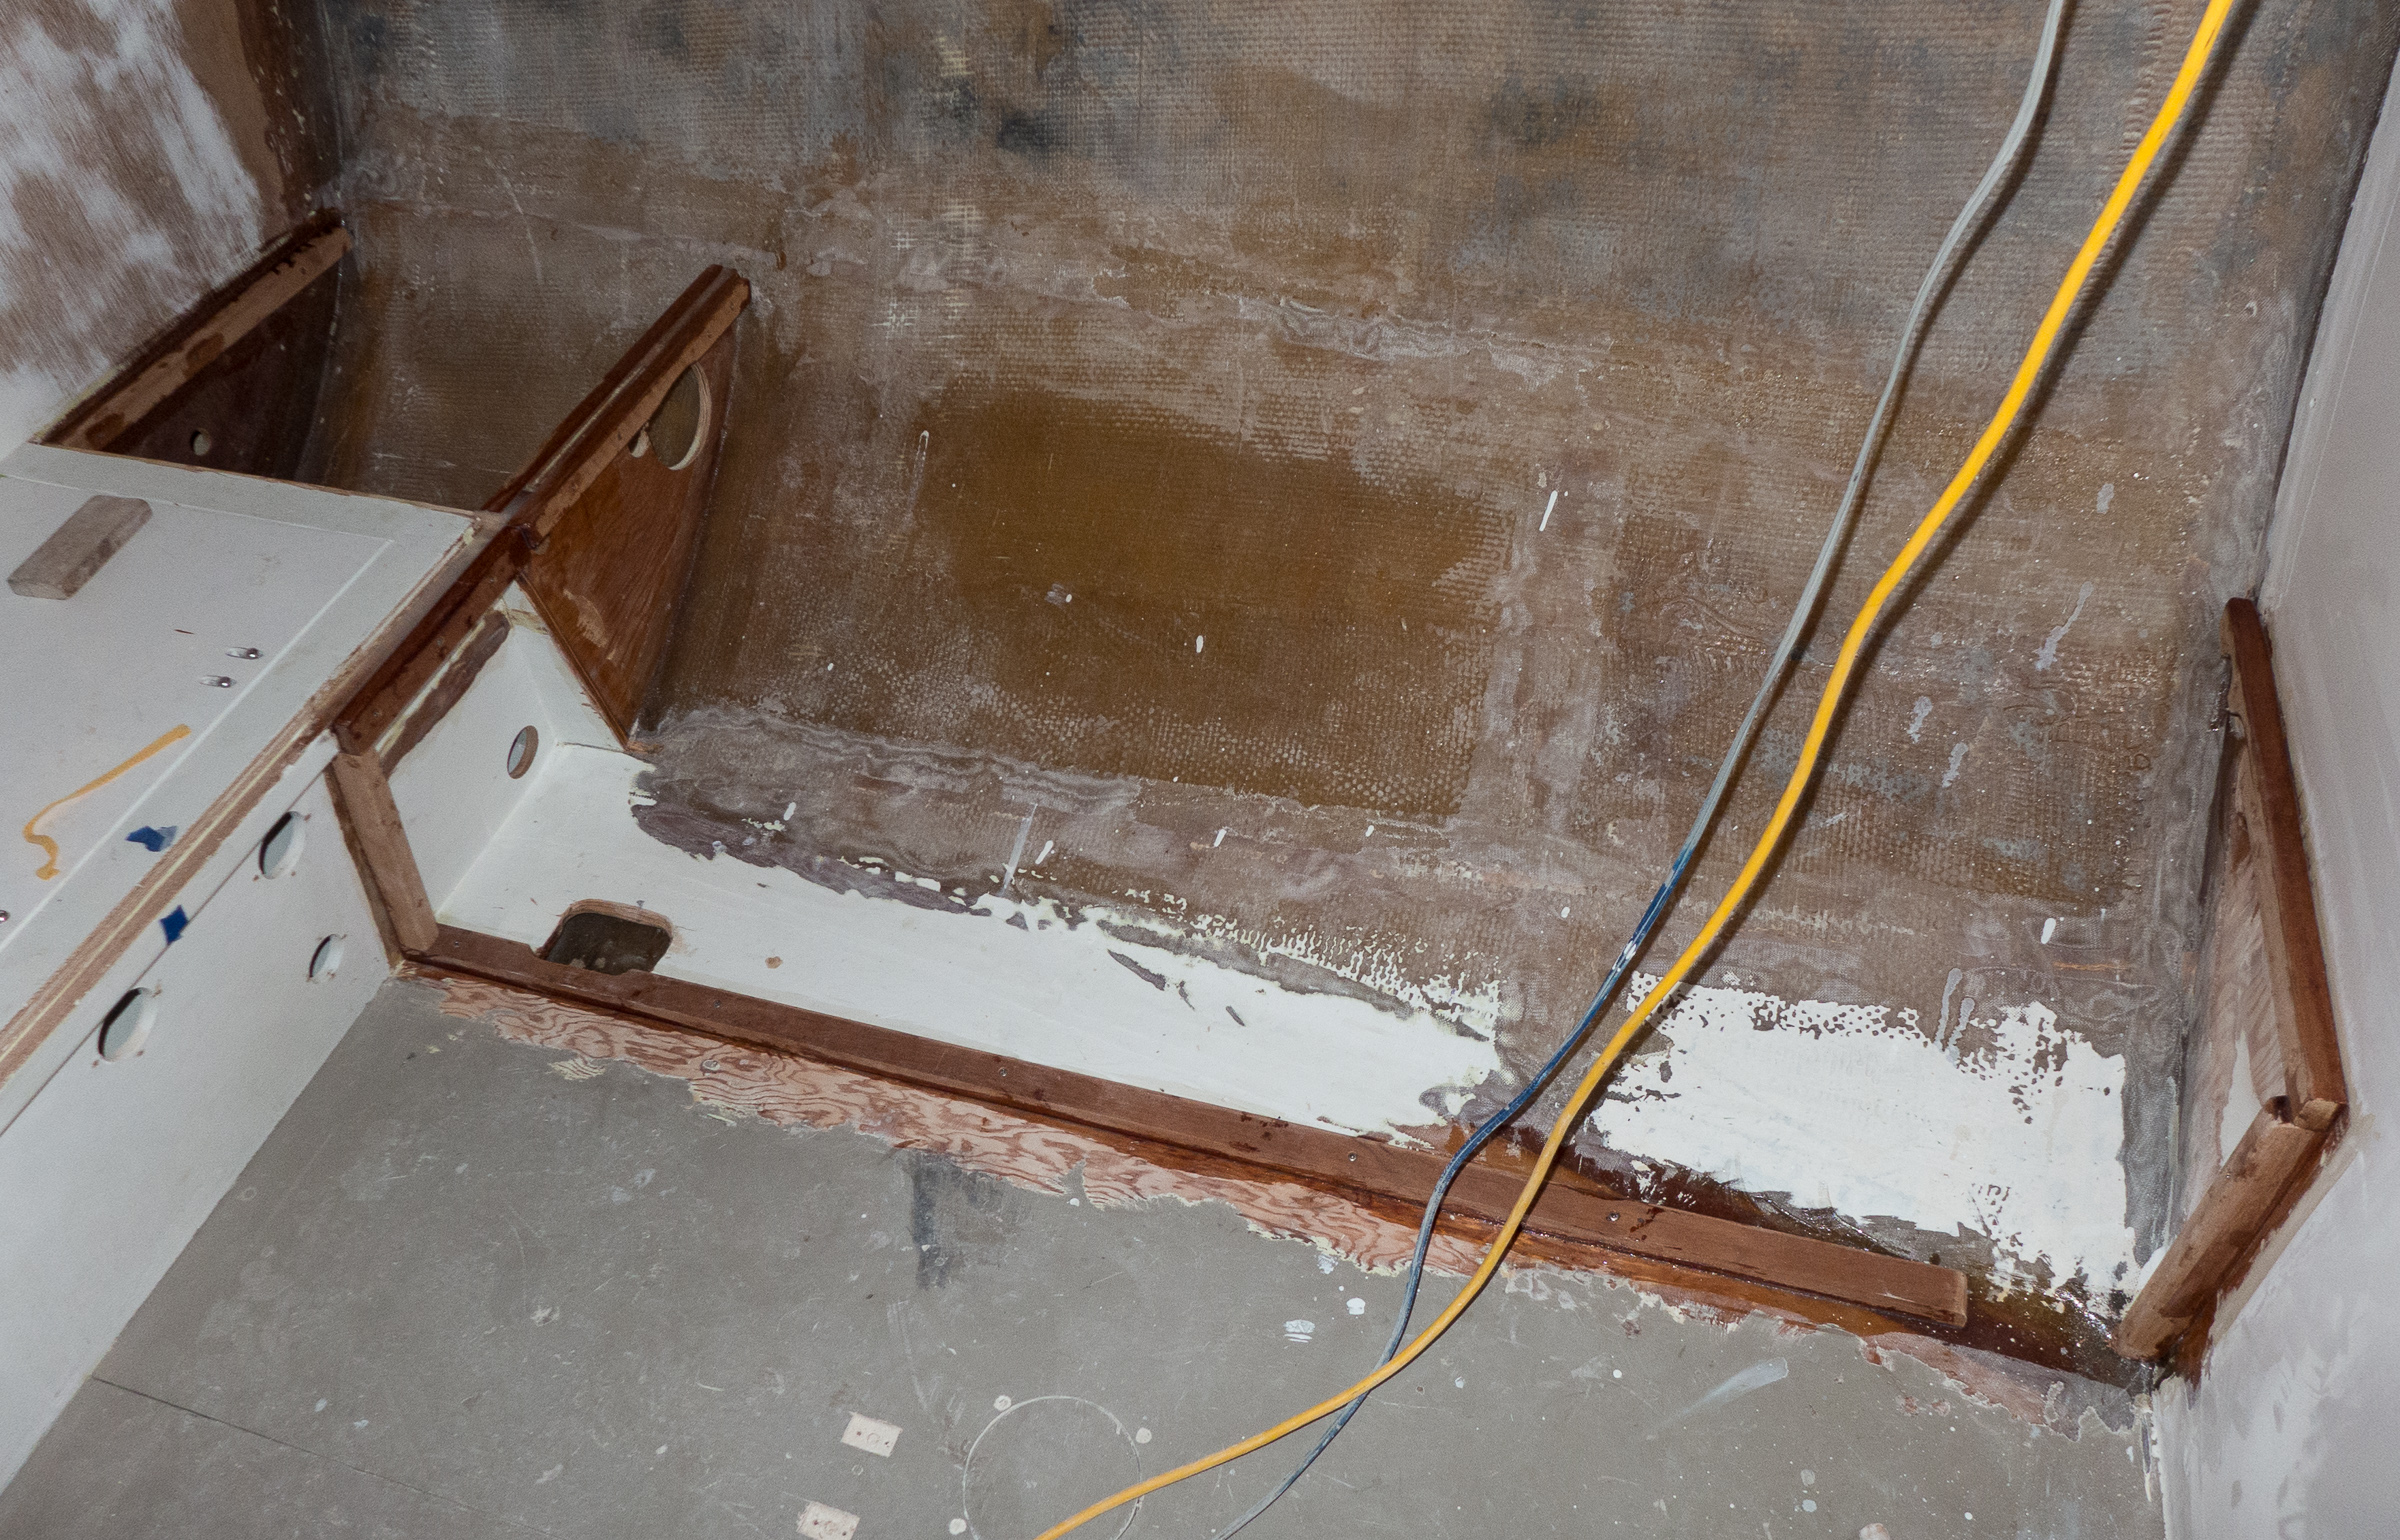
The boat anode mount, we’re not sure what the number refers to…The rudder shaft cut to install the stuffing boxes that keep the water out. The autopilot quadrant will go in between them. Tom used the piece of tag board as a template for the hydraulic arm to locate where the cut needed to go. The packing glands have been dry-fit without their gaskets. The copper tube attaches at the bottom of the rudder tube for the grease fitting, (greasing the rudder tube keeps it turning smoothly), our fiberglassing attempt was reinforced and cleaned up by Tom. The autopilot platform is in the background.The autopilot shelf finally installed. It has been fiberglassed to the hull and epoxied to the cleats on either side and in the middle. The black squarish things in the middle are lead weights to help the epoxy create a strong bond to the support in the middle. It was also screwed down on the outside edges to help make it as solid and wiggle proof as possible, since autopilots in action can create tons of torque, literally.The autopilot quadrant attached to the rudder post.Engine bed log plates primed. Bill made the hanging frame using a sawhorse and coat hangers.Primed and ready for sanding and final paint are the engine muffler platform (top) and the fuel tank brace (bottom).Tom brought up the point that epoxy will take longer to cure when we’re back in the water, so Bill started on installing the cleats for the furniture that we need to rebuild. Here’s the outline for the port settee.