When we left off last week we had molded the dodger to the cabin top. Friday when we got to the boat shop we unscrewed the dodger and popped it off. It actually took a bit of banging and pulling before it came free. We now have a nicely fitted fillet.
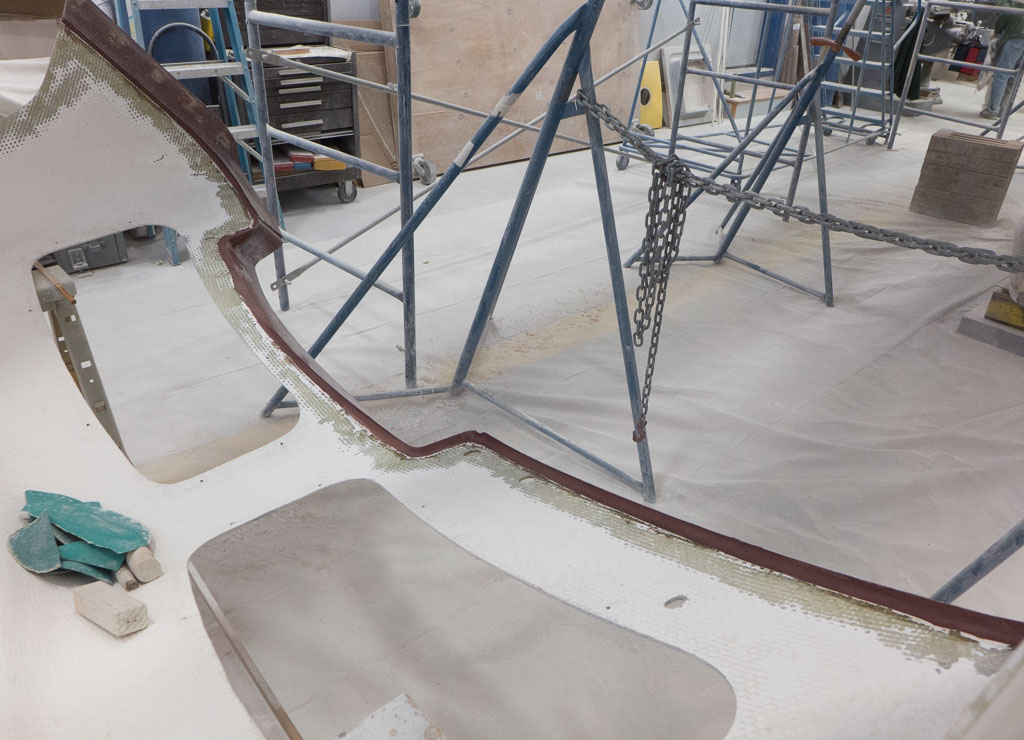
On Sunday we added two layers of fiberglass cloth over the top side of the fillet. On Monday Bill got to once again sand the new glass to get an almost finished fillet. It still needs some touch up putty. Marsden also got to sand on the dodger. He ground off gel coat to smooth the under side of the dodger which was pretty bumpy.
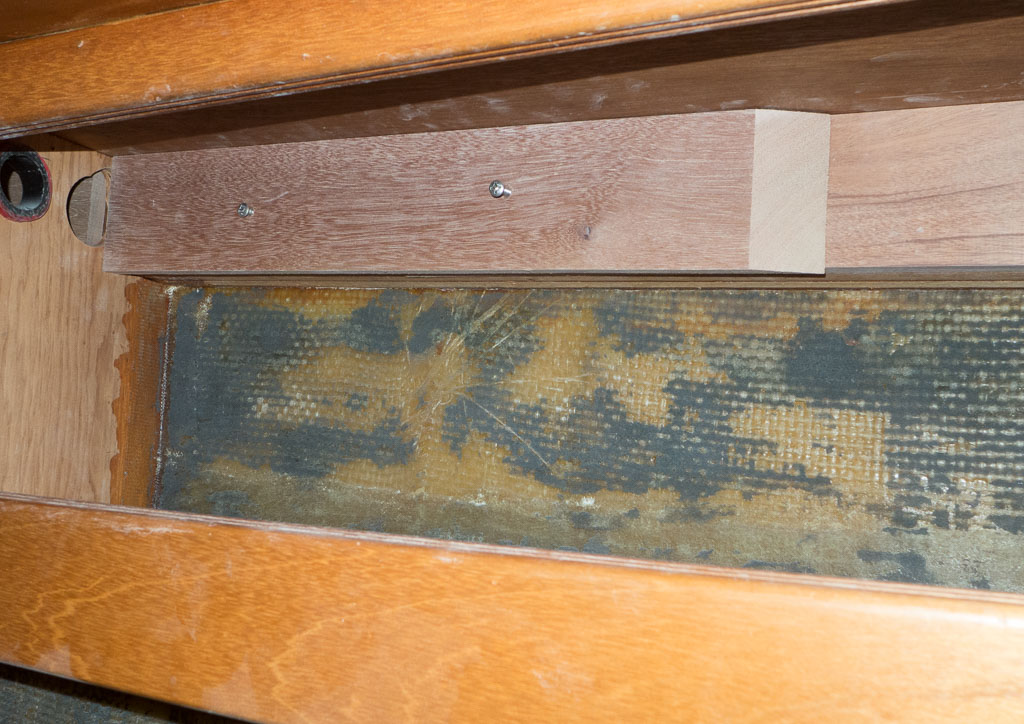
A couple of weeks ago we showed off our new aluminum toe rails. Well the bolt holes are too far inboard so we need to beef up the shear clamp under the deck that they are going to bolt into. Nina has spent the last four days fitting the new mahogany pieces to extend the clamp. There are over 100 screws holding the new wood in place. It all now has to come off, get sanded and glued back in.
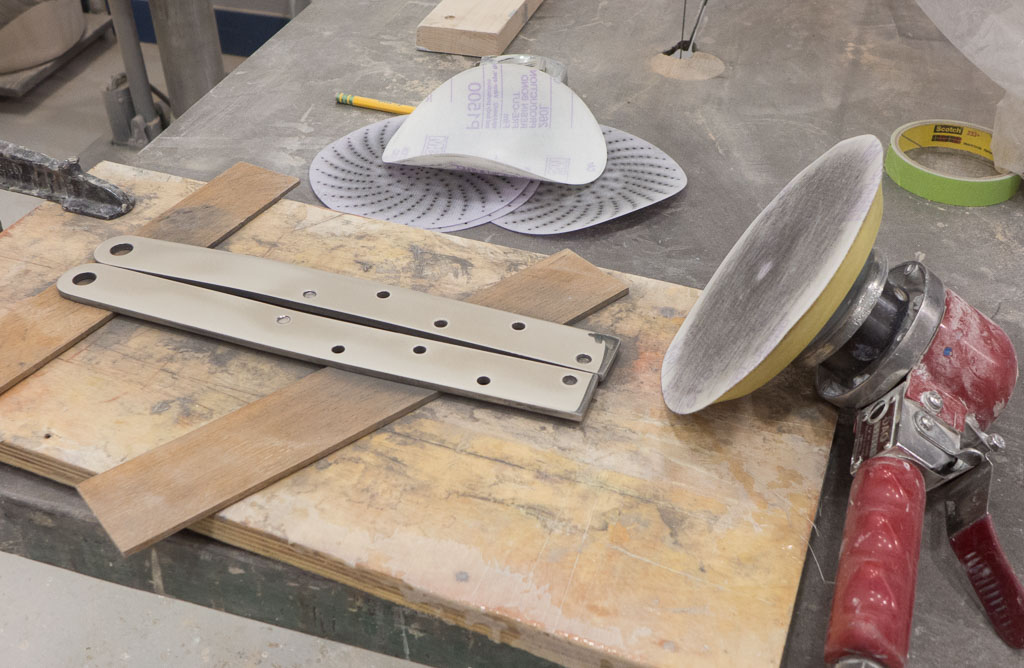
There is no end to grinding and polishing. Marsden found more steel to bring to a shine.
Bill finally has all of the blisters on the bottom filled with epoxy and ground smooth.
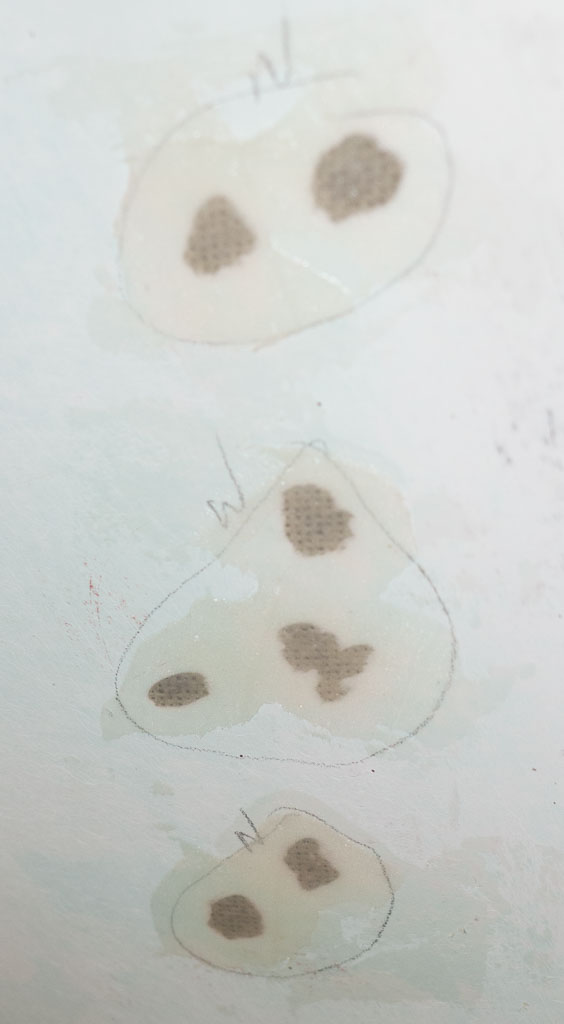
We also continued to cast all of the holes for bolting down deck hardware with epoxy. This can cause unforeseen problems. We started to fill the voids in cabin top where the slides for the companionway hatch mount. We glued tubes to one of the holes and started to pour epoxy in. All of a sudden Nina yelled that we had a leak. We had multiple epoxy waterfalls raining down into the cabin. We used half a roll of paper towels mopping up the mess. The good news is neither of us was wearing any of it this time.

The rudder is moving along. It got wrapped in glass cloth and epoxy and then covered in faring compound.

Our cockpit floor also is starting to shape up. We are adding a sloped wedge to raise the height of the cockpit sole and help water to drain out the aft end of the cockpit, where we are putting in big drains.

We are six weeks into the project and Tuesday marked our 30th day at the shop. The boat is progressing at a rapid clip. We are just trying to get everything we need to do done before we start painting, which should be early April.

Another bravo for speaking a new language and doing all the hard stuff. I’m PROUD of all of you!
LikeLike