So, it’s been about six weeks since we last posted. They have been busy weeks, filled with projects that have many hurry up and wait steps. And then we went sailing, but more about that in a later post.
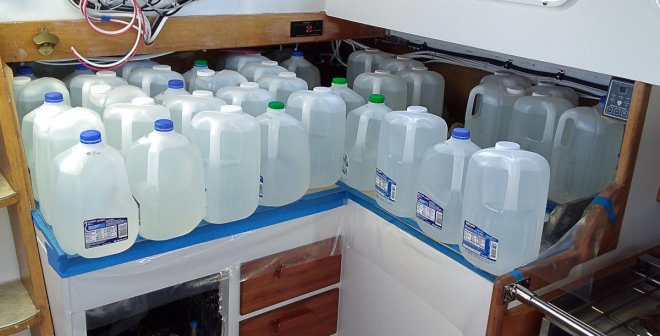
The fridge getting foamed. We used two part foam again and filled in all the voids after the lid flange got installed. All of the excess foam will have to be removed before the counter top can get installed.More pour foam, this time in the lid to the fridge.Cutting the openings in the counter for the fridge and the pantry. We did this on the dock.Dry fitting the counter top. To get the counter in the boat, we had to make it in two pieces.Both pieces of the counter top epoxied in place. The plywood top to the fridge lid has been dry fit and glued temporarily in place with hot glue. The lid to the pantry (center hole) was cut out of another piece of plywood. We epoxied in corner triangles to support the lid.Formica epoxied in place, waiting to be weighted down. We were able to do this in one piece. We covered the Formica in plastic to keep it from getting epoxy on it.The weighting down of the Formica. Just how many water-filled milk jugs does it take? Answer about 50. The kid who has not moved out yet was able to contribute to the project.
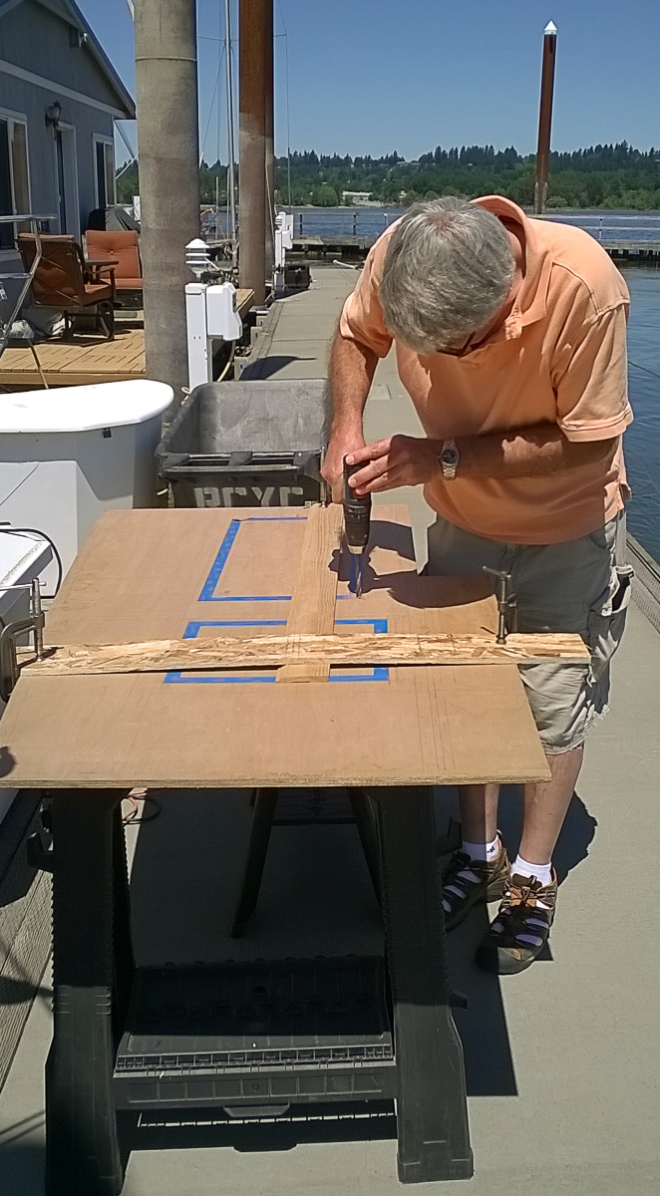
Cutting out the sink hole using our trusty 1950s saber saw.
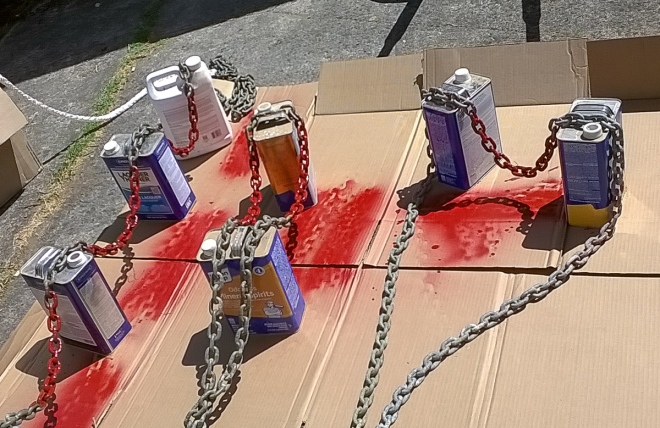
Test fitting the sink. We decided to go with a big sink rather than a double. The sink was glued in with 3M 4000.Formica has been glued on and Bill is using a template to cut out the spaces for the pull rings.Using a template to route out the pull rings. The blue tape is there to fine tune the cut out. We do not want to have to remake any of this.Towel bar in the head. Another of Nina’s projects (she gets all the easy ones). it looks like it was designed for the space.The backyard varnishing station. Nina varnished the oars and the tiller (on the left).Chart table drawers all varnished and installed.Cubby door under the stove varnished and installed. This is a good place for stowing baking tins and food.Engine door and galley drawers. Getting this filled in has greatly reduced the engine noise.Nina spliced the new 8 plait Brait rope onto the anchor chain. We reused our chain since it will fit in the new windlass. The depth markings were getting faint so we re-marked the anchor rode with spray-painted every 25 feet. We used a fat sharpie to mark off the rope part. This probably won’t last very long, but it got the job done.Auto-pilot compass installed. It had to be away from iron in the engine and the keel, radio antennas and wiring, and sort of in the middle of the boat. After awhile we won’t even notice it.Meanwhile, Nina was making cushions. We chose a smoky blue tweedy upholstery fabric, with a light gray underlining on the bottom side. The seat cushions are made with 4 inch foam wrapped in polyester batting. They are sitting on Hypervent to help prevent any moisture from building up. The backs are in process and they are being made of two inch foam.
The sink got plumbed after only one extra trip to Pacific Rubber for another hose. It’s always good to measure twice and cut once, but you do need to remember which side of the tape you need to cut on. Hey, it was only one inch too short. The faucet was installed and our cold water system was ready to use. With tea kettle assistance we also have hot water. The boat got cleaned up and project supplies went home. Car loads of provisions were loaded and we took off. Coming next: the great 19 day voyage that all of this made possible.
The original Makita 9vdc drill battery system that we started the cruise with was dying in Whangarei, New Zealand. It had a noble life. Purchased in the mid-80’s, it rebuilt our house, Velic, and then some.
The shop keeper of Downtown Tools pointed out that Makita has the largest array of battery tools and accessories globally. I bit and replaced the old with a new Makita 18vdc driver-drill kit including two new batteries and a 240vac charger – stock and not too expensive. Easy shore side charging in most of the world other than North America. Then added a 12vdc charger which allows charging the batteries on the boat – and maybe free from the solar panels ☺. And added a Makita 18vdc battery system powered vacuum that helps keep Velic clean. Plus, as of now, Makita offers a North America 120vac charger for the 18vdc battery system. That might be useful later, in a few years. All good.
Yes, for any new tools we are considering battery powered options. A small vacuum is very handy. Our old one wore out and we are considering what to get for a new replacement.


The original Makita 9vdc drill battery system that we started the cruise with was dying in Whangarei, New Zealand. It had a noble life. Purchased in the mid-80’s, it rebuilt our house, Velic, and then some.
The shop keeper of Downtown Tools pointed out that Makita has the largest array of battery tools and accessories globally. I bit and replaced the old with a new Makita 18vdc driver-drill kit including two new batteries and a 240vac charger – stock and not too expensive. Easy shore side charging in most of the world other than North America. Then added a 12vdc charger which allows charging the batteries on the boat – and maybe free from the solar panels ☺. And added a Makita 18vdc battery system powered vacuum that helps keep Velic clean. Plus, as of now, Makita offers a North America 120vac charger for the 18vdc battery system. That might be useful later, in a few years. All good.
LikeLike
Yes, for any new tools we are considering battery powered options. A small vacuum is very handy. Our old one wore out and we are considering what to get for a new replacement.
LikeLike
Looking good. I hope that you have time for fun and relaxation too.
LikeLike
Yes, the relaxing blog post is next. I have sort the photos.
LikeLike