
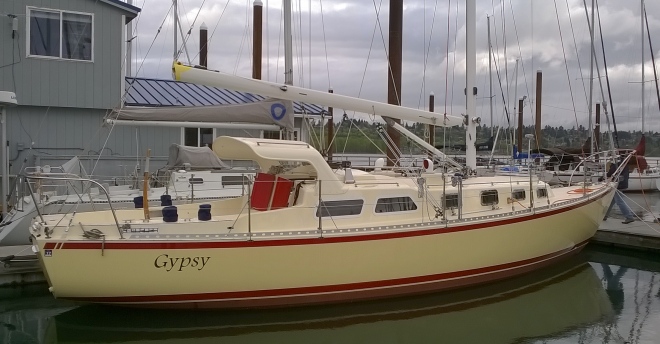
The Easter Bunny brought Nina a can of 3M Super 77 spray adhesive and she went to town gluing up vinyl. While Bill washed all the green gunk off of Gypsy. Nina beautified the cabin. In the end we had a cleaner boat and a spiffier cabin.
Meanwhile the seatback fronts and the shelves are getting worked on. The plywood seatbacks have the door openings cut out and they are getting hardwood trim glued to the opening. The shelves got their front fiddles glued on so the stuff on the shelf won’t slide out when the door gets opened.
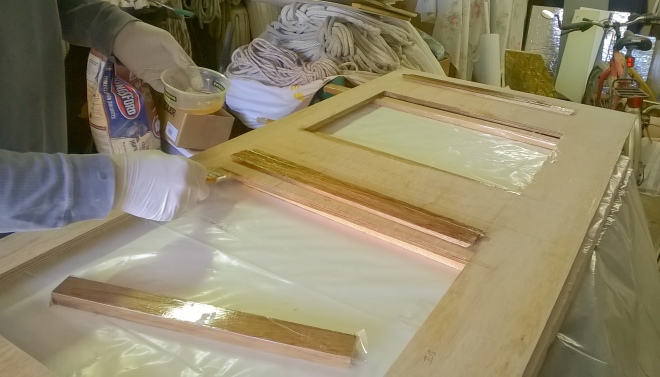
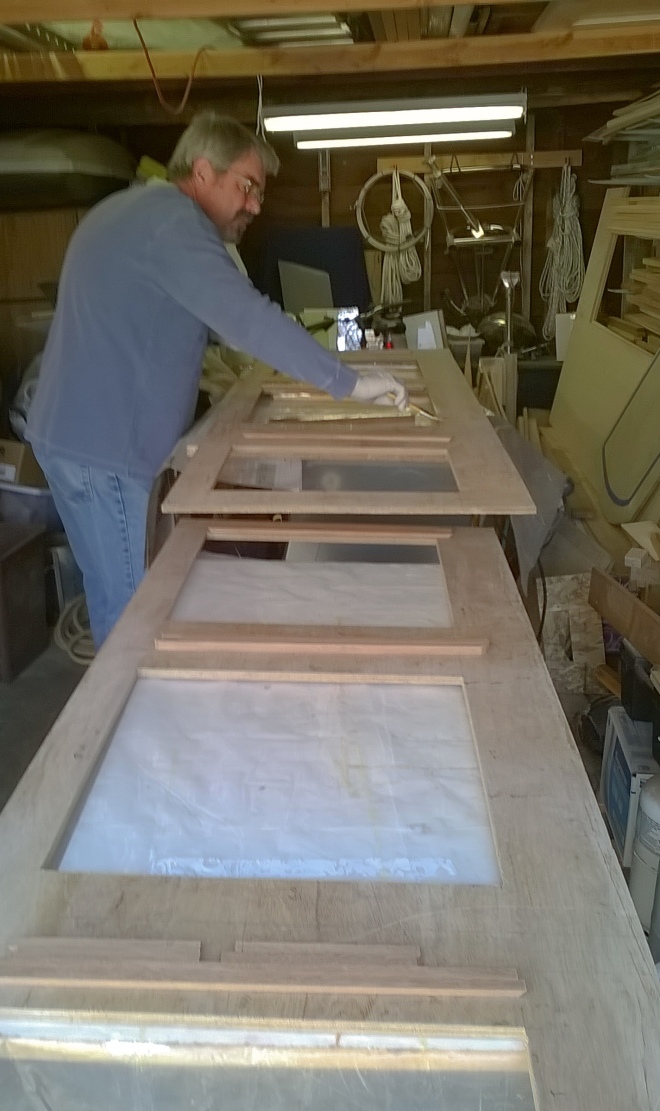
The weather has warmed up so we no longer have to use a space heater to get the epoxy to set. We also have more hours of light to work by. The next step is to get everything painted and installed. So it’s paint a coat, wait a day for it to dry and then paint the next coat. One coat of primer and a couple of coats of finish paint means that it takes three or four days before one side is done. Flip it over and start again. If we time it right and the weather cooperates, we could install it this coming weekend! We still have some sanding to do so maybe it will be the weekend after. Honestly, it’s not like we have a shortage of things to do on the boat. And life does, occasionally, get in the way.

The Easter Bunny is just way too good to Nina! A can of spray adhesive! Imagine what her expectations of Santa Claus will be like now 🙂
LikeLike
Well Hells bells, I already got a sewing machine and a nail gun so what more could I want? How about some suggestsions for Santa.
LikeLike
You all would have made good farmers — self starters! Charlie N
Respectfully, Charles Needles
>
LikeLike
Hi there I am doing the exact same here in NZ. stripping out everything interior and exterior. Had to cut away so many old bulkheads nearly a wonder which ones do the support. does yours have a timber beam athwart ships in the center of the cockpit at all? And as for the toe rails and aluminium belting are they the only things holding the deck to the hull? do you know if it is glued to the gunwale beam? it loks as tho there is possibly 1 layer of glass tape on my deck to hull join.
Awesome to see this because you are ahead of what I am doing mine yacht is constructed a bit different
kind regards
Rikki MCGuire
LikeLike
The Cascade’s vary quite a bit depending if you have a factory or owner completed boat. The owner completed boats can be better than the factory ones or not depending on the builder.
The deck was supposed to be glued to the shear clamp and nailed with twist or ring nails. The joint was then covered with a layer or two of fiberglass cloth and the toe rail also adds support. Many of the Cascade aluminum toe rails were only screwed on.
We ground back the edge of the hull deck joint and added 4 layers of biaxial cloth to bond the hull and deck together. We also through bolted the toe rail on. The bolts run through the shear clamp.
The most important thing is making sure that the shear clamp stays dry and cannot develope rot.
The cockpit sole should be supported at least at the aft end. If it is just hanging it will develope stress cracks.
Good luck on your project.
LikeLike
Thanks Bill much appreciated! Mine has teak toerails which are stuffed and seem to have some sort of large nail in them. The belting is through bolted at something like 250 to 300 centers been a mission getting it off. I might have to do the same then with glassing off the hull and deck, wouldn’t want the 2 to seperate. What did you fair it with? I was planning on sanding and re gel coating the hull, so would have to go with poly or vinyl with some sort of easy sanding fillers. I see you use epoxy and “thickened” epoxy alot, why do you not add adhesive filler or microballons ?
LikeLike
Rikki, Teak toe rails are fine. If they are in good shape I would keep them. We had teak rails, but with the changes we wanted they got removed. A lot of the hull to deck joint gets covered in the Jan and Feb 2015 blog entries. We used polyester and vinylester resin to re-glass the hull to deck joint. For fairing we added a couple of layers of matt. It makes a great fairing layer and is structurally better than filler. It is the best use for matt which is not much good for anything else. Tom, whose boat shop we were in at the time did all of the fairing. He was able to get everything very smooth.
I use epoxy with a couple of thickners. If I am gluing wood I use wood flour. It is a very good adhesive filler. General purpose I use cabosil and if I need to fair I use micro balloons. I could use poly for most of the interior tabing, but I used epoxy because I new it would cure at low temps.
Hope that helps.
LikeLike