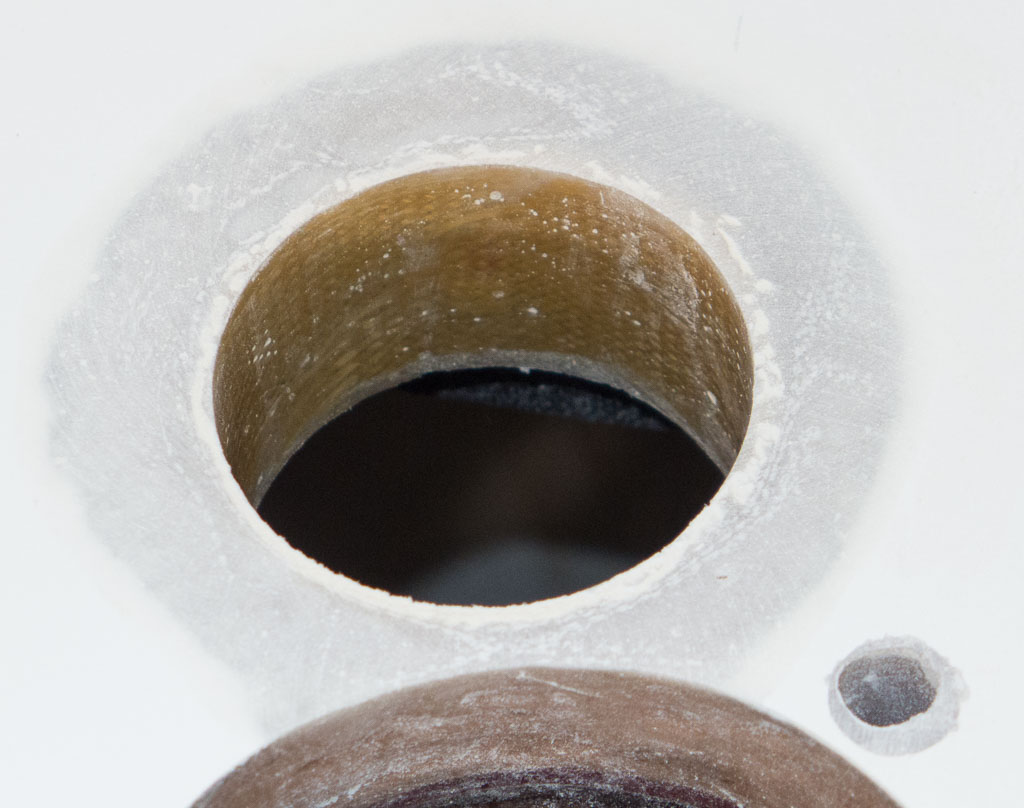
We left you on a cliff hanger last week. We showed how we were molding the Kevlar lining for the anchor hawse pipe. Now you get to see the Kevlar, it is bright yellow (well, it is in a bright light. Otherwise it’s just a variant on fiberglass brown).
The Kevlar will keep the anchor chain from damaging the sides of the hole. The hawse pipe is where the anchor rode (chain and rope) falls through into the anchor locker after the windlass pulls it up.
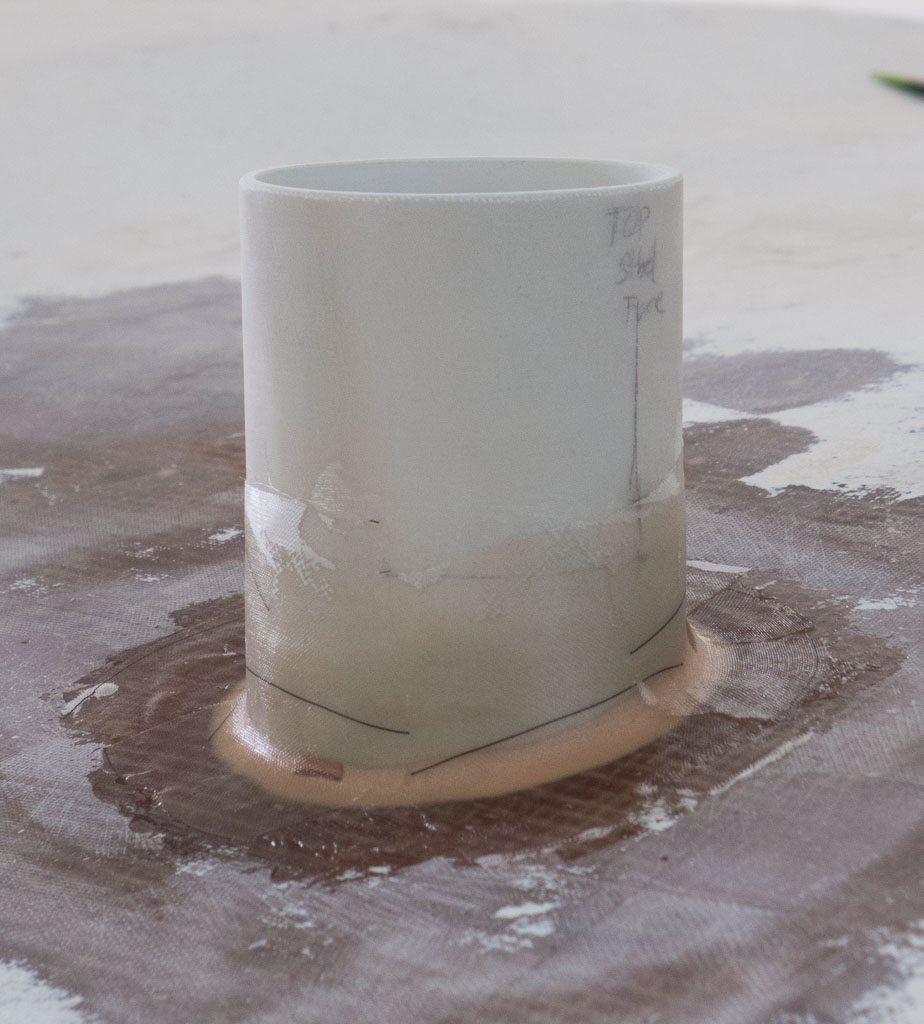
Bill’s big project was the dorade boxes. The air tubes have been installed, the boxes gelcoated and the boxes have been fiberglassed to the cabin top.
The air tubes are installed and a fillet is holding them in place. They have been fiber-glassed to the deck with resin and cloth.The dorade boxes and the deck where they go have been coated with gel coat, a pigmented paint like resin.
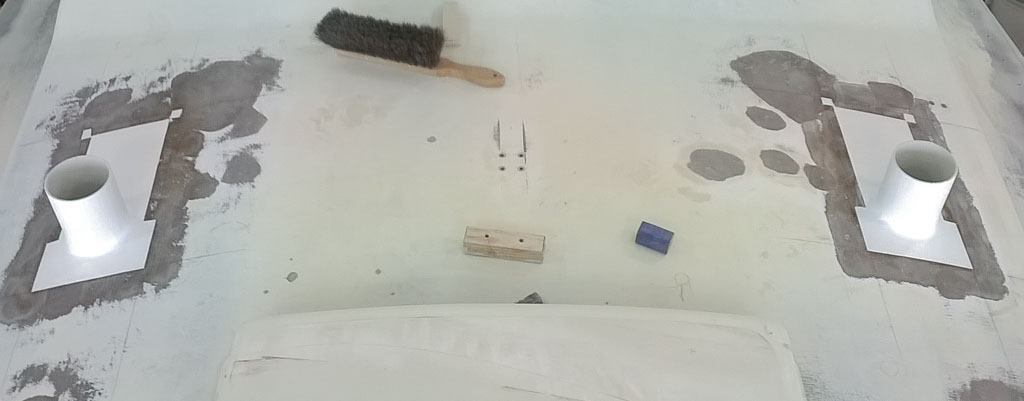
Here they are installed on the deck.
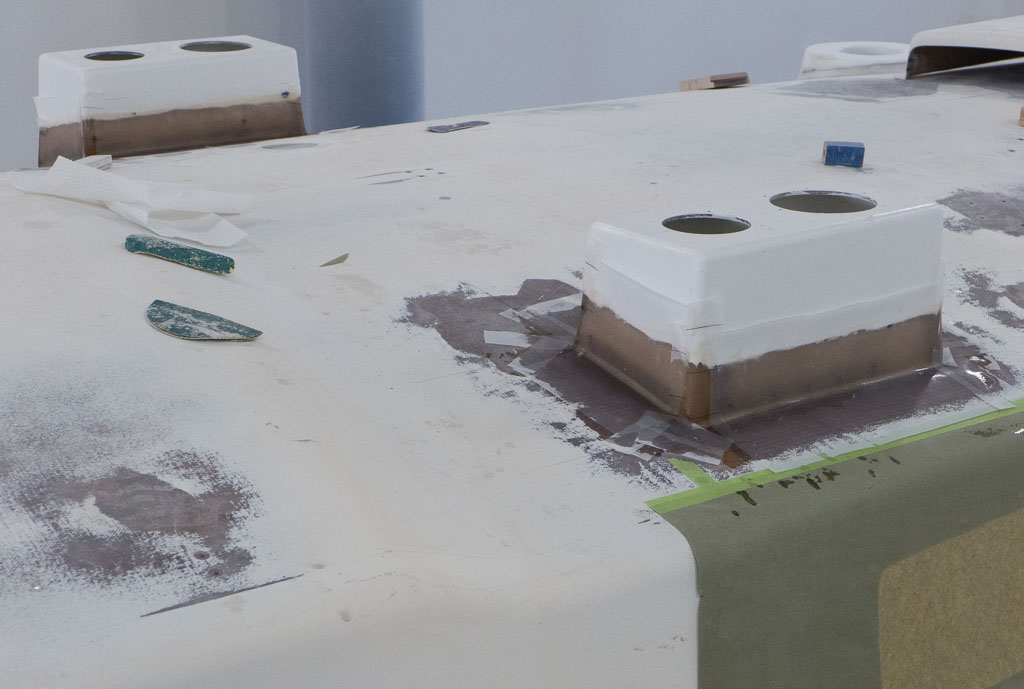
Dorades fiberglassed in place.
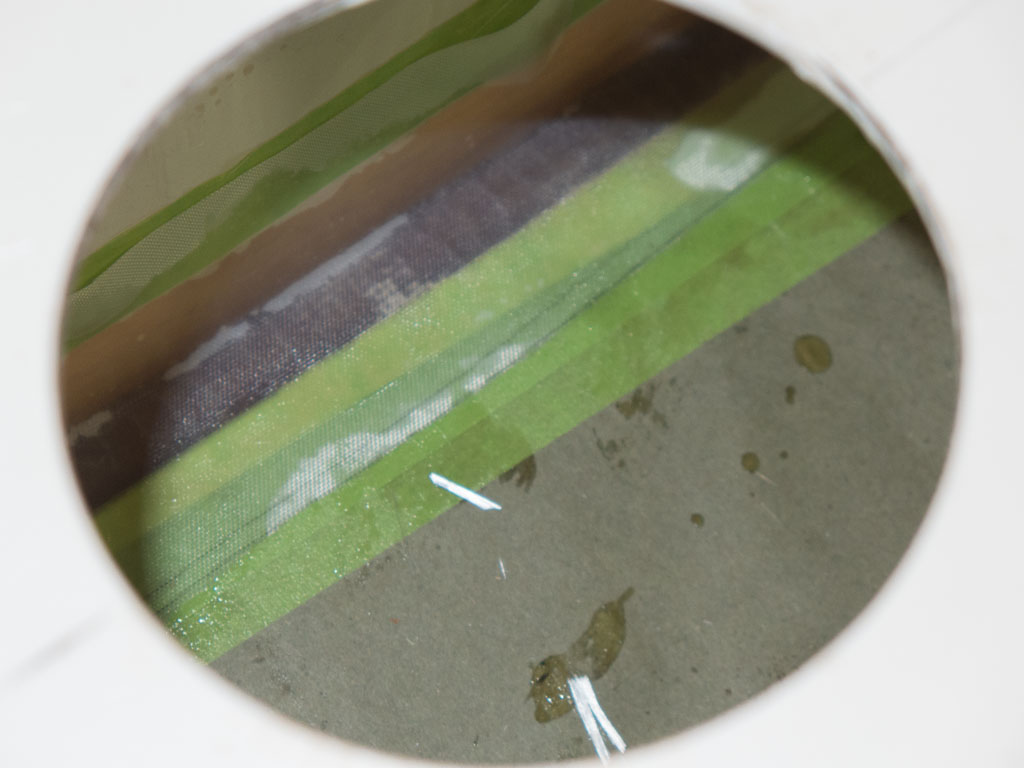
This doesn’t show all the fiddly bits inside. Part of the dorade glassing was that the interior of the box needed to be glassed to the deck as well, but this had to be done through two three to four inch holes.
Inside of the dorades was a very narrow strip, about one inch wide, to glass it onto the deck).
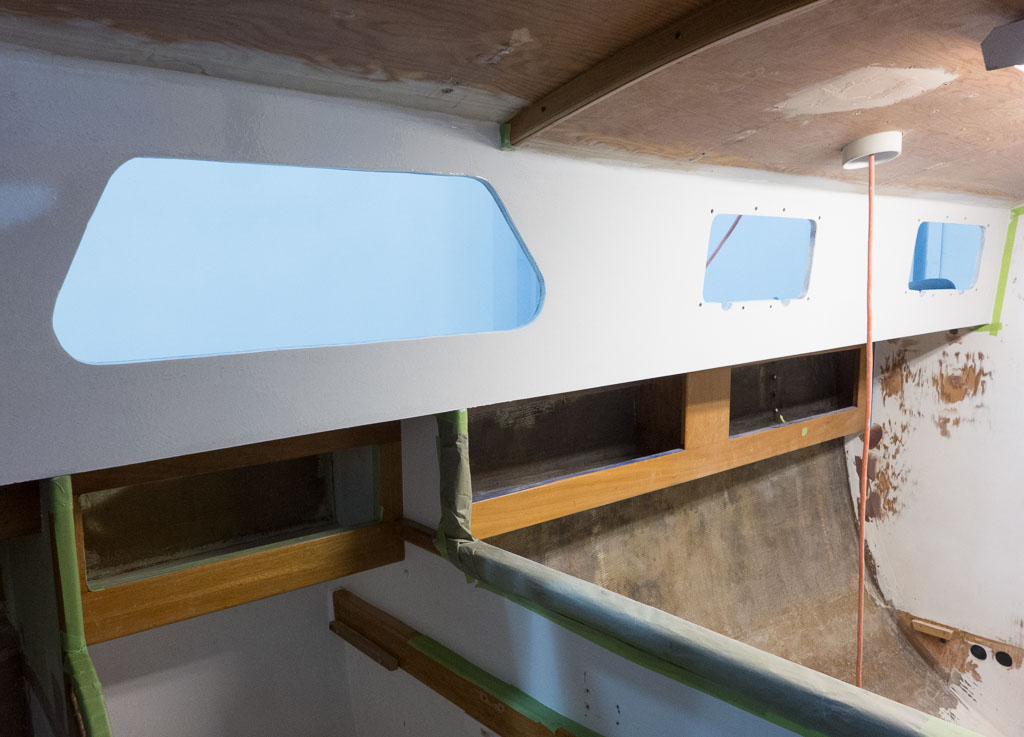
Meanwhile, the interior of the boat was progressing. Nina spent more time sanding than she cares to think about, but we got the cabin sides primed where the ports (windows) will be installed.
Cabin sides primed. They were sanded, will get another coat of primer and then two more coats of enamel to make sure they are smooth and finished well.Instrument holes were cut and epoxied. Upper left will be the compass, below it is the chartplotter. The two holes on the right are for the wind/depth and speed instruments. The hole at the bottom in the cockpit is for the emergency bilge bump. At the very left of the cockpit, and hard to see in the picture, is the throttle control hole.Seat lids. Marsden added a layer of 3/8 inch foam to stiffen them up. The weights help glue everything together. They will get a couple of layers of fiberglass covering the foam to level them out with the cockpit. Earlier in the weekend, Nina added fillets to the seat locker lips to stiffen them up and to create a smooth surface for pulling things out of the lockers. This was one of those practice makes better exercises – the second time took (iso resin takes a lot of stirring to get it to kick properly!@!) .
We’re definitely on the home stretch. Tom will be connecting the new platform on the stern for the propane locker. At that point, we’re pretty much ready to start prepping the outside of the boat for paint (this means yet more sanding).


Unbelievable what you kids have achieved! Is the goal a library on water?! My pride doth burst the buttons!
LikeLike
Thanks again for sharing.
Respectfully, Charles Needles
>
LikeLike