
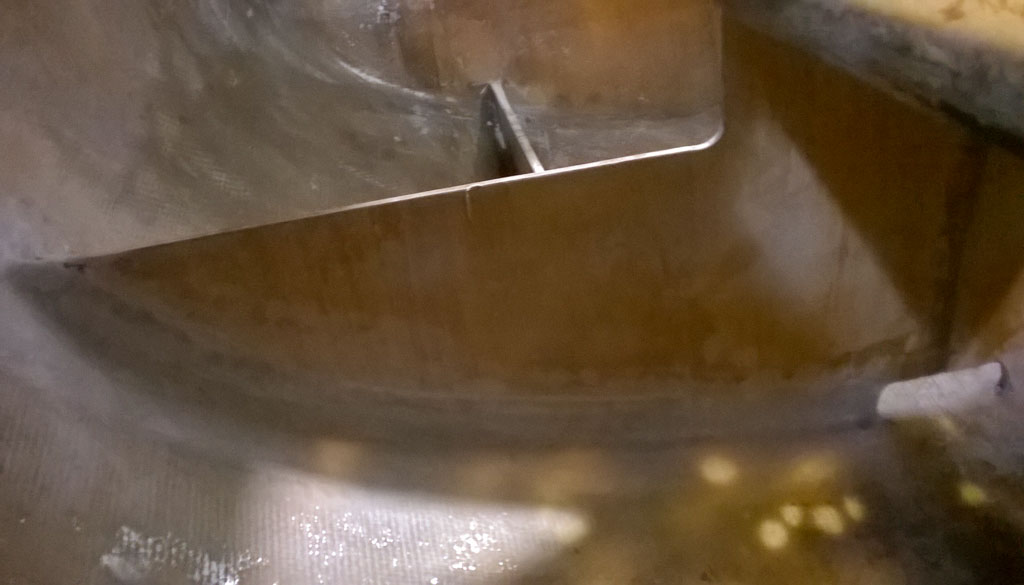
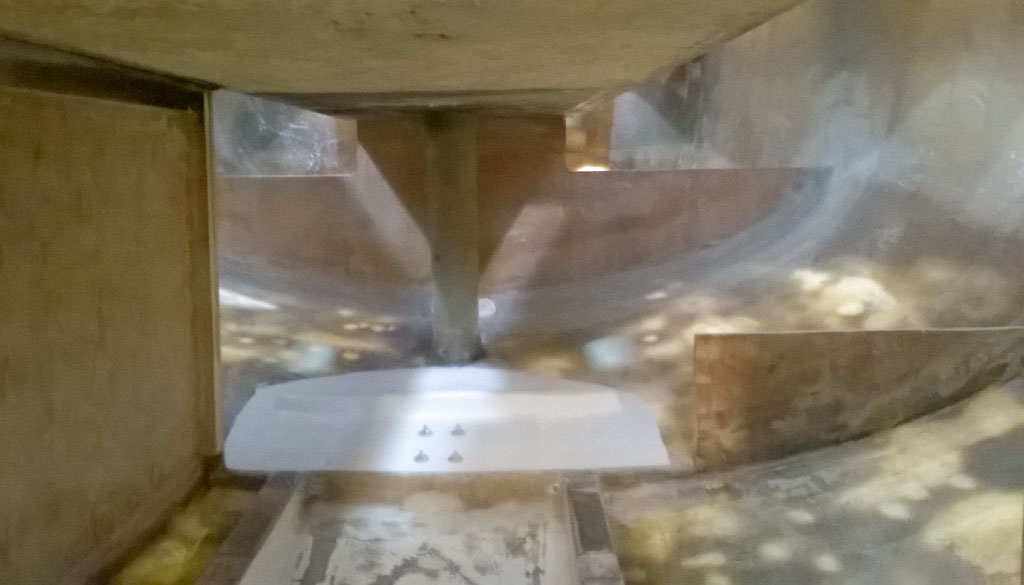
This week we’re starting from the front and working back. In sailing terms: forward to aft. Tom fiberglassed the new platform for the windlass in place and Bill drilled the really big holes. The platform was needed to get the chain feed from the anchor roller to the windlass level. Nina is looking forward to having an electric windlass so that she will no longer need to be the cranking lass to get the anchor up or down.
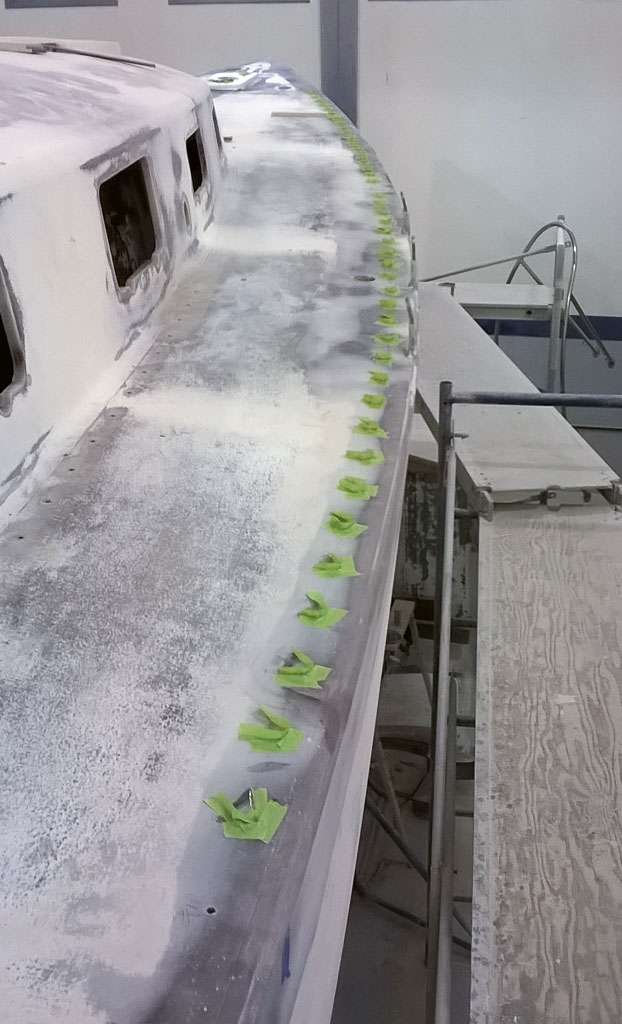
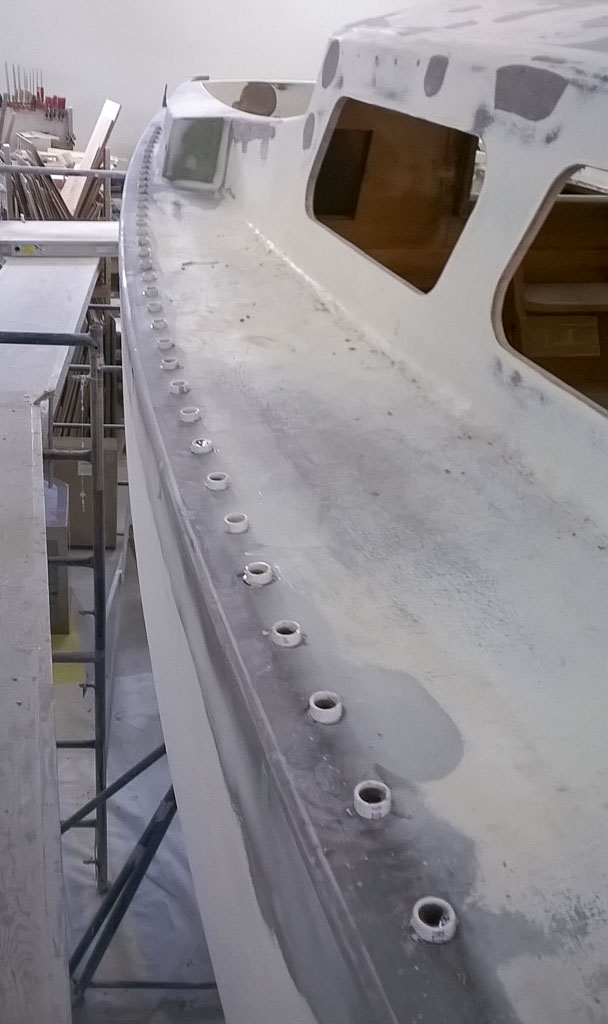
All of the holes for the toe rail got drilled out this week with a 5/8″ bit. That’s 164 holes! Drilling went much faster after Bill learned how to sharpen drill bits. The pipes work better and are faster to install than tape, and leak less than tape, at least on top. The height helps get rid of epoxy bubbles from air escaping the wood. We had a couple of holes that that kept on being leaky nuisances inside the cabin, but they’ll be fixed this coming weekend.

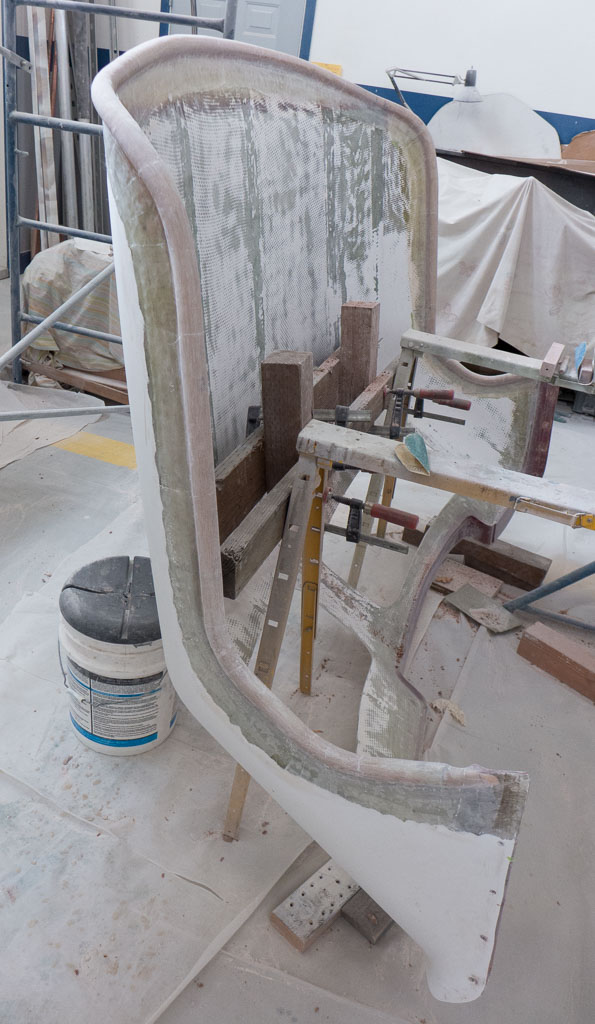
Nina’s bulkhead project was installed! The pieces of wood were epoxied together with a spline and glued to the after end of the cockpit. She also made fillets on both sides at the bottom to make fiberglassing them in place easier. They were sanded to smooth them up for the glass cloth and resin, and sanded once the glass was in place and cured. She was quite pleased to be told by Tom that she’d done a good job!
The boat is really starting to feel like it’s going back together rather than being torn apart. That being said, we don’t have much time left to get it to a state where Tom and Chris can begin prepping for paint. Once that starts, we’ll need other projects to work on, like the mast.

Your work is a clinic for anyone that needs to see what it takes to do it right. Congrats on the progress Gypsy will take you anywhere you want to go when you get her back in the water. Fair winds, Jerry & Joy
LikeLike
Half way! KUDOS !!!!!
Respectfully, Charles Needles
>
LikeLike
Give some love to the land lubbers, Bill. What is glassing? I googled it & got some very risque’ slang, so was afraid to enquire further. Thanks
LikeLike
Sorry, glassing is short for fiberglassing. When you fiberglass, Fiberglass cloth is wet out,(saturated with resin). When the resin cures you have a hard solid surface. The fiberglass cloth does not make sharp bends so fillets are added. They are bevels made out of a fiberglass putty and they provide the transition around a a bend.
LikeLike