This week had its ups and drips. We plodded along both making progress and getting set back while cleaning up epoxy leaks. Then came Monday and we started on fitting the toe rail. What a great day! The toe rail looks fantastic and the fitting went very smoothly. This was one of those moments when you know that the hard work will be worth it.
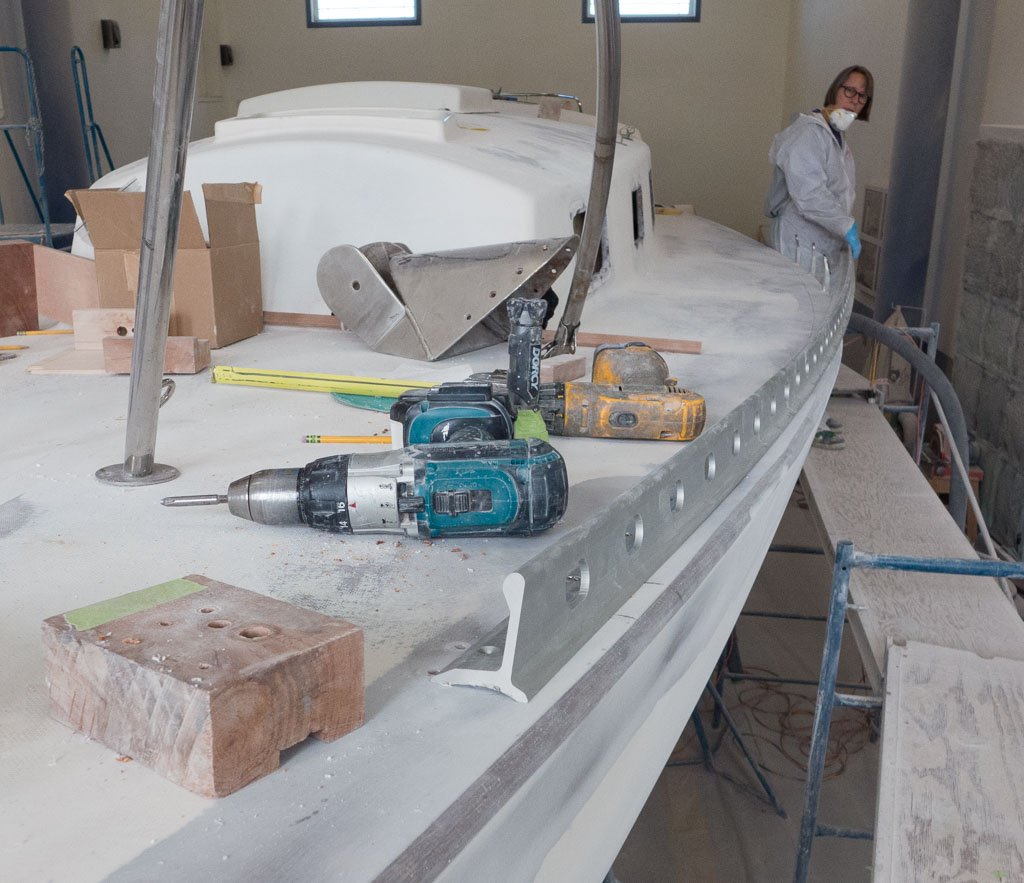
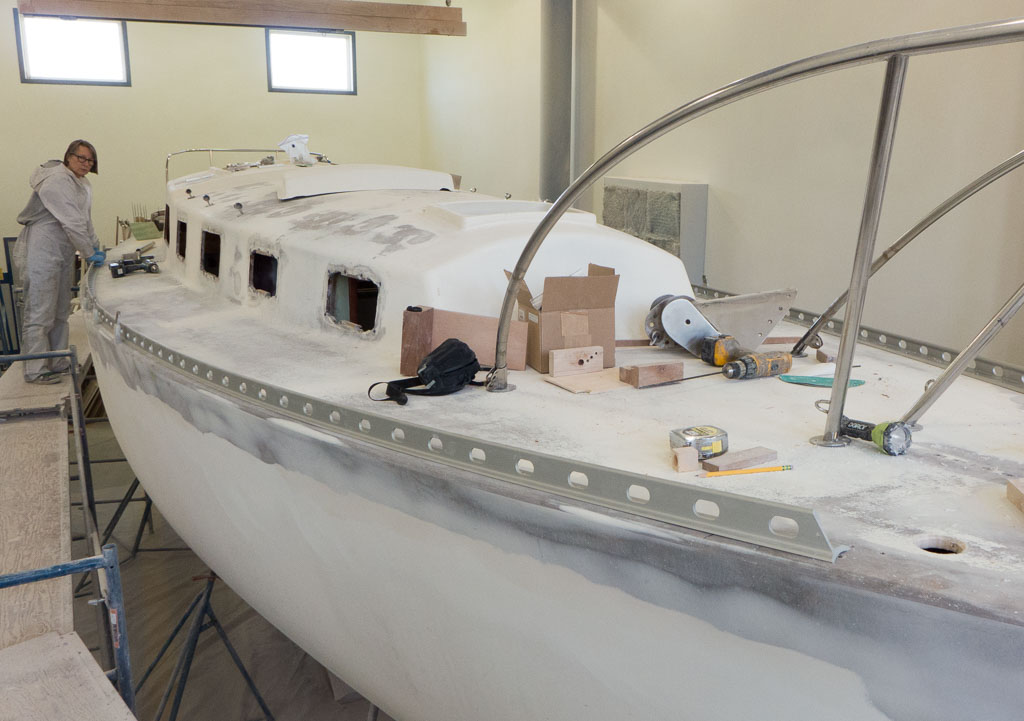

Before starting on the toe rail we had to layout and fit the fore deck stuff. This included the bow pulpit, the mooring cleats, anchor cleat, where the anchor windlass and its foot switches and chain stopper will go. These holes had to be over- drilled and cast with epoxy, which led to more epoxy leaks and subsequent clean up. Lesson learned, vacuum up the saw dust beforehand. Epoxy and saw dust is much harder to clean up than just rivers of epoxy. We sanded the epoxy blobs on the deck and re-drilled the correctly sized holes for the gear. While this was going on, the inside hand rails on the inside of the cabin top were getting fitted. On the dodger, we also epoxied sections of PVC pipe onto its edge which will be fiberglassed over to strengthen it and provide a better hand grip. If you want to know how you fill a tube with thickened epoxy so it can be glued on, the answer is, you use a pastry bag – frosting sized, not chou pastry.

Terrific report. What progress.
Nice hint on the pastry bag !
LikeLike
Your progress reports are overwhelming! Terrific work! Bravo!
LikeLike
Beautiful Refit. Care to share the toe rail brand or source. profile looks darn similar to mine.
LikeLike
The toe rail is from Wauquiez. I got it from someone selling toe rail in the eastern US.
LikeLike